
Hi, Creative Friends-
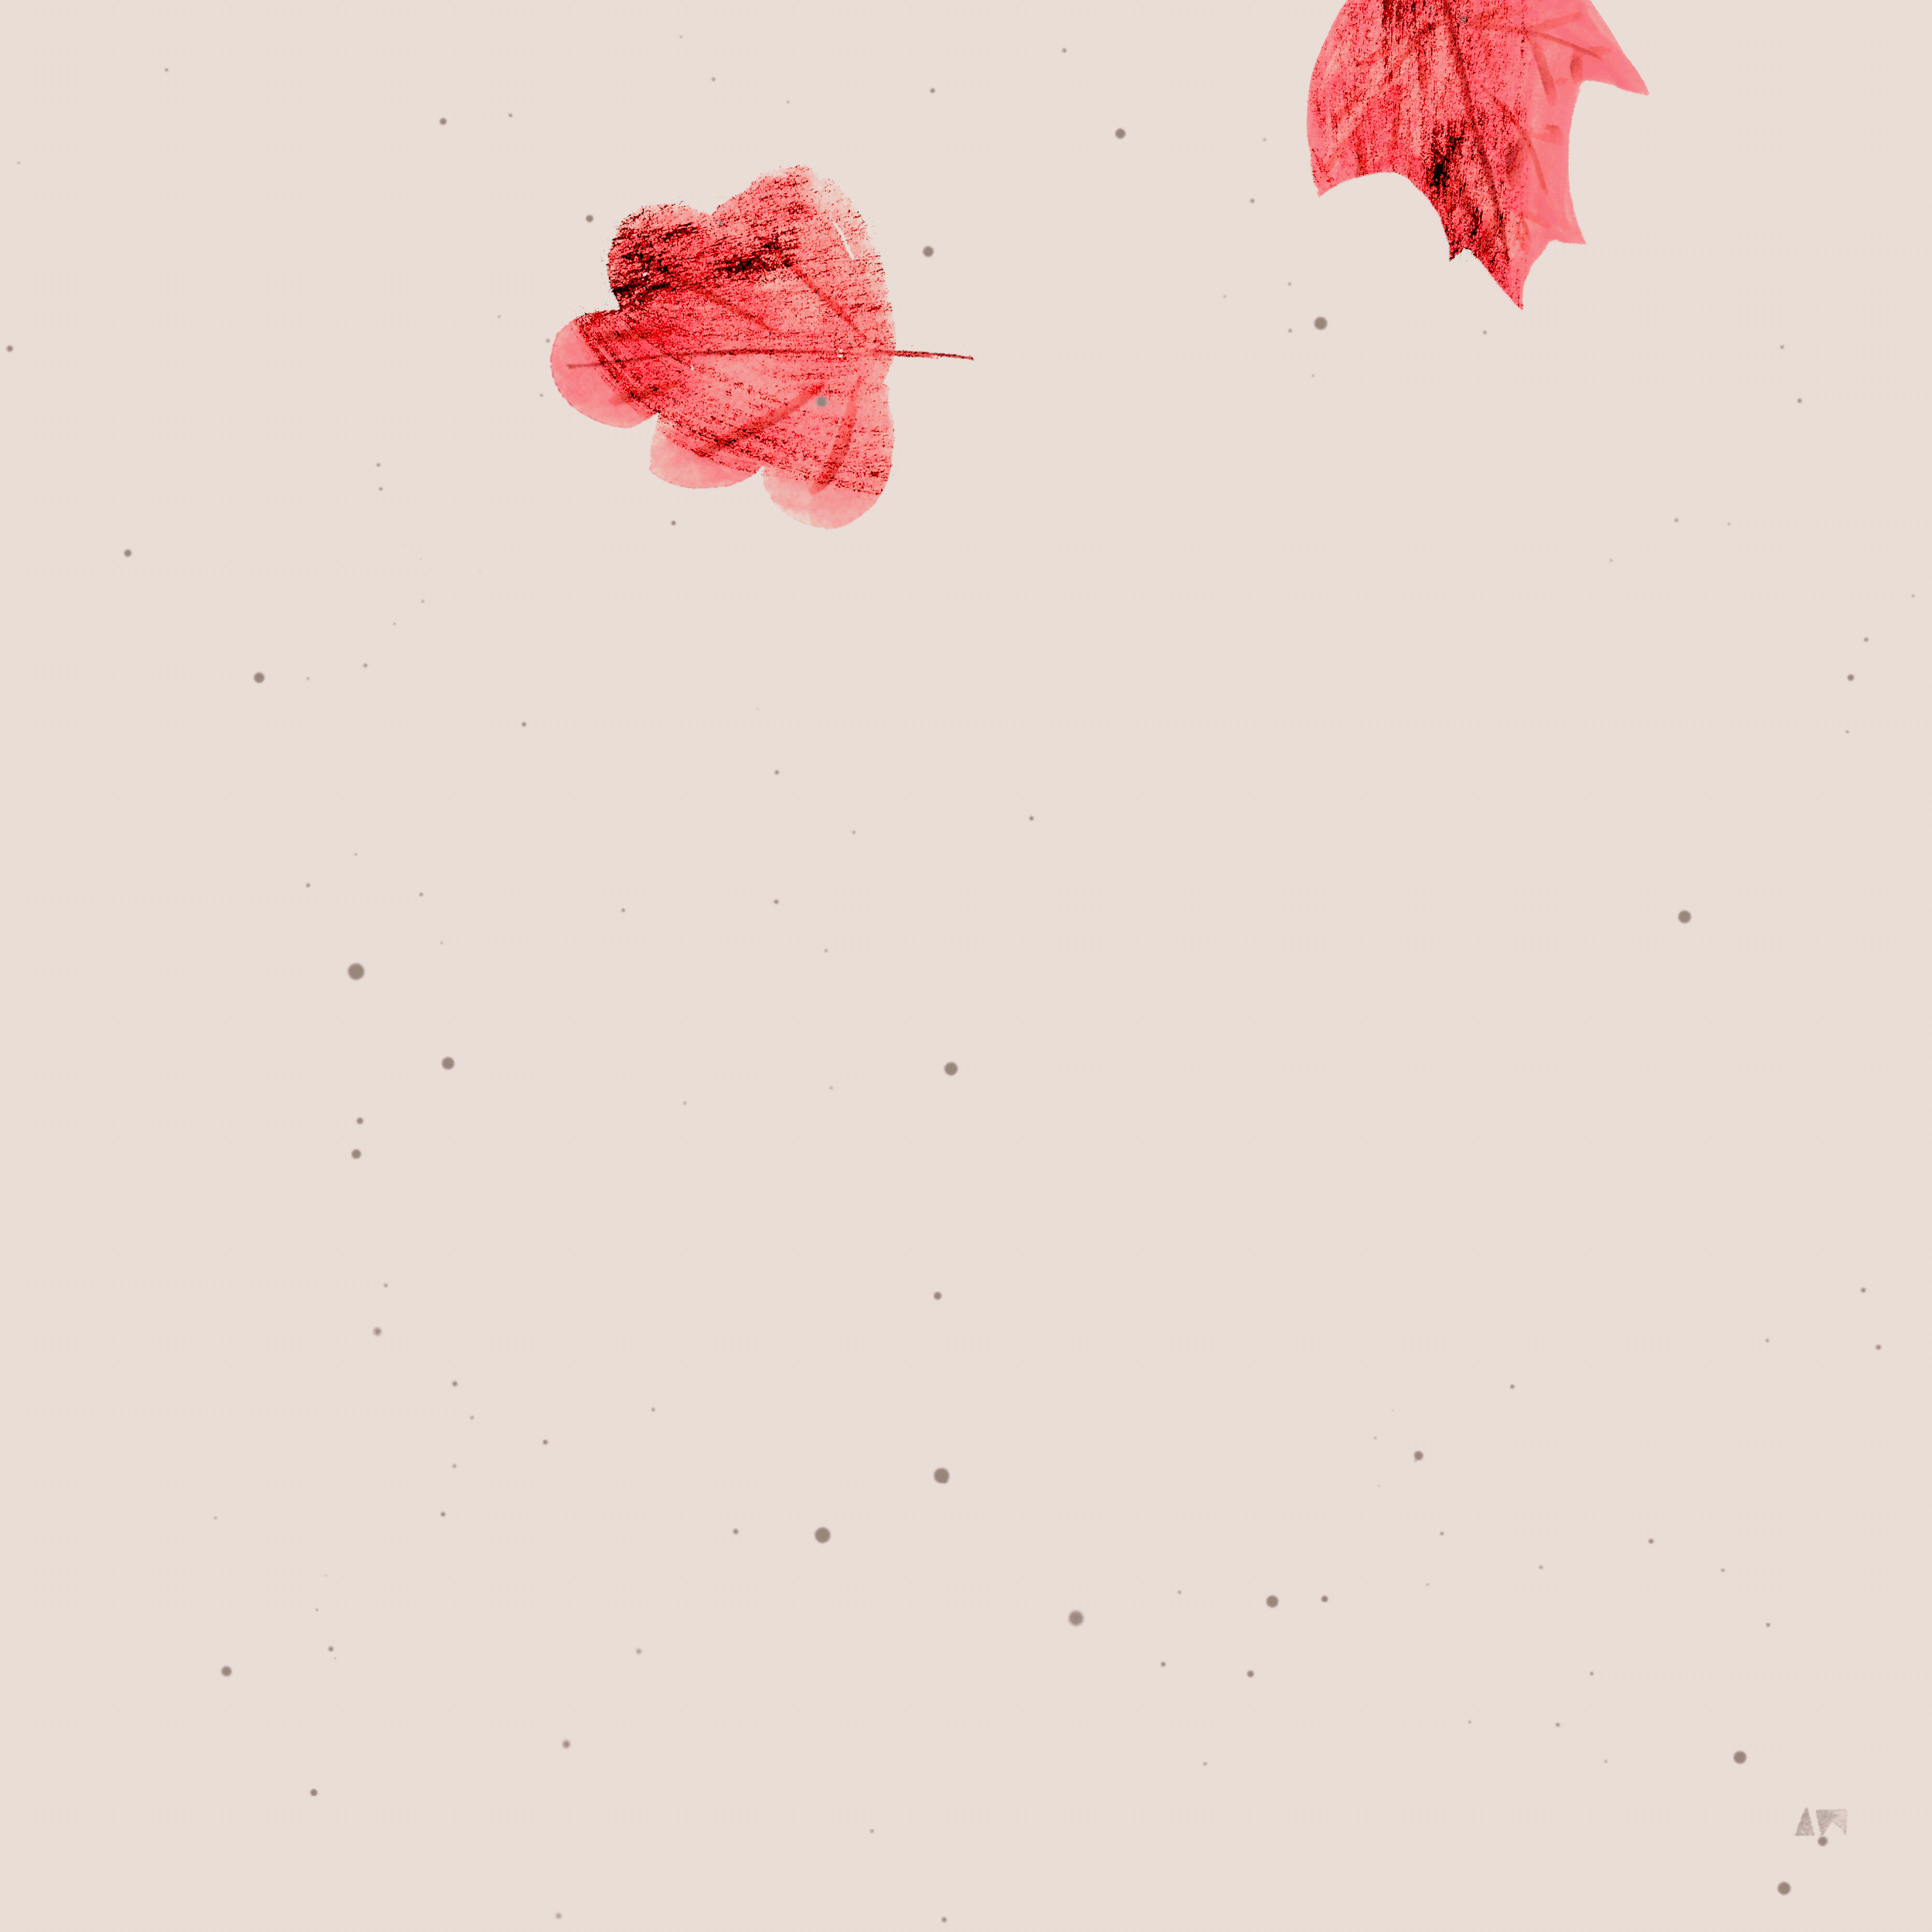
Autumn is just around the corner. Did you know if you catch a falling leaf it’s good luck? It can be hard to find time to wait patiently for luck to fall into our lives and for joy to follow so…
This week, here are 3 creative ideas on how to joyfully catch an Autumn leaf and watch luck follow…
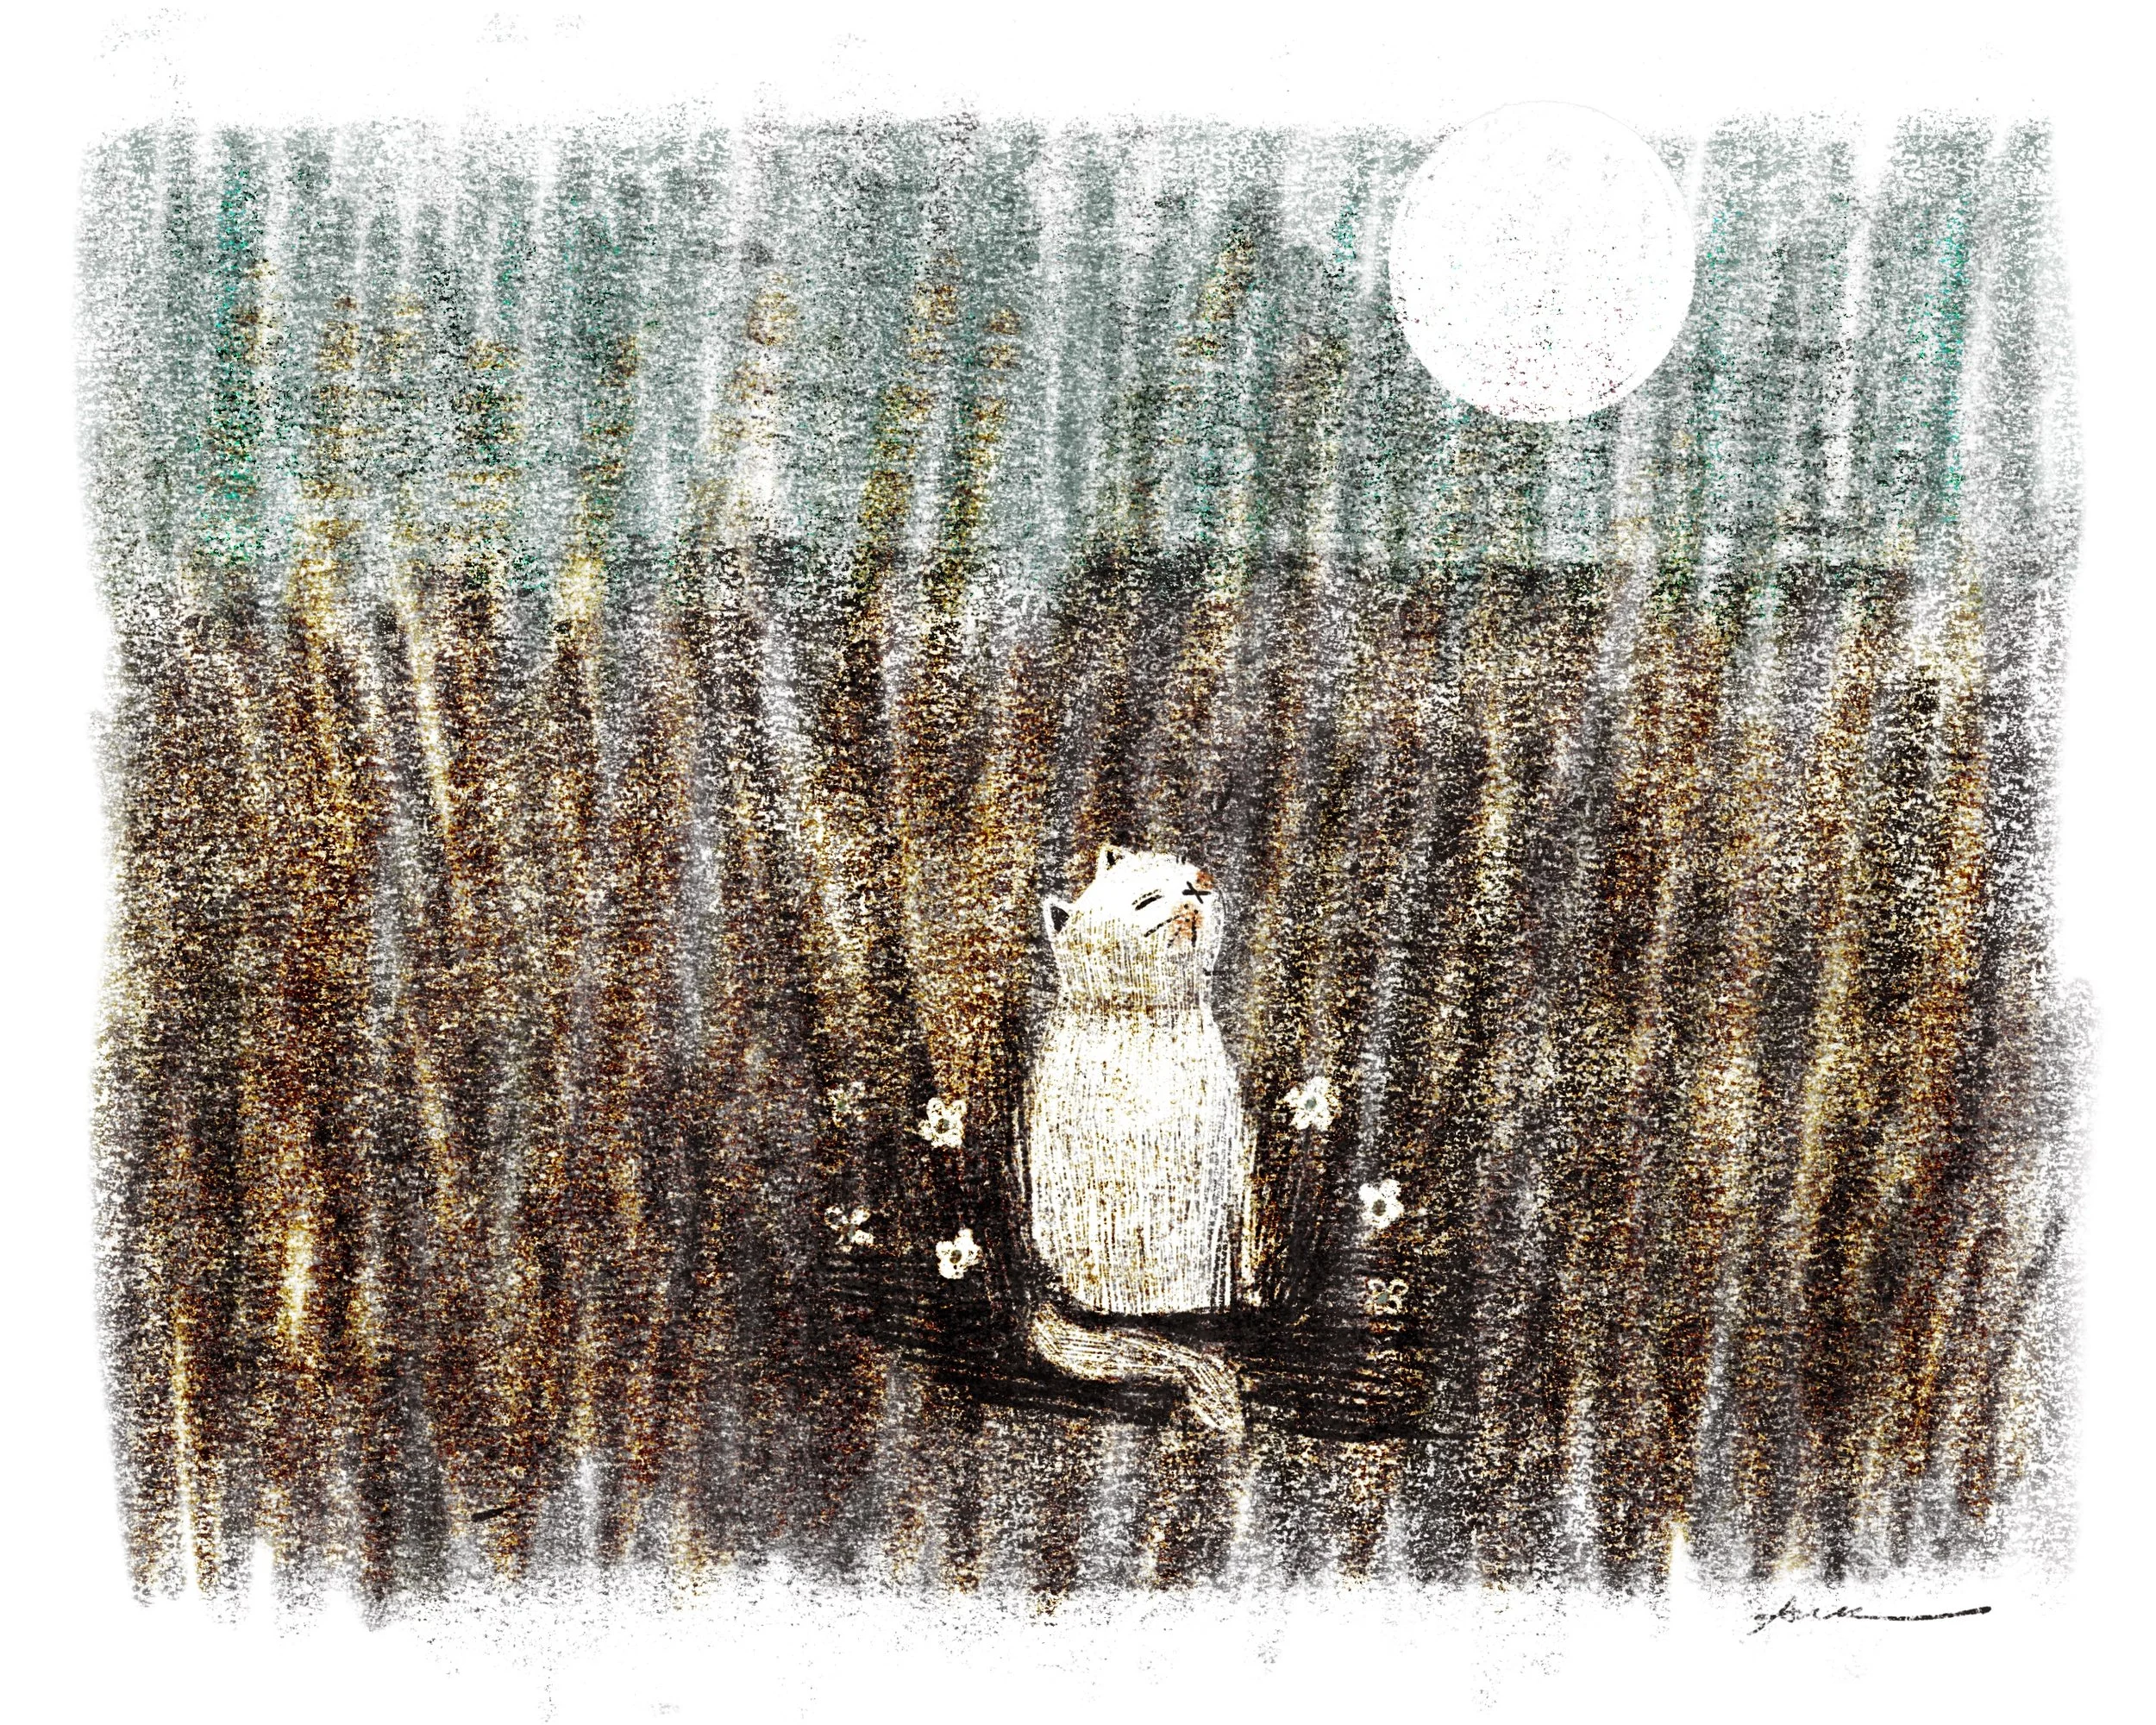
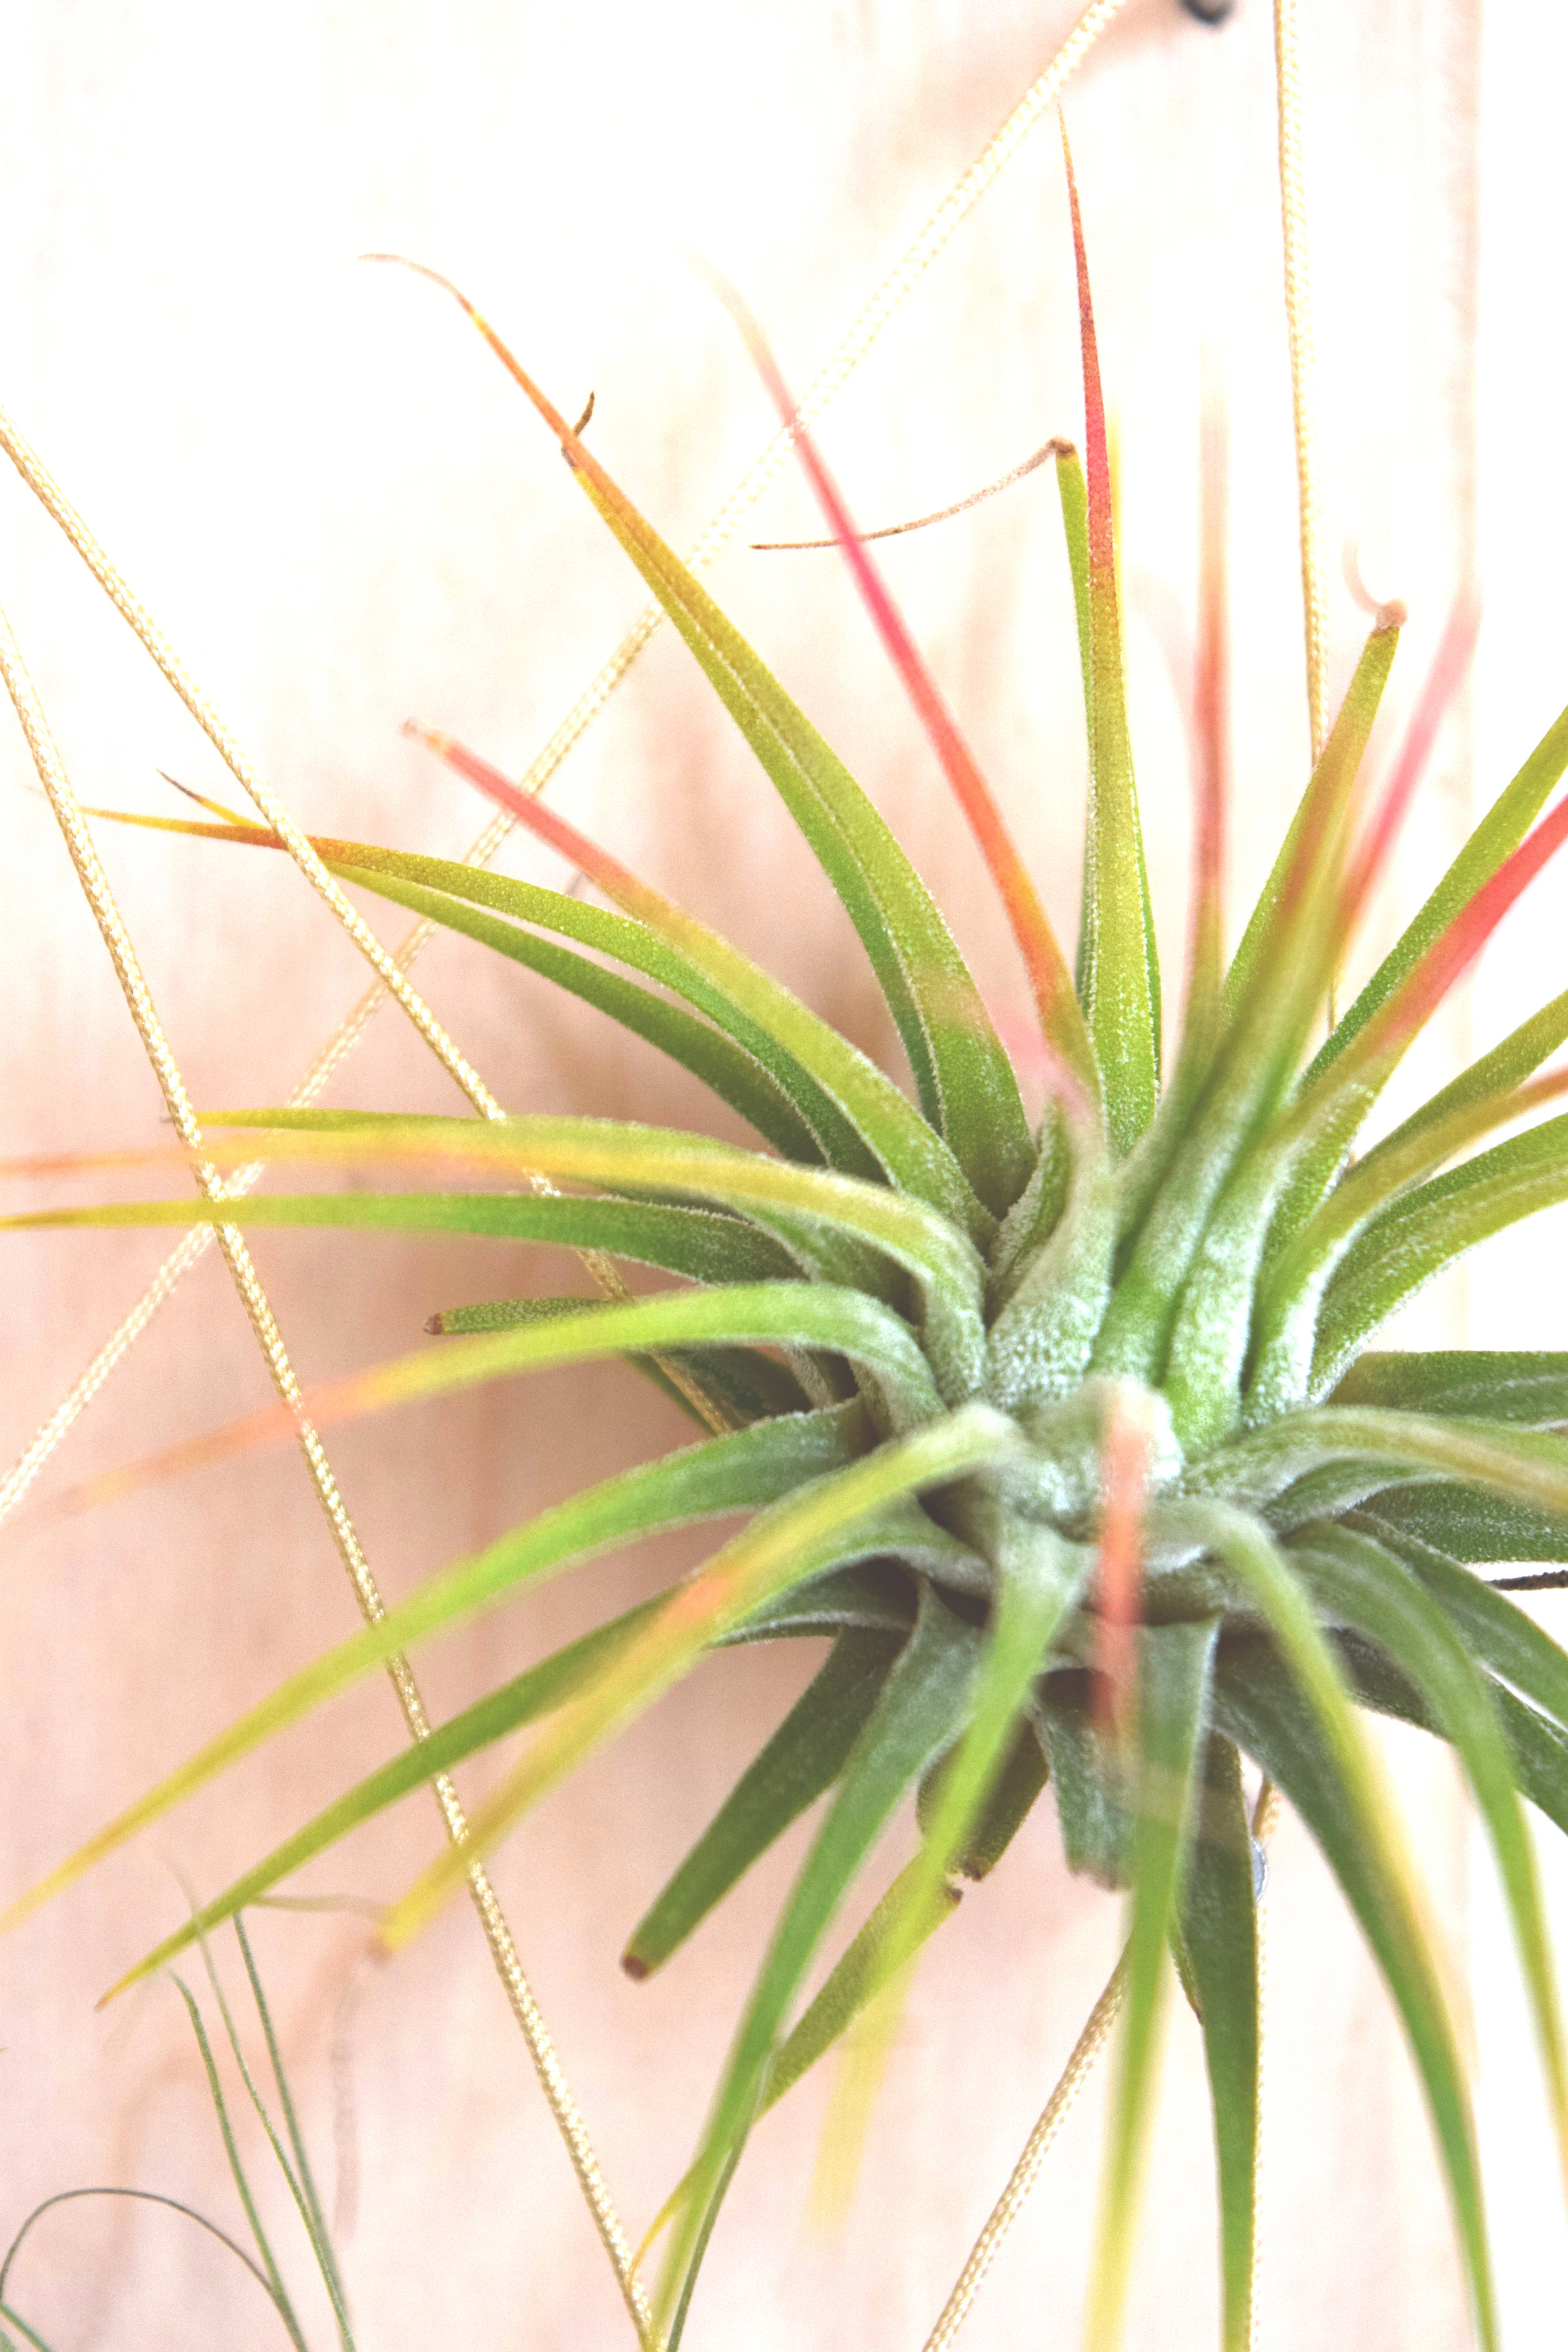
Get The Gold: Andrew Goldsworthy is a British-born artist who uses nature to sculpt works of art, including beautiful displays of perfectly arranged fall leaves. His work and story can be found in “Living Your Wild Creativity”, a short documentary on Youtube. It’s hard not to feel joyful when we take in his natural creations are try building something similar using the nature around us.
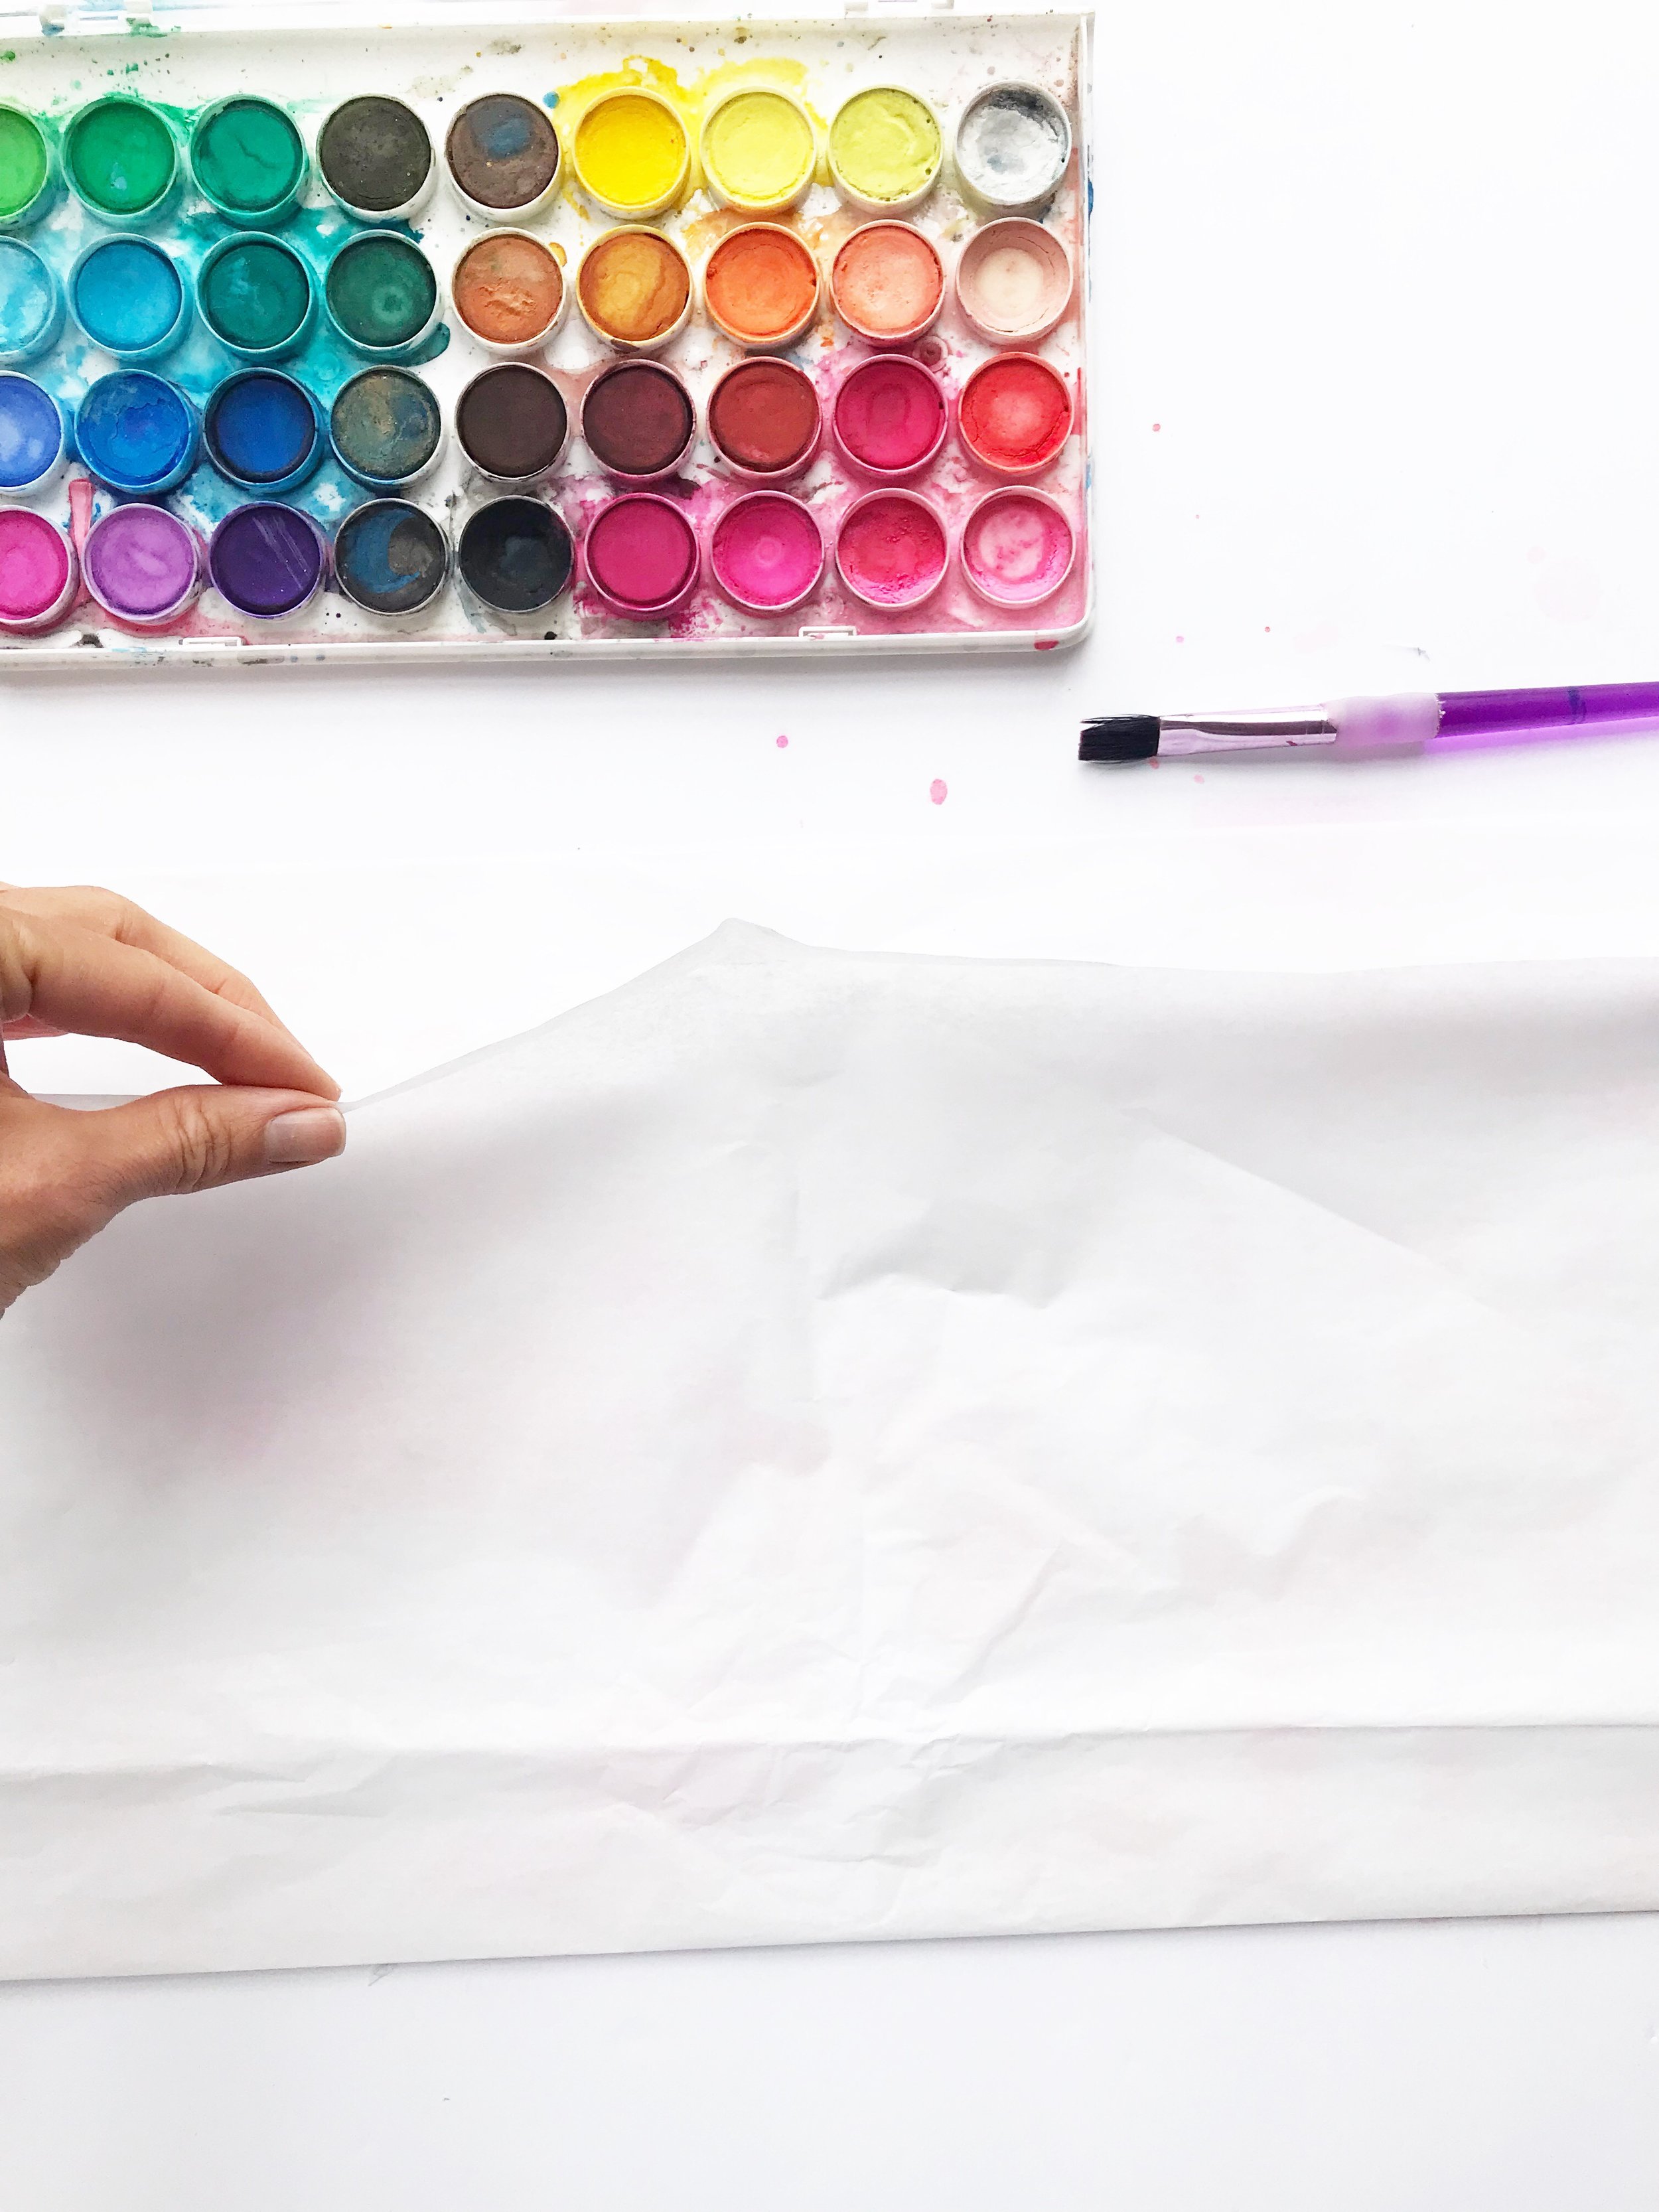
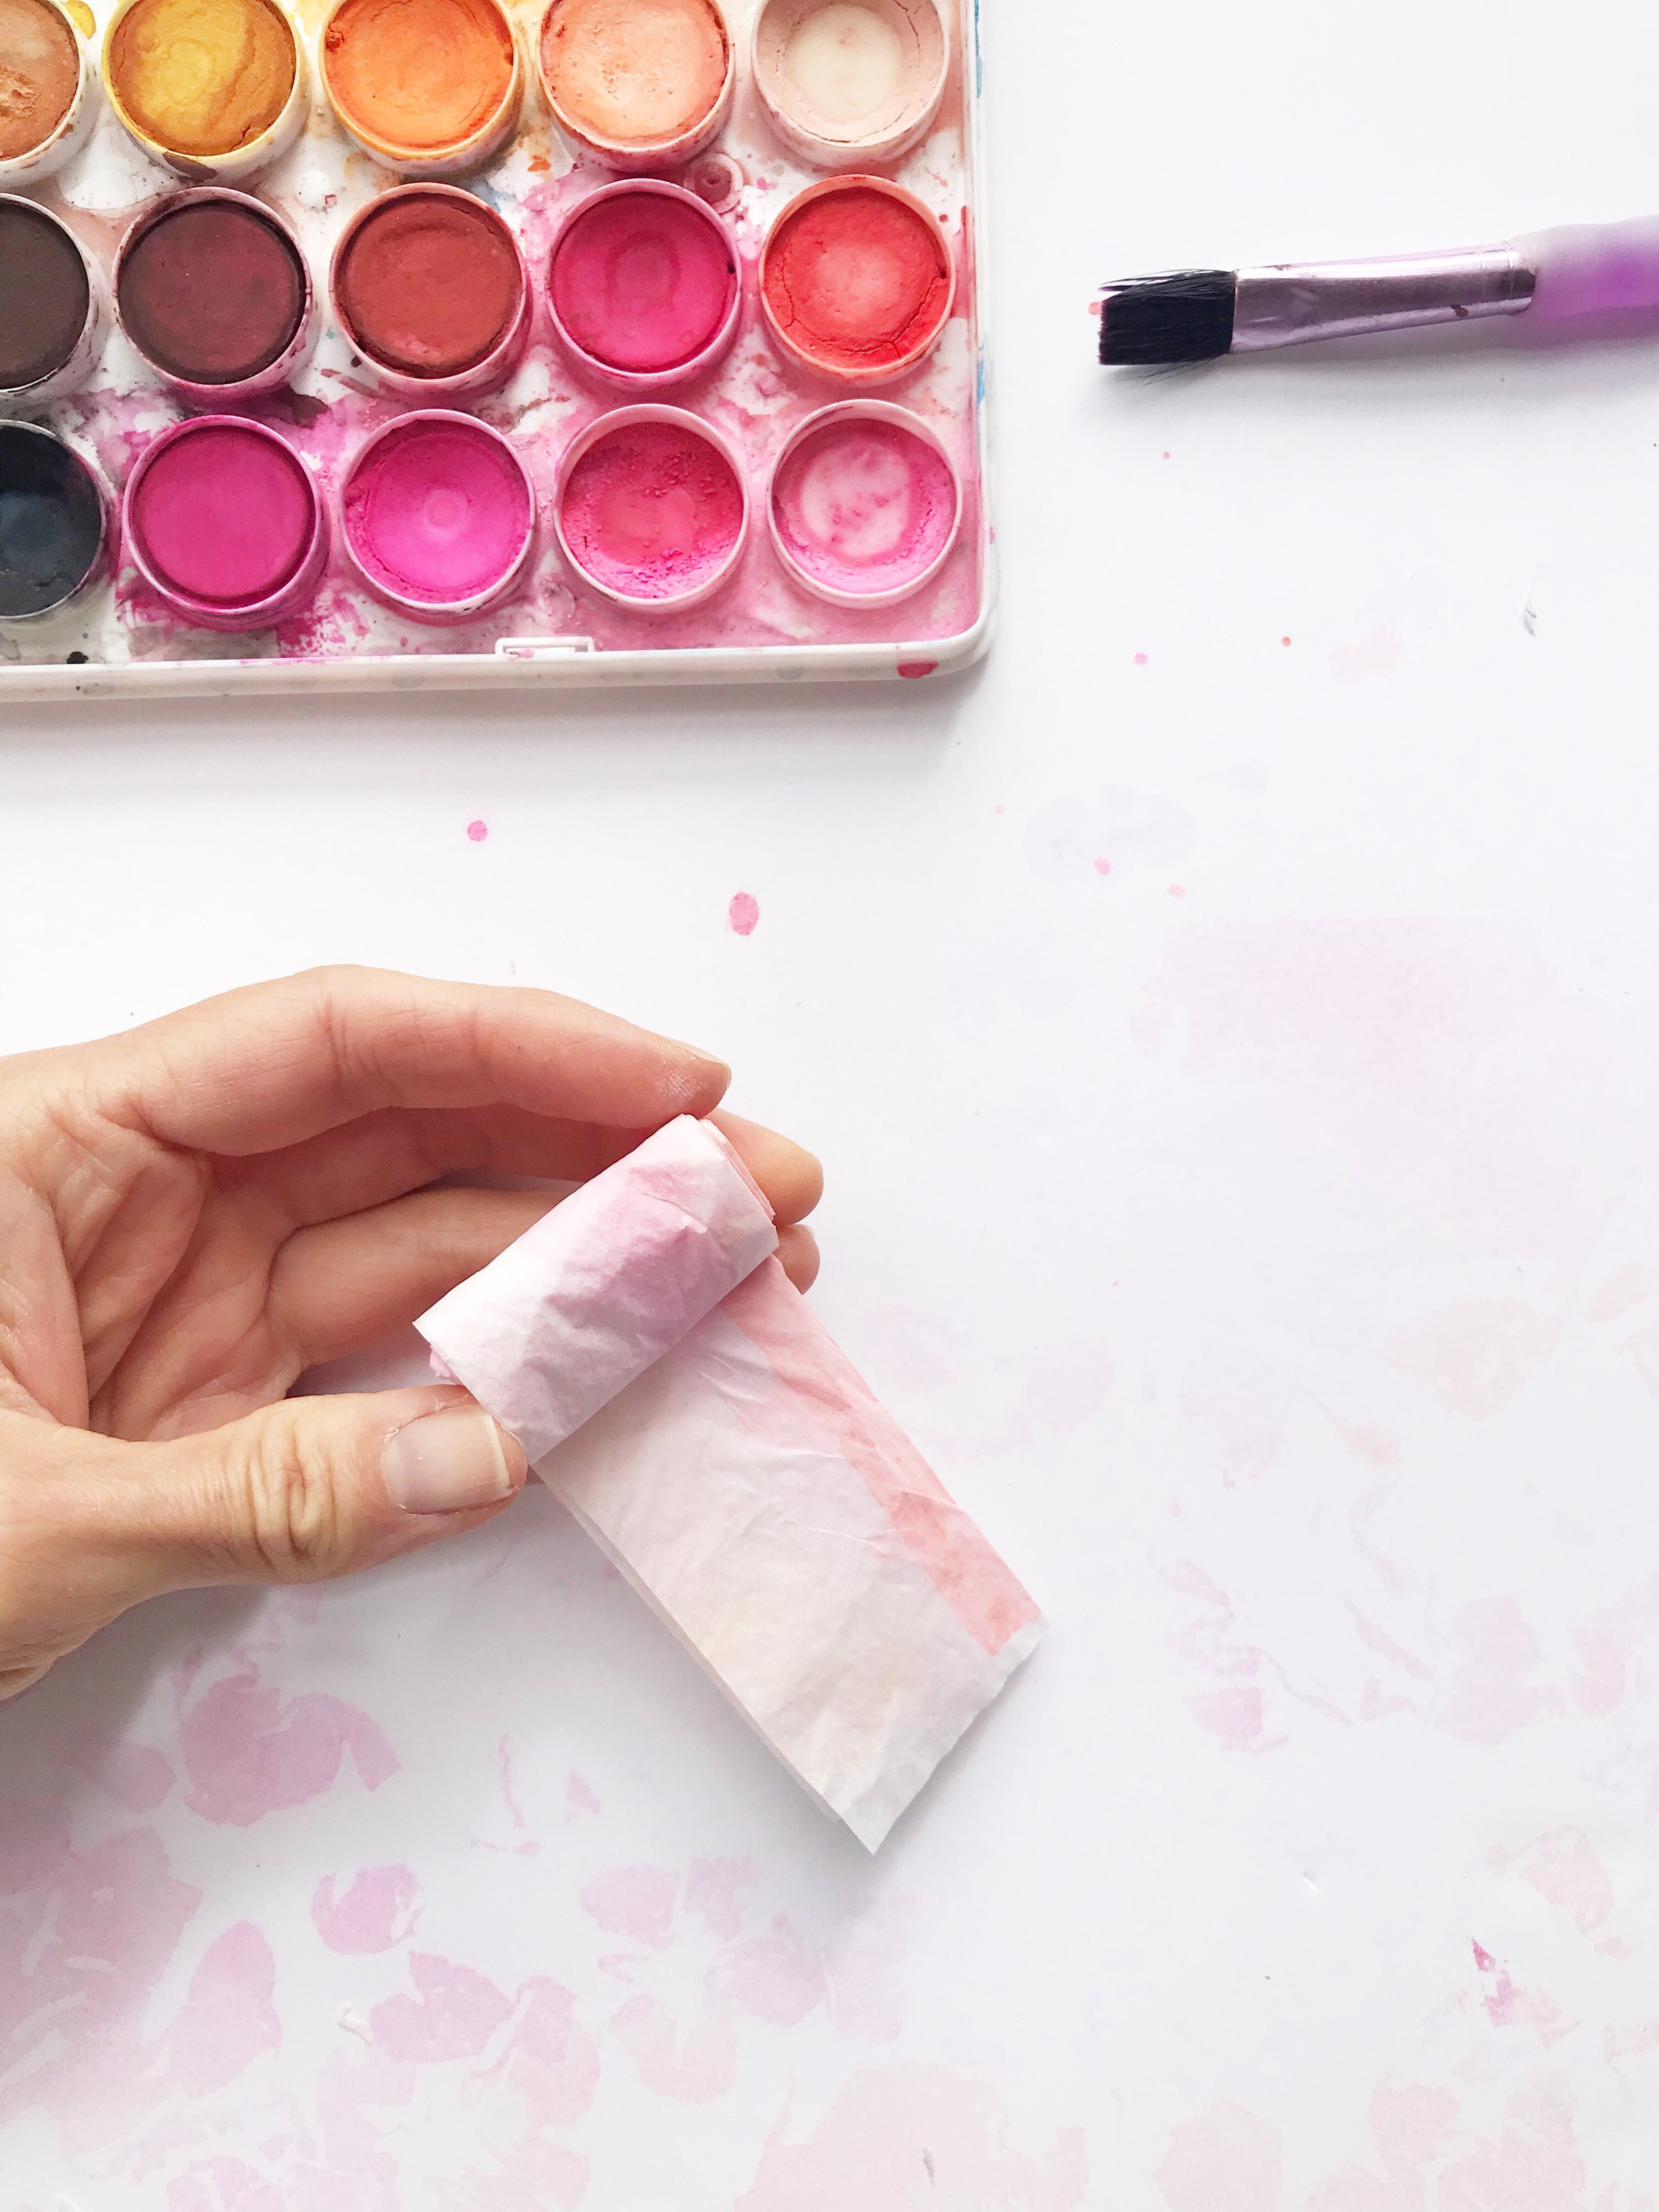
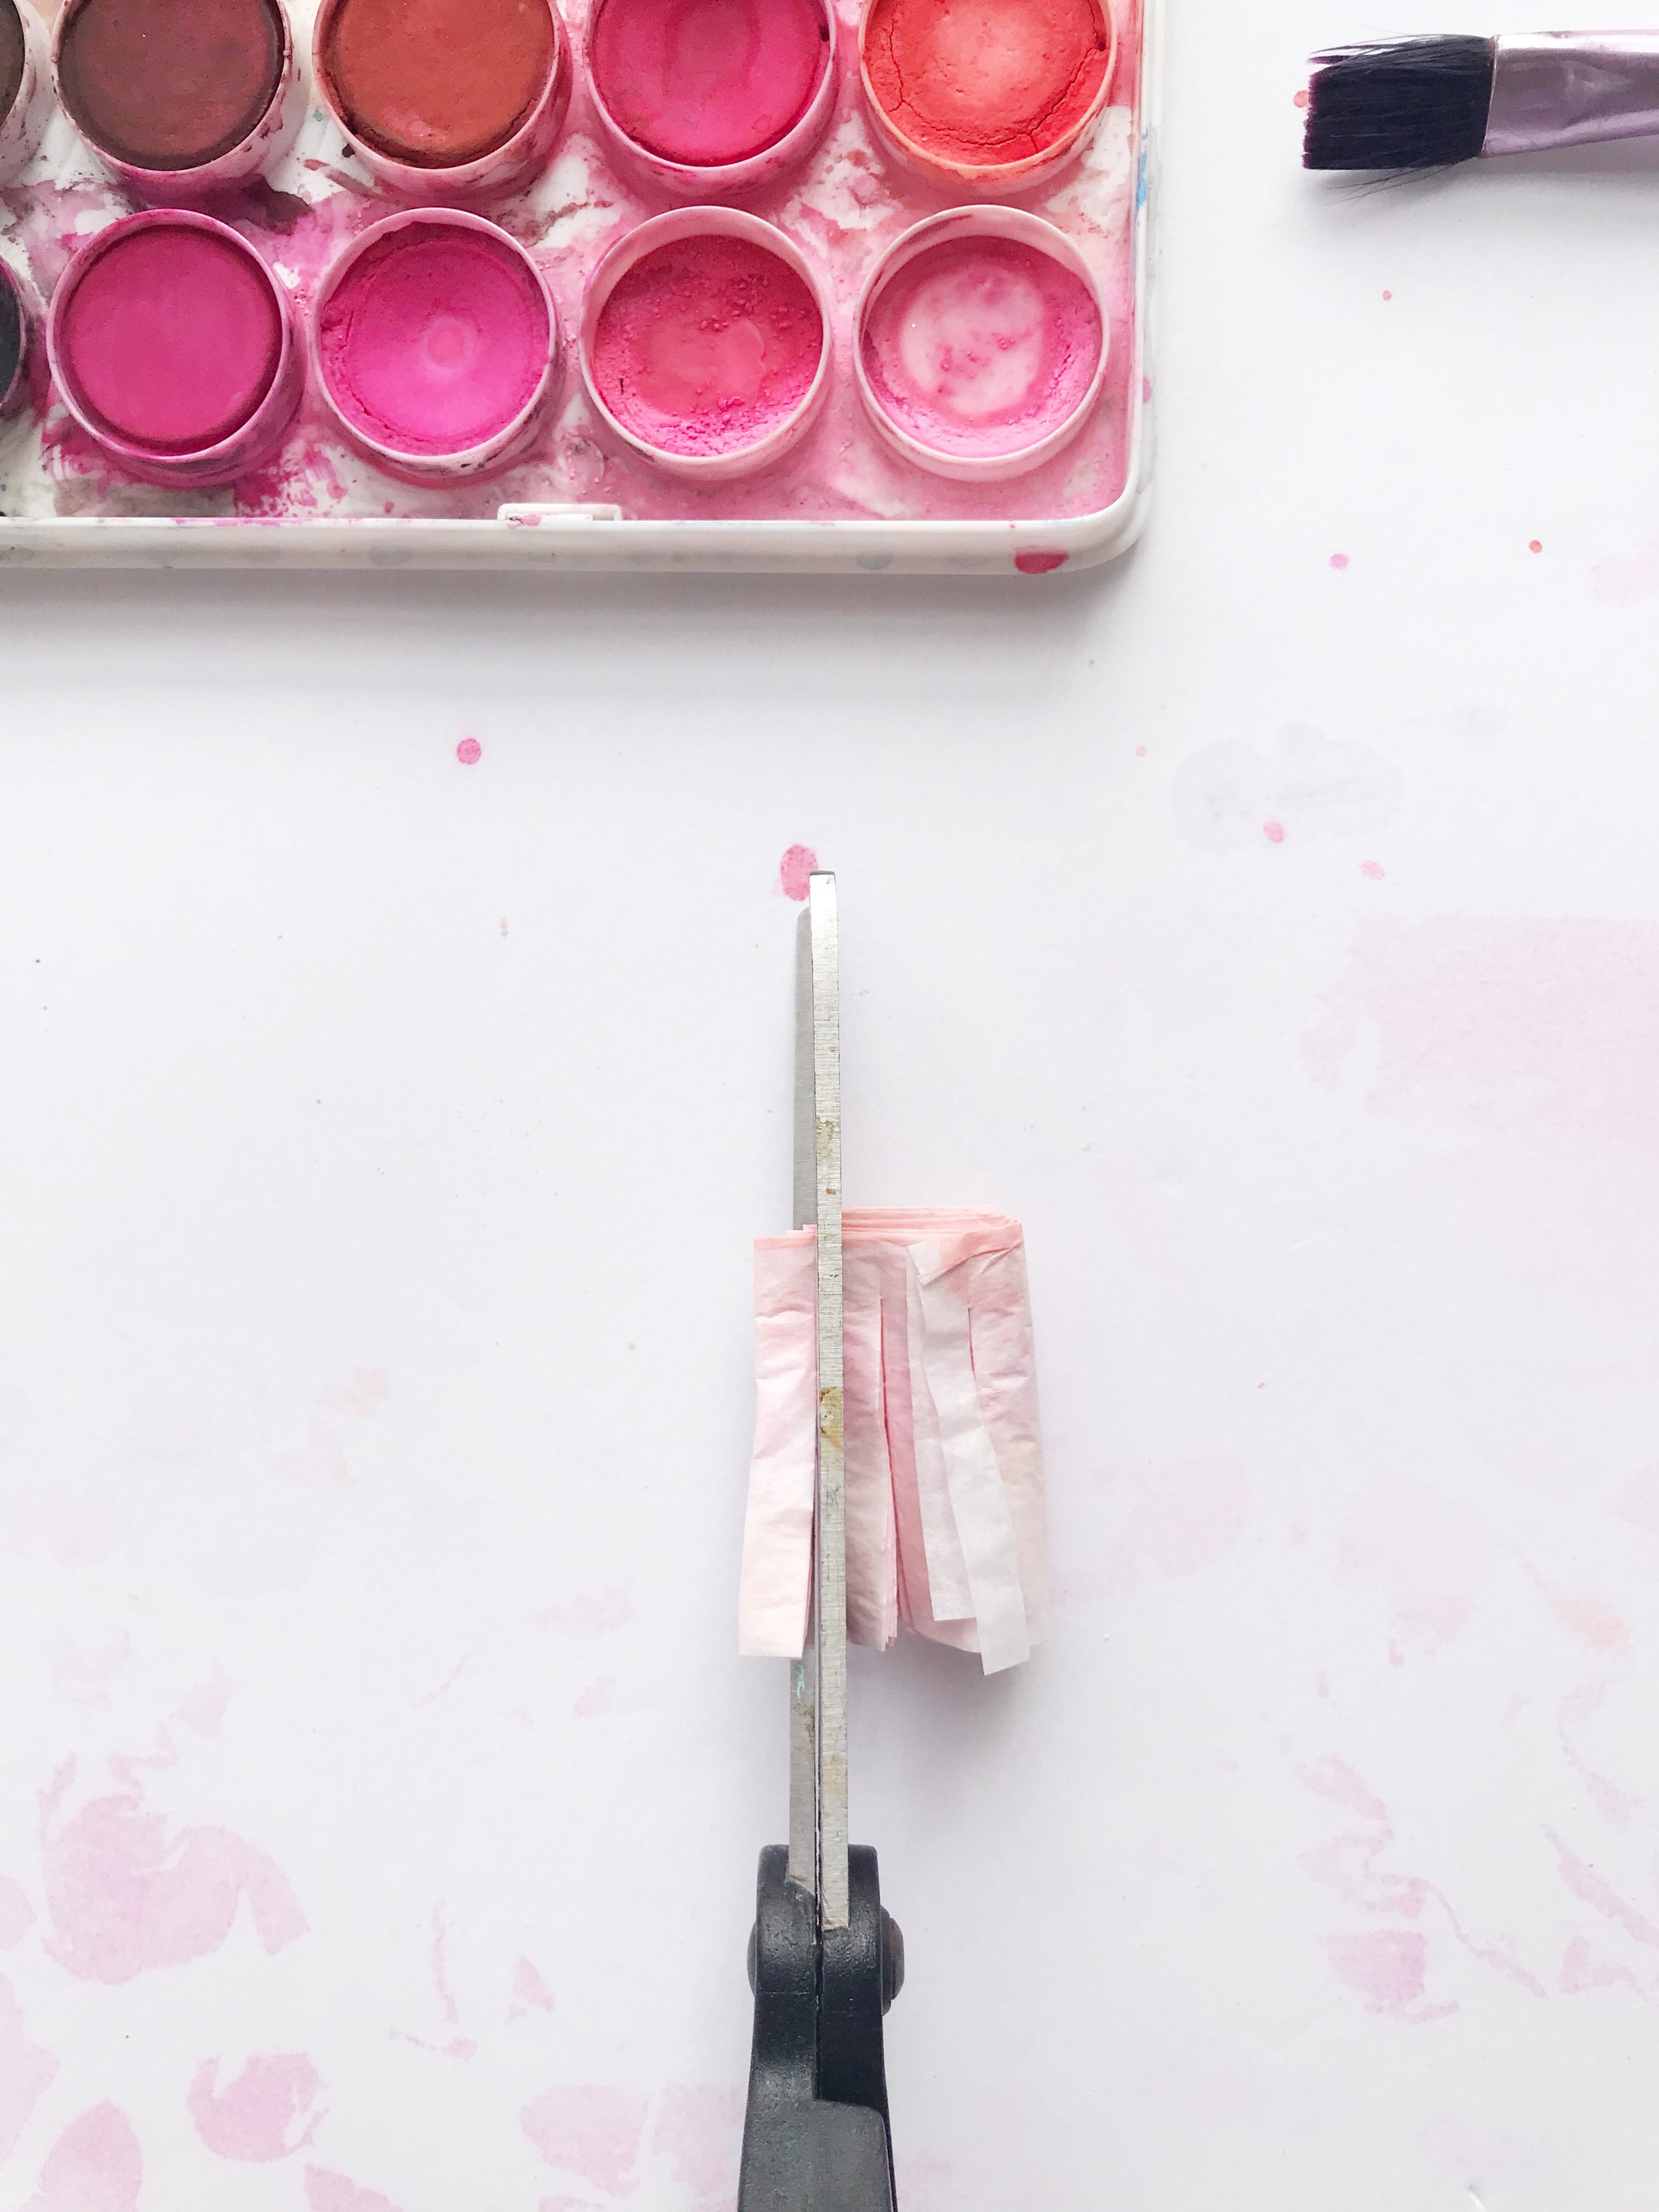
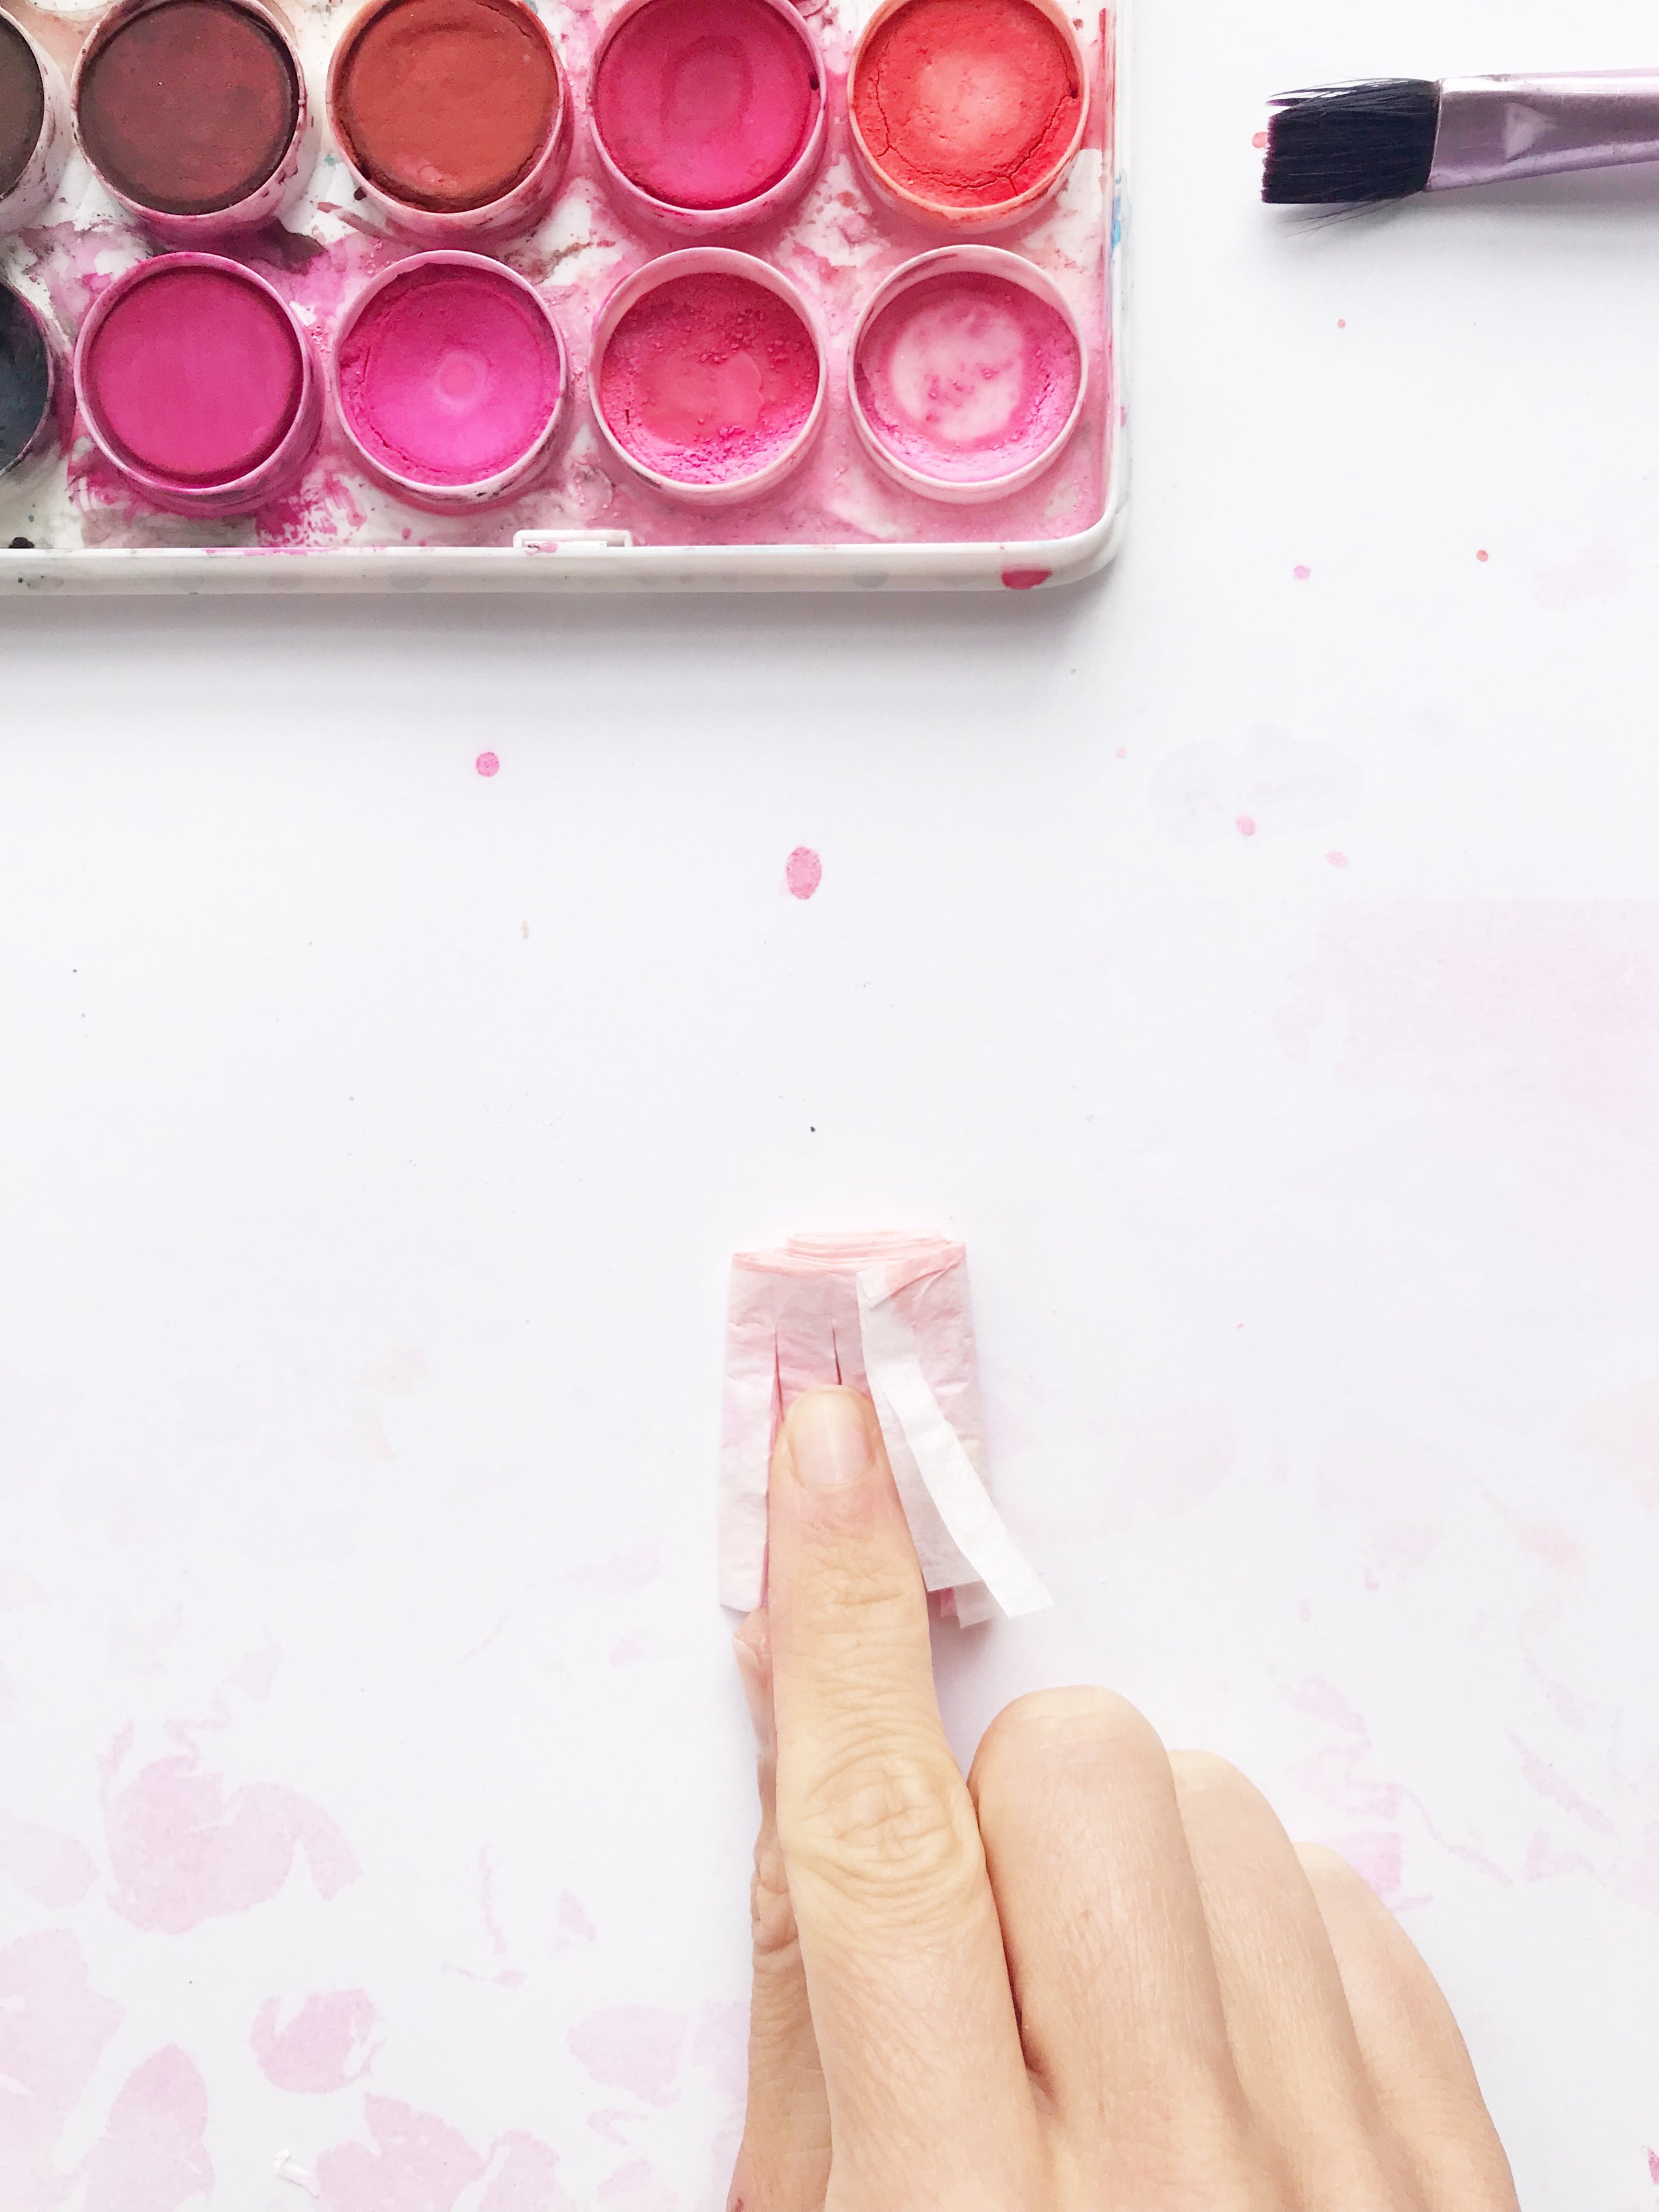
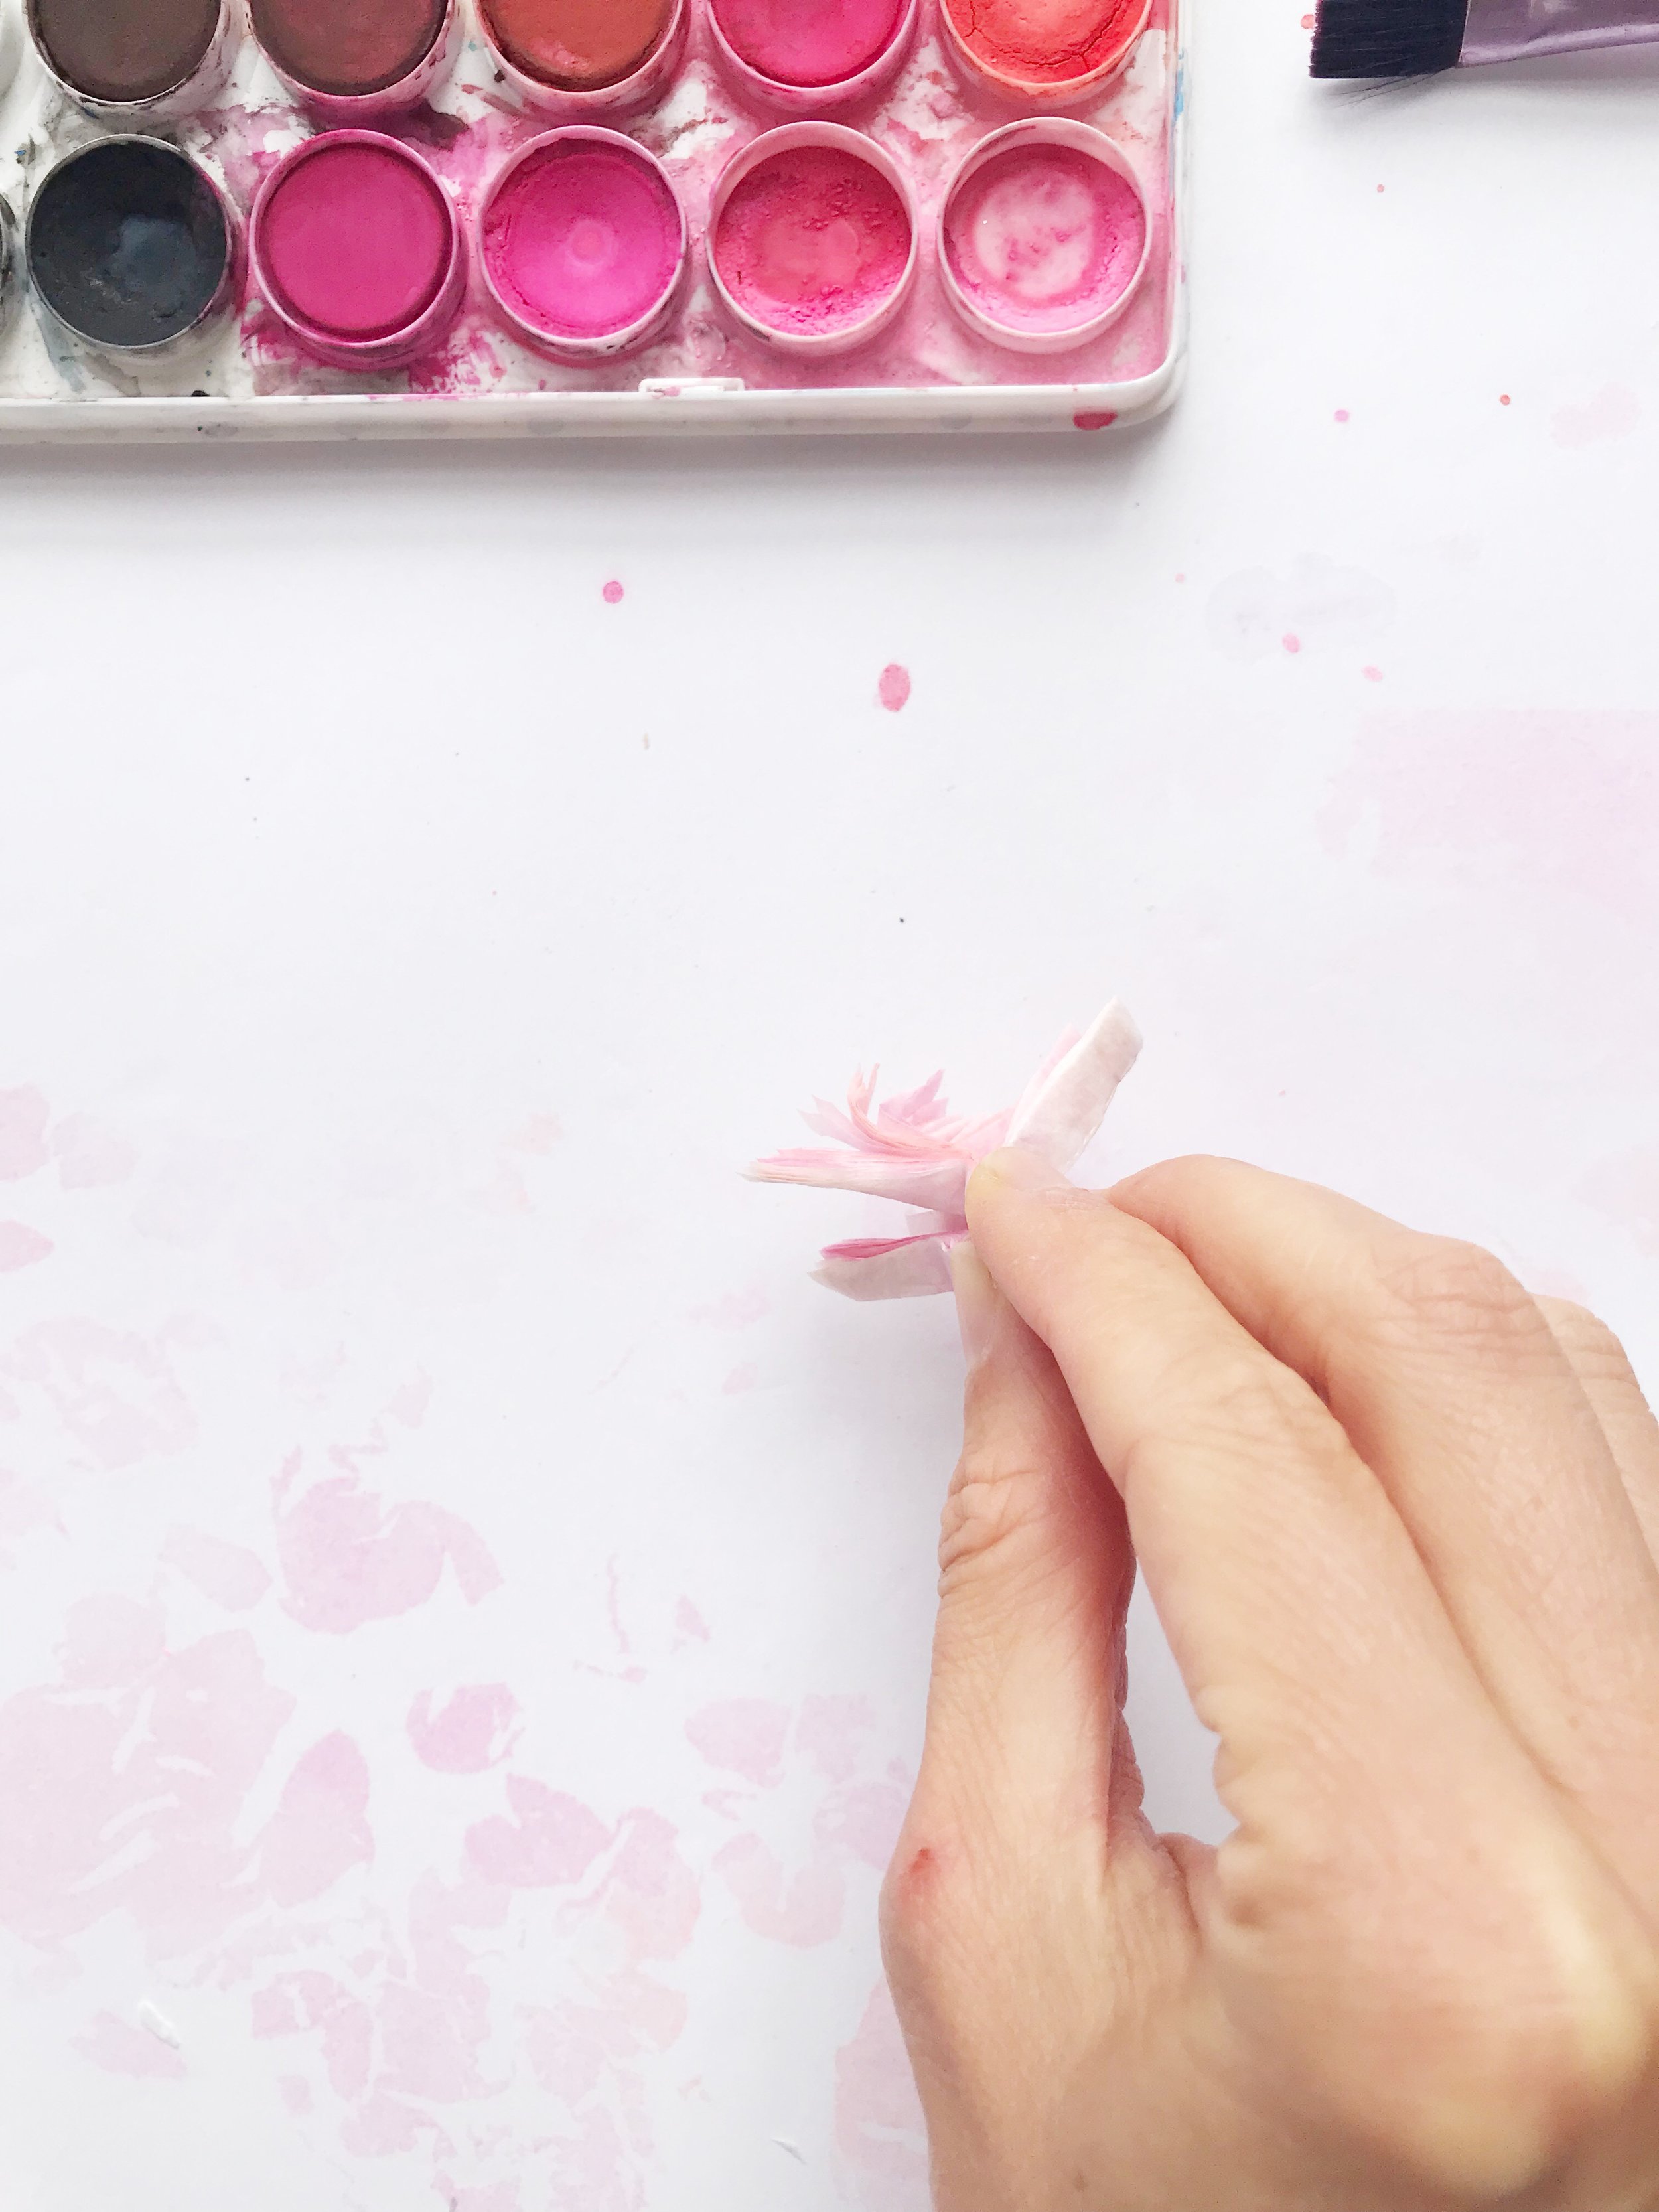
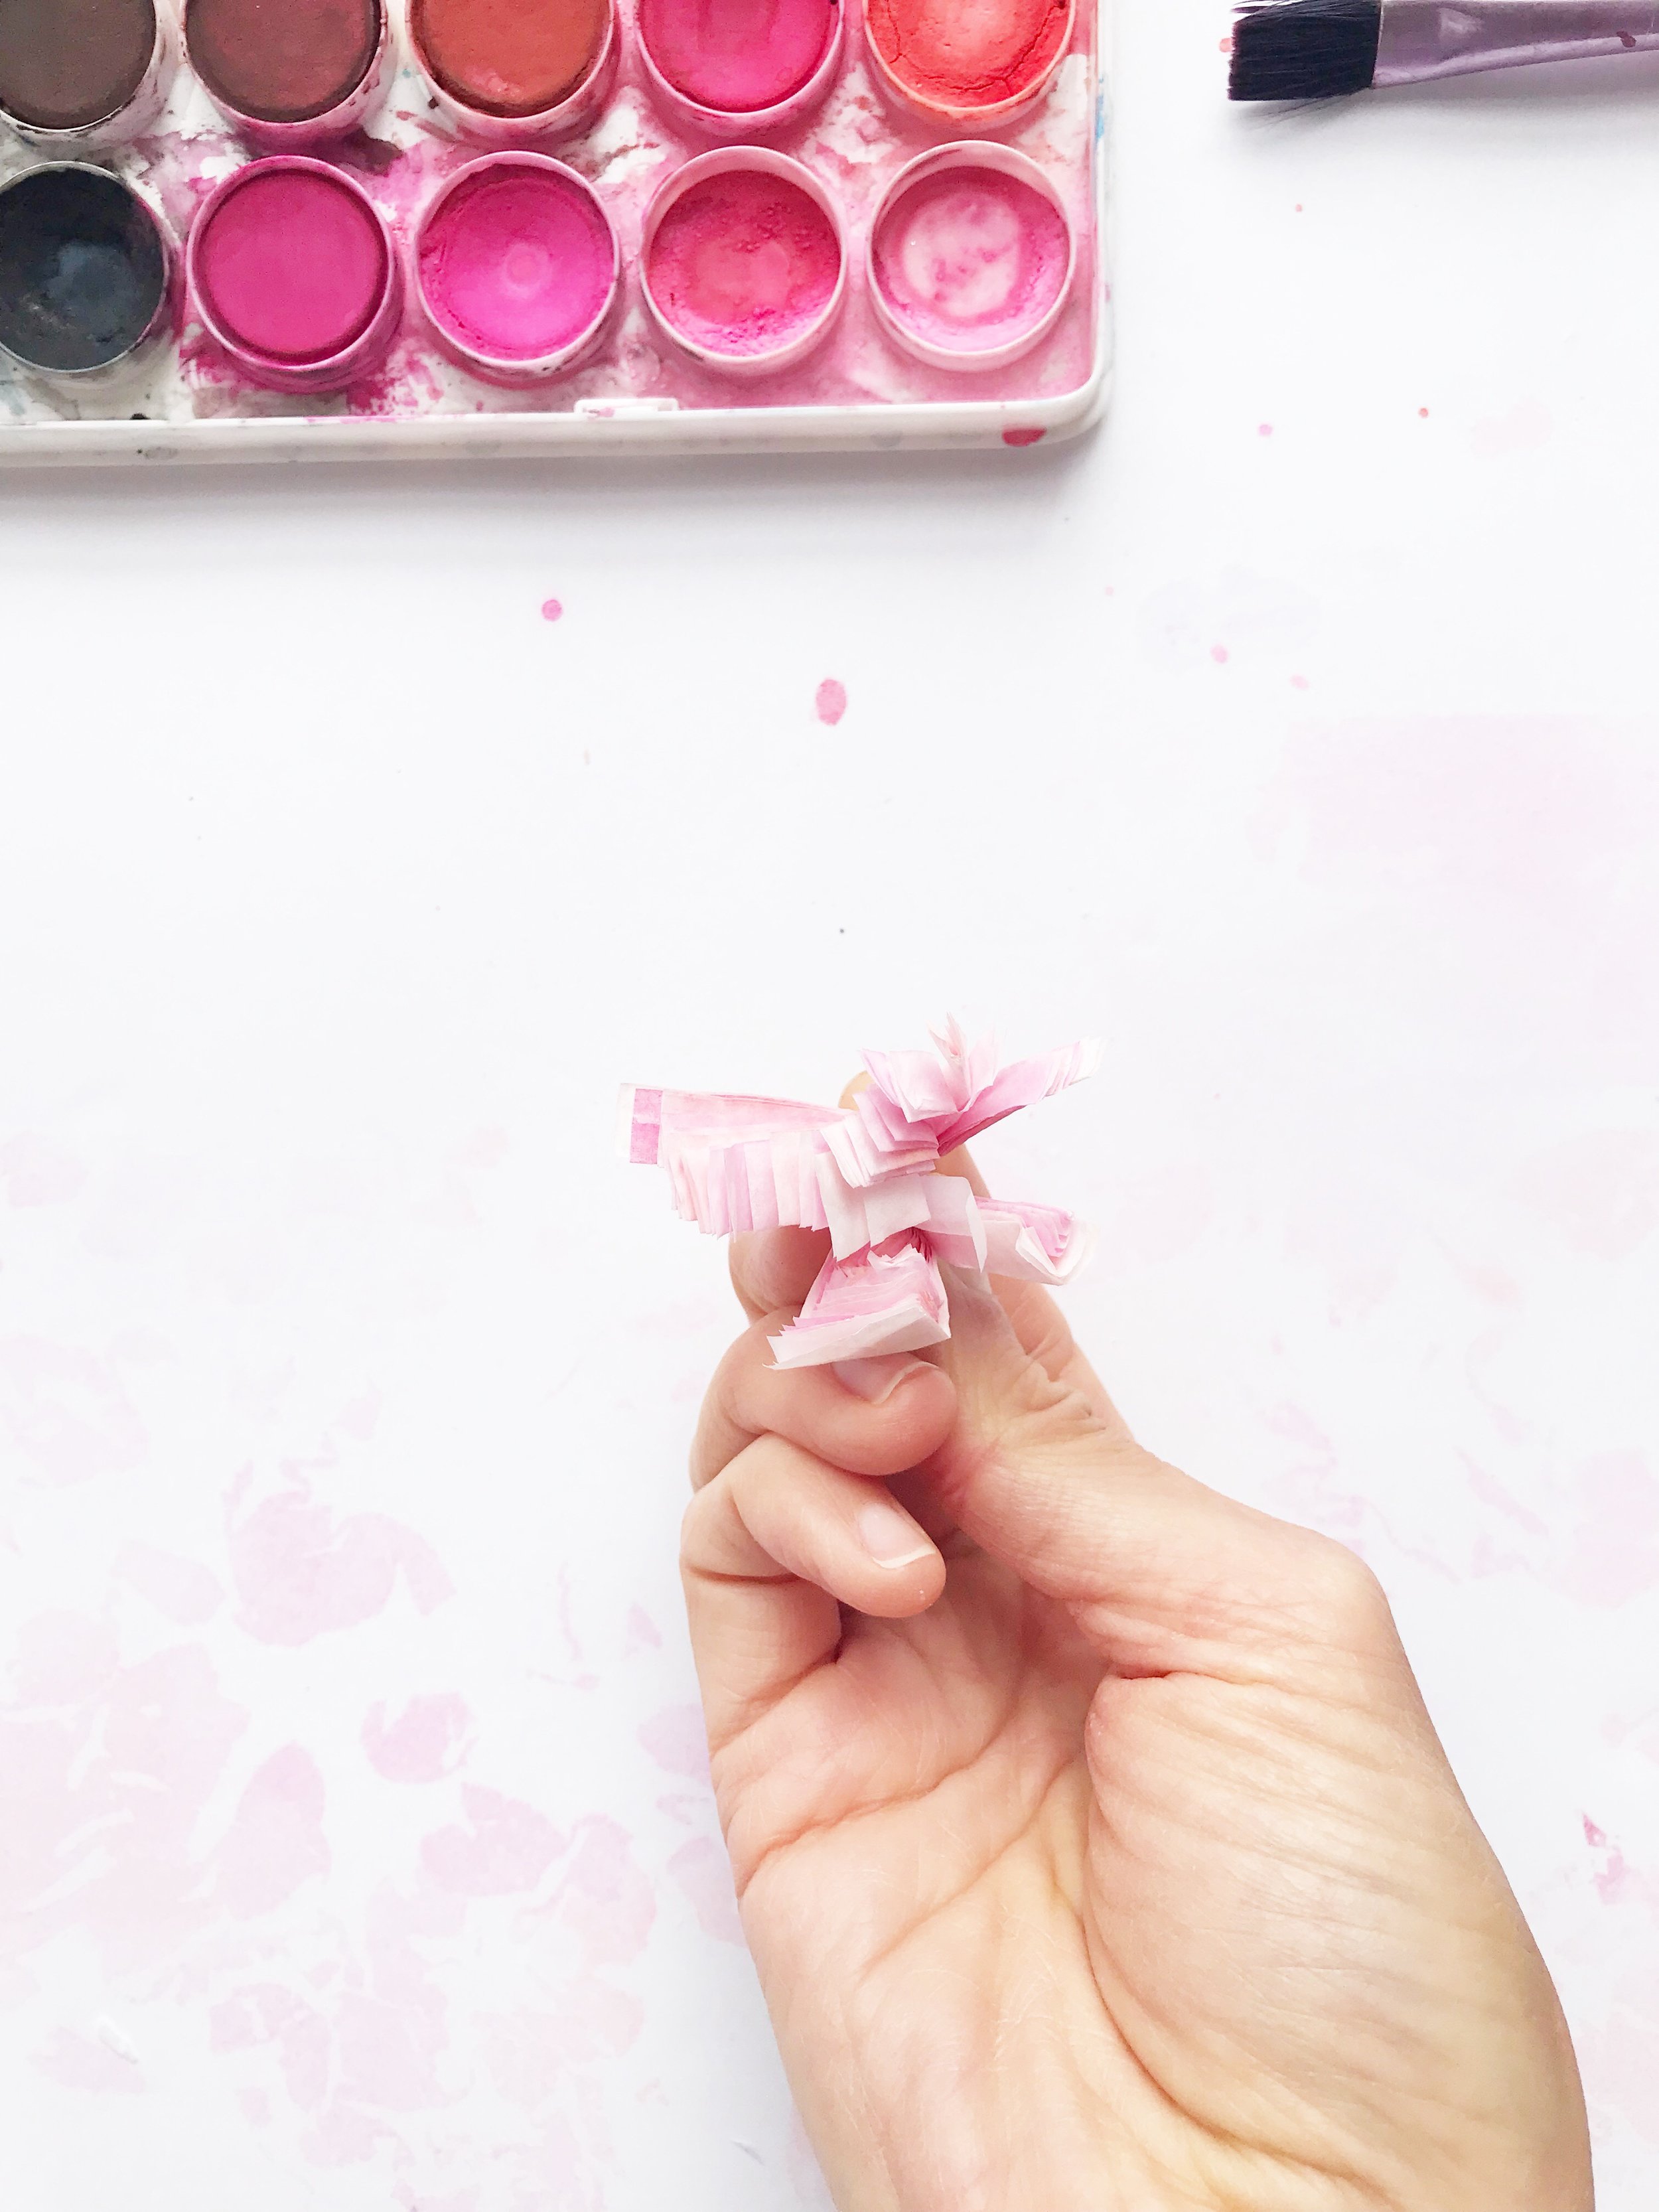
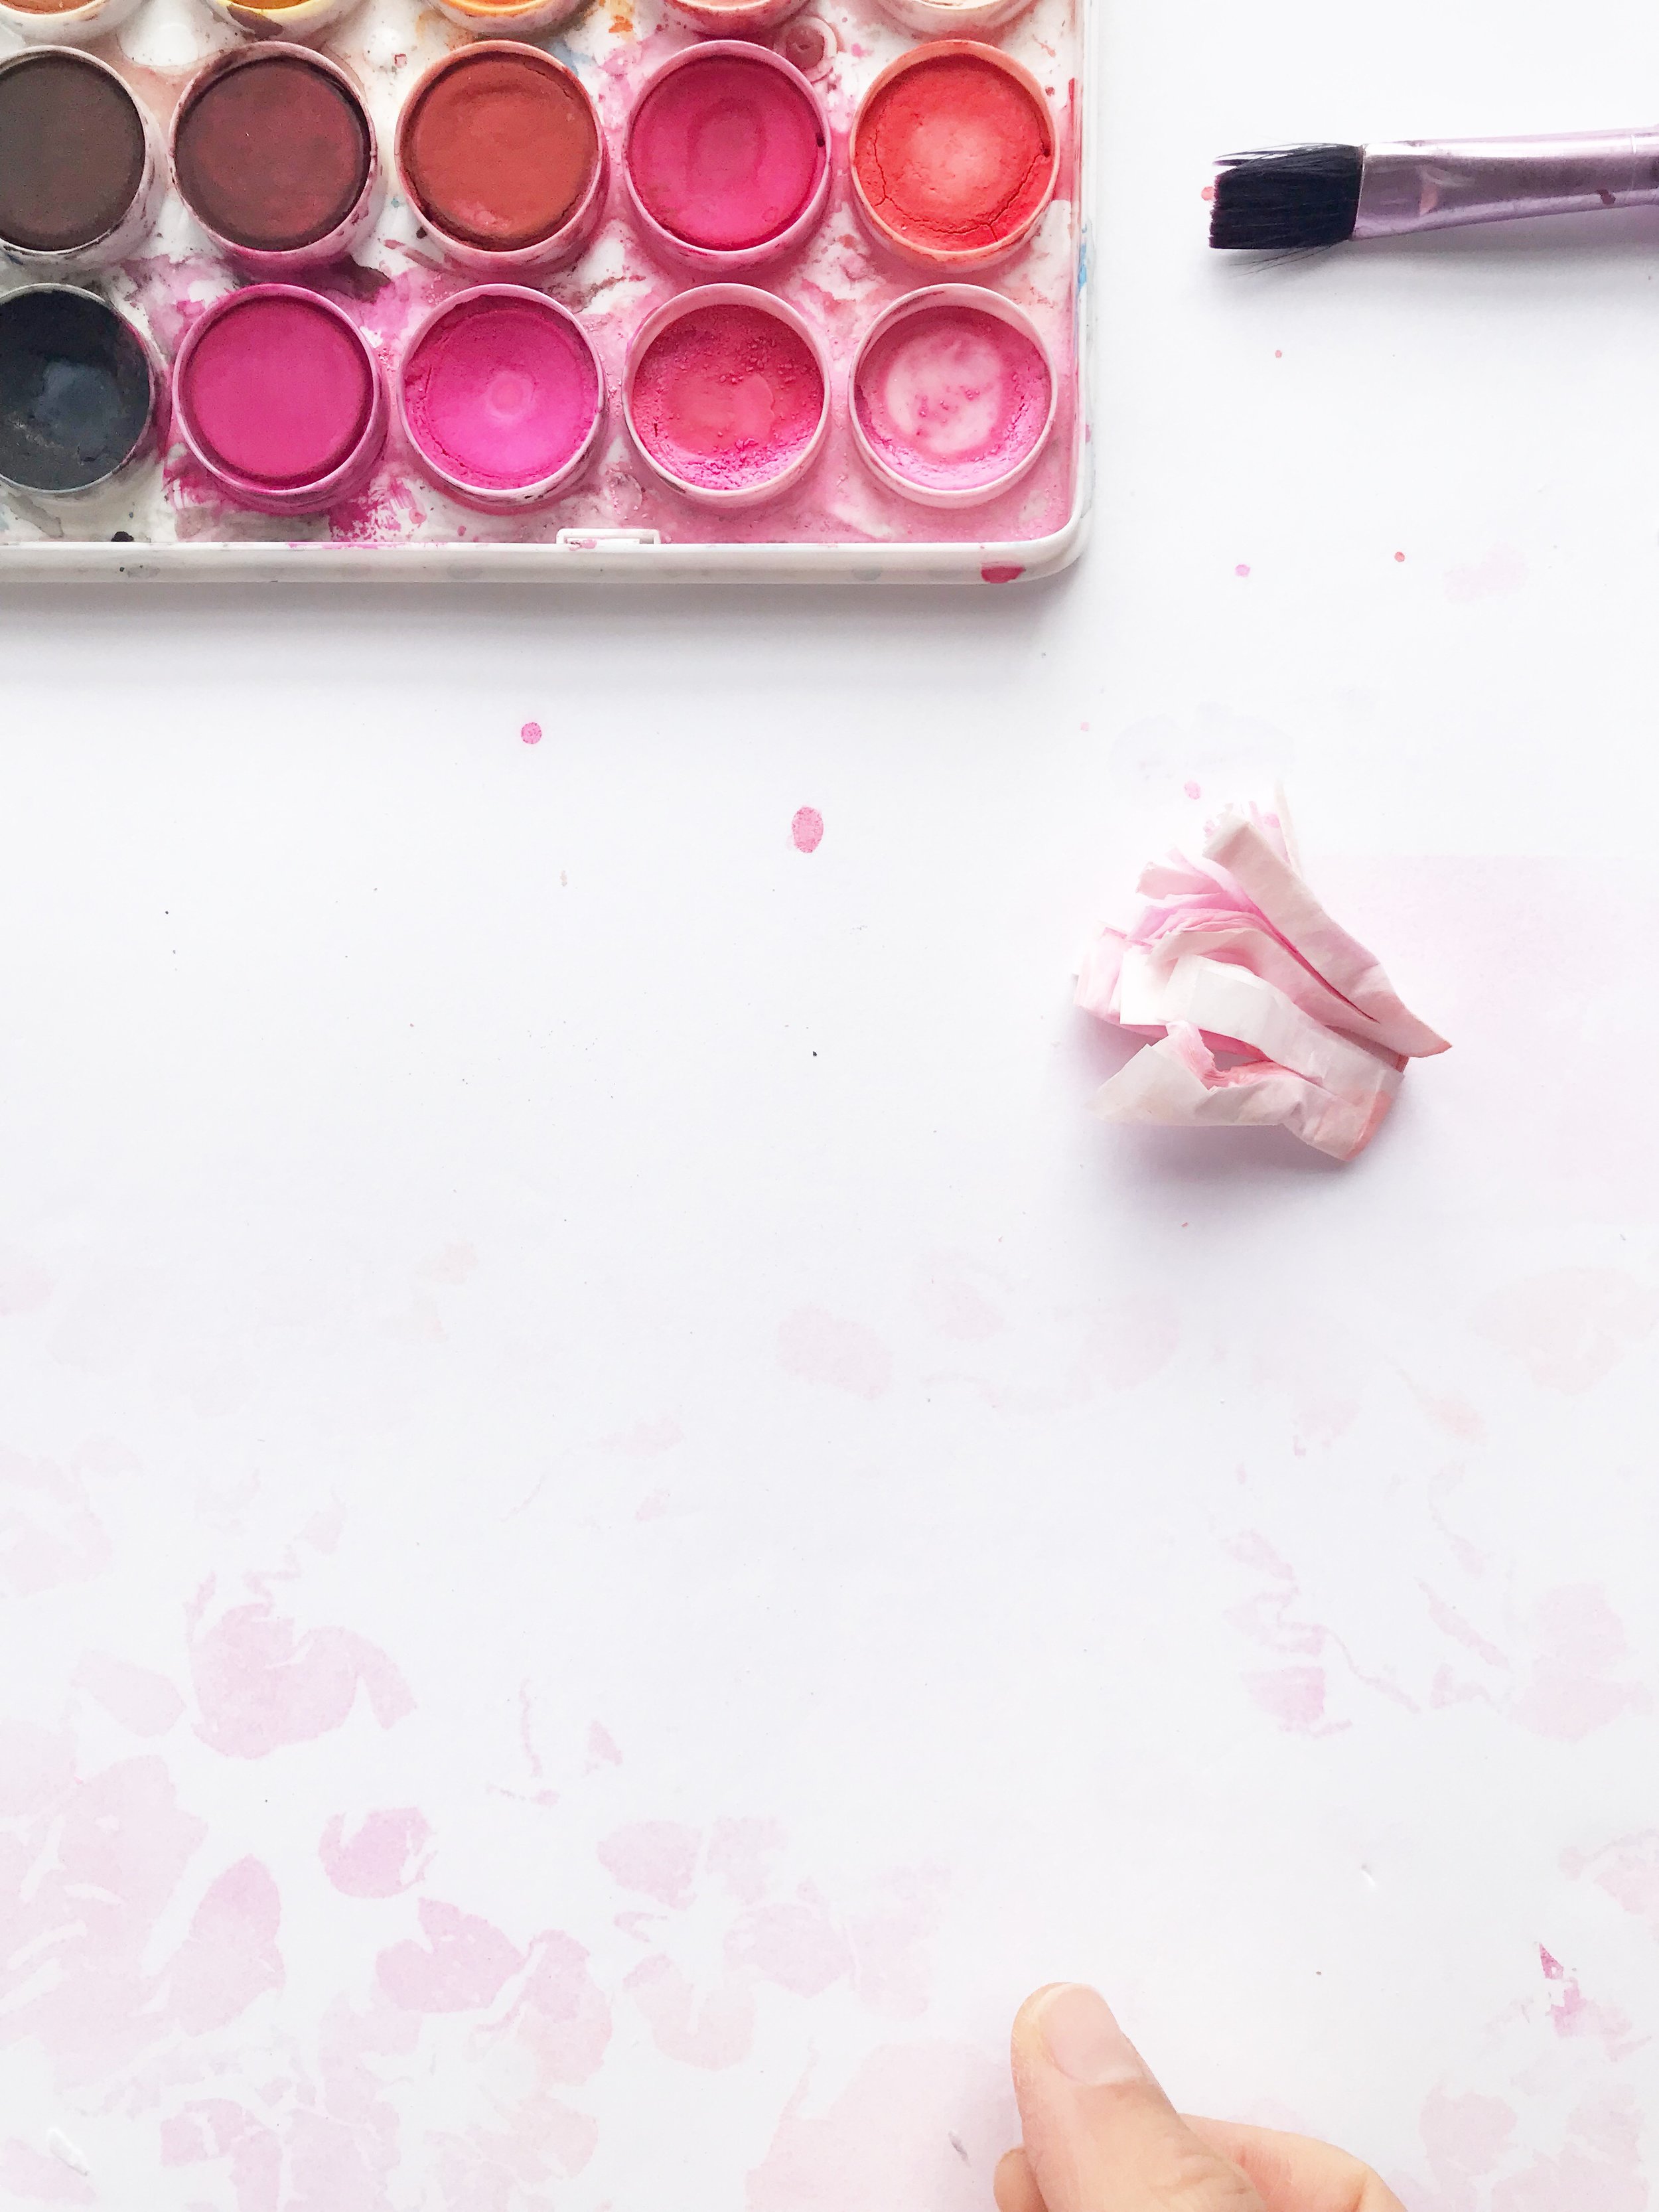
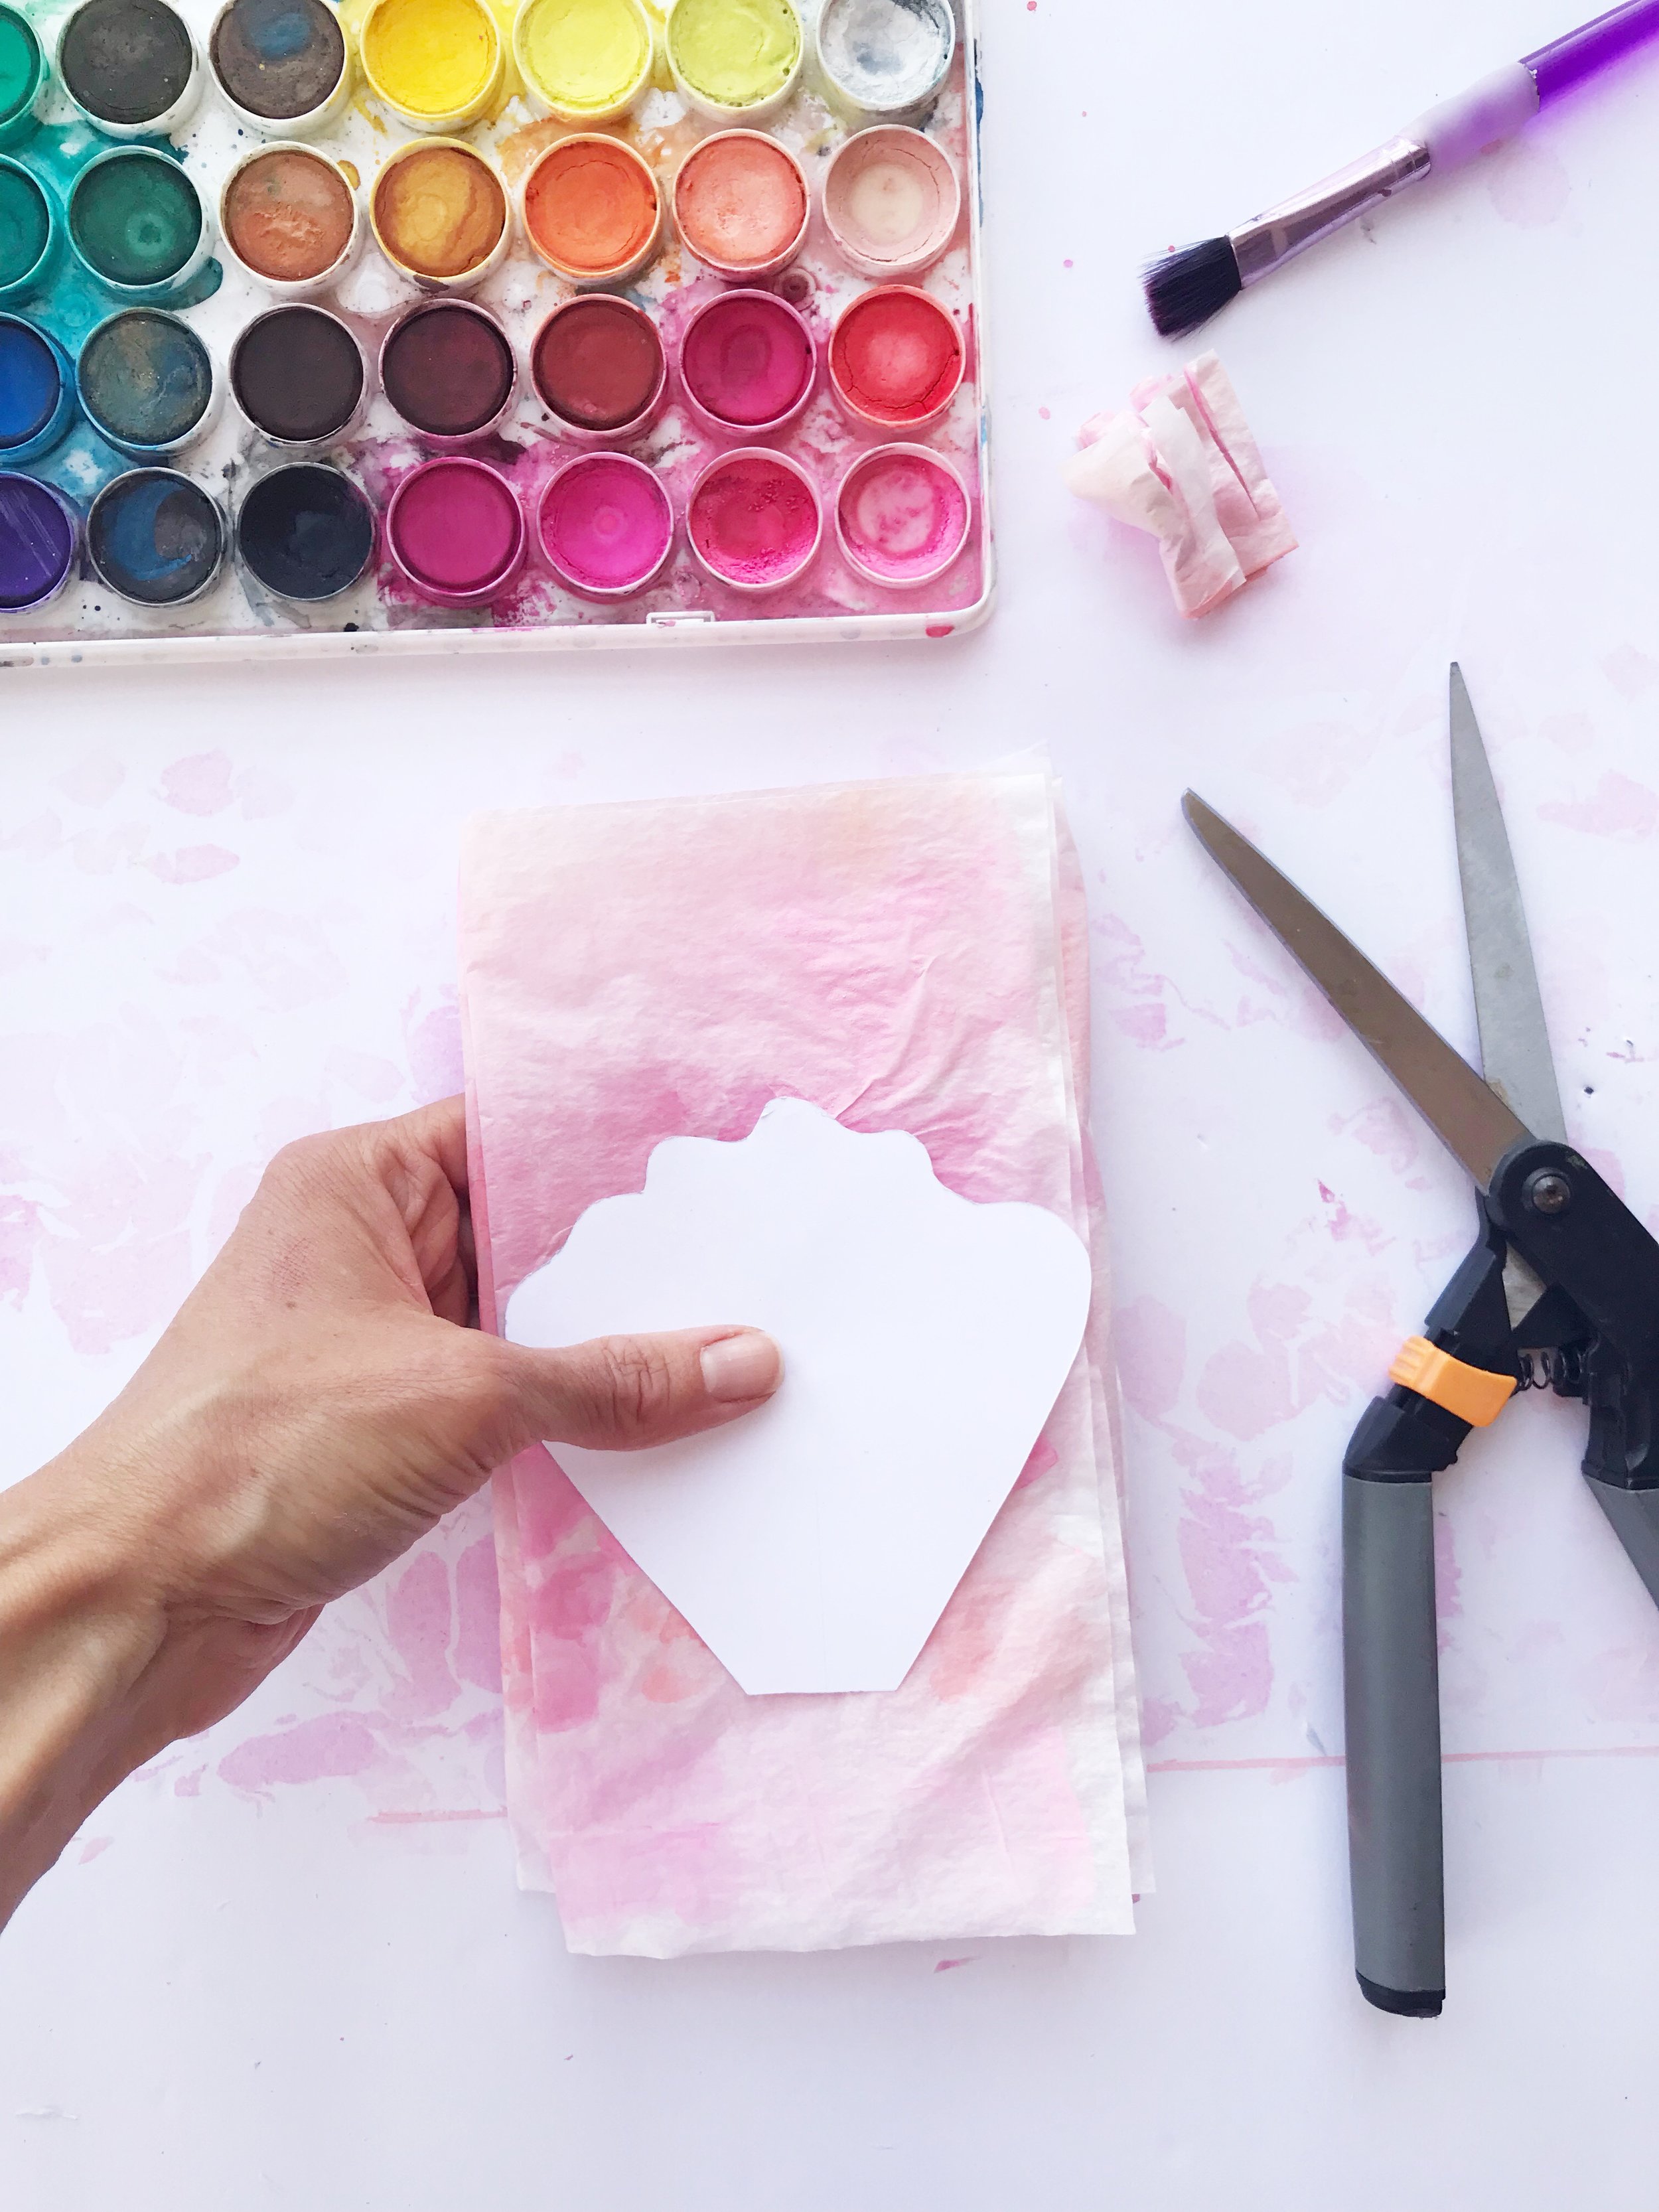
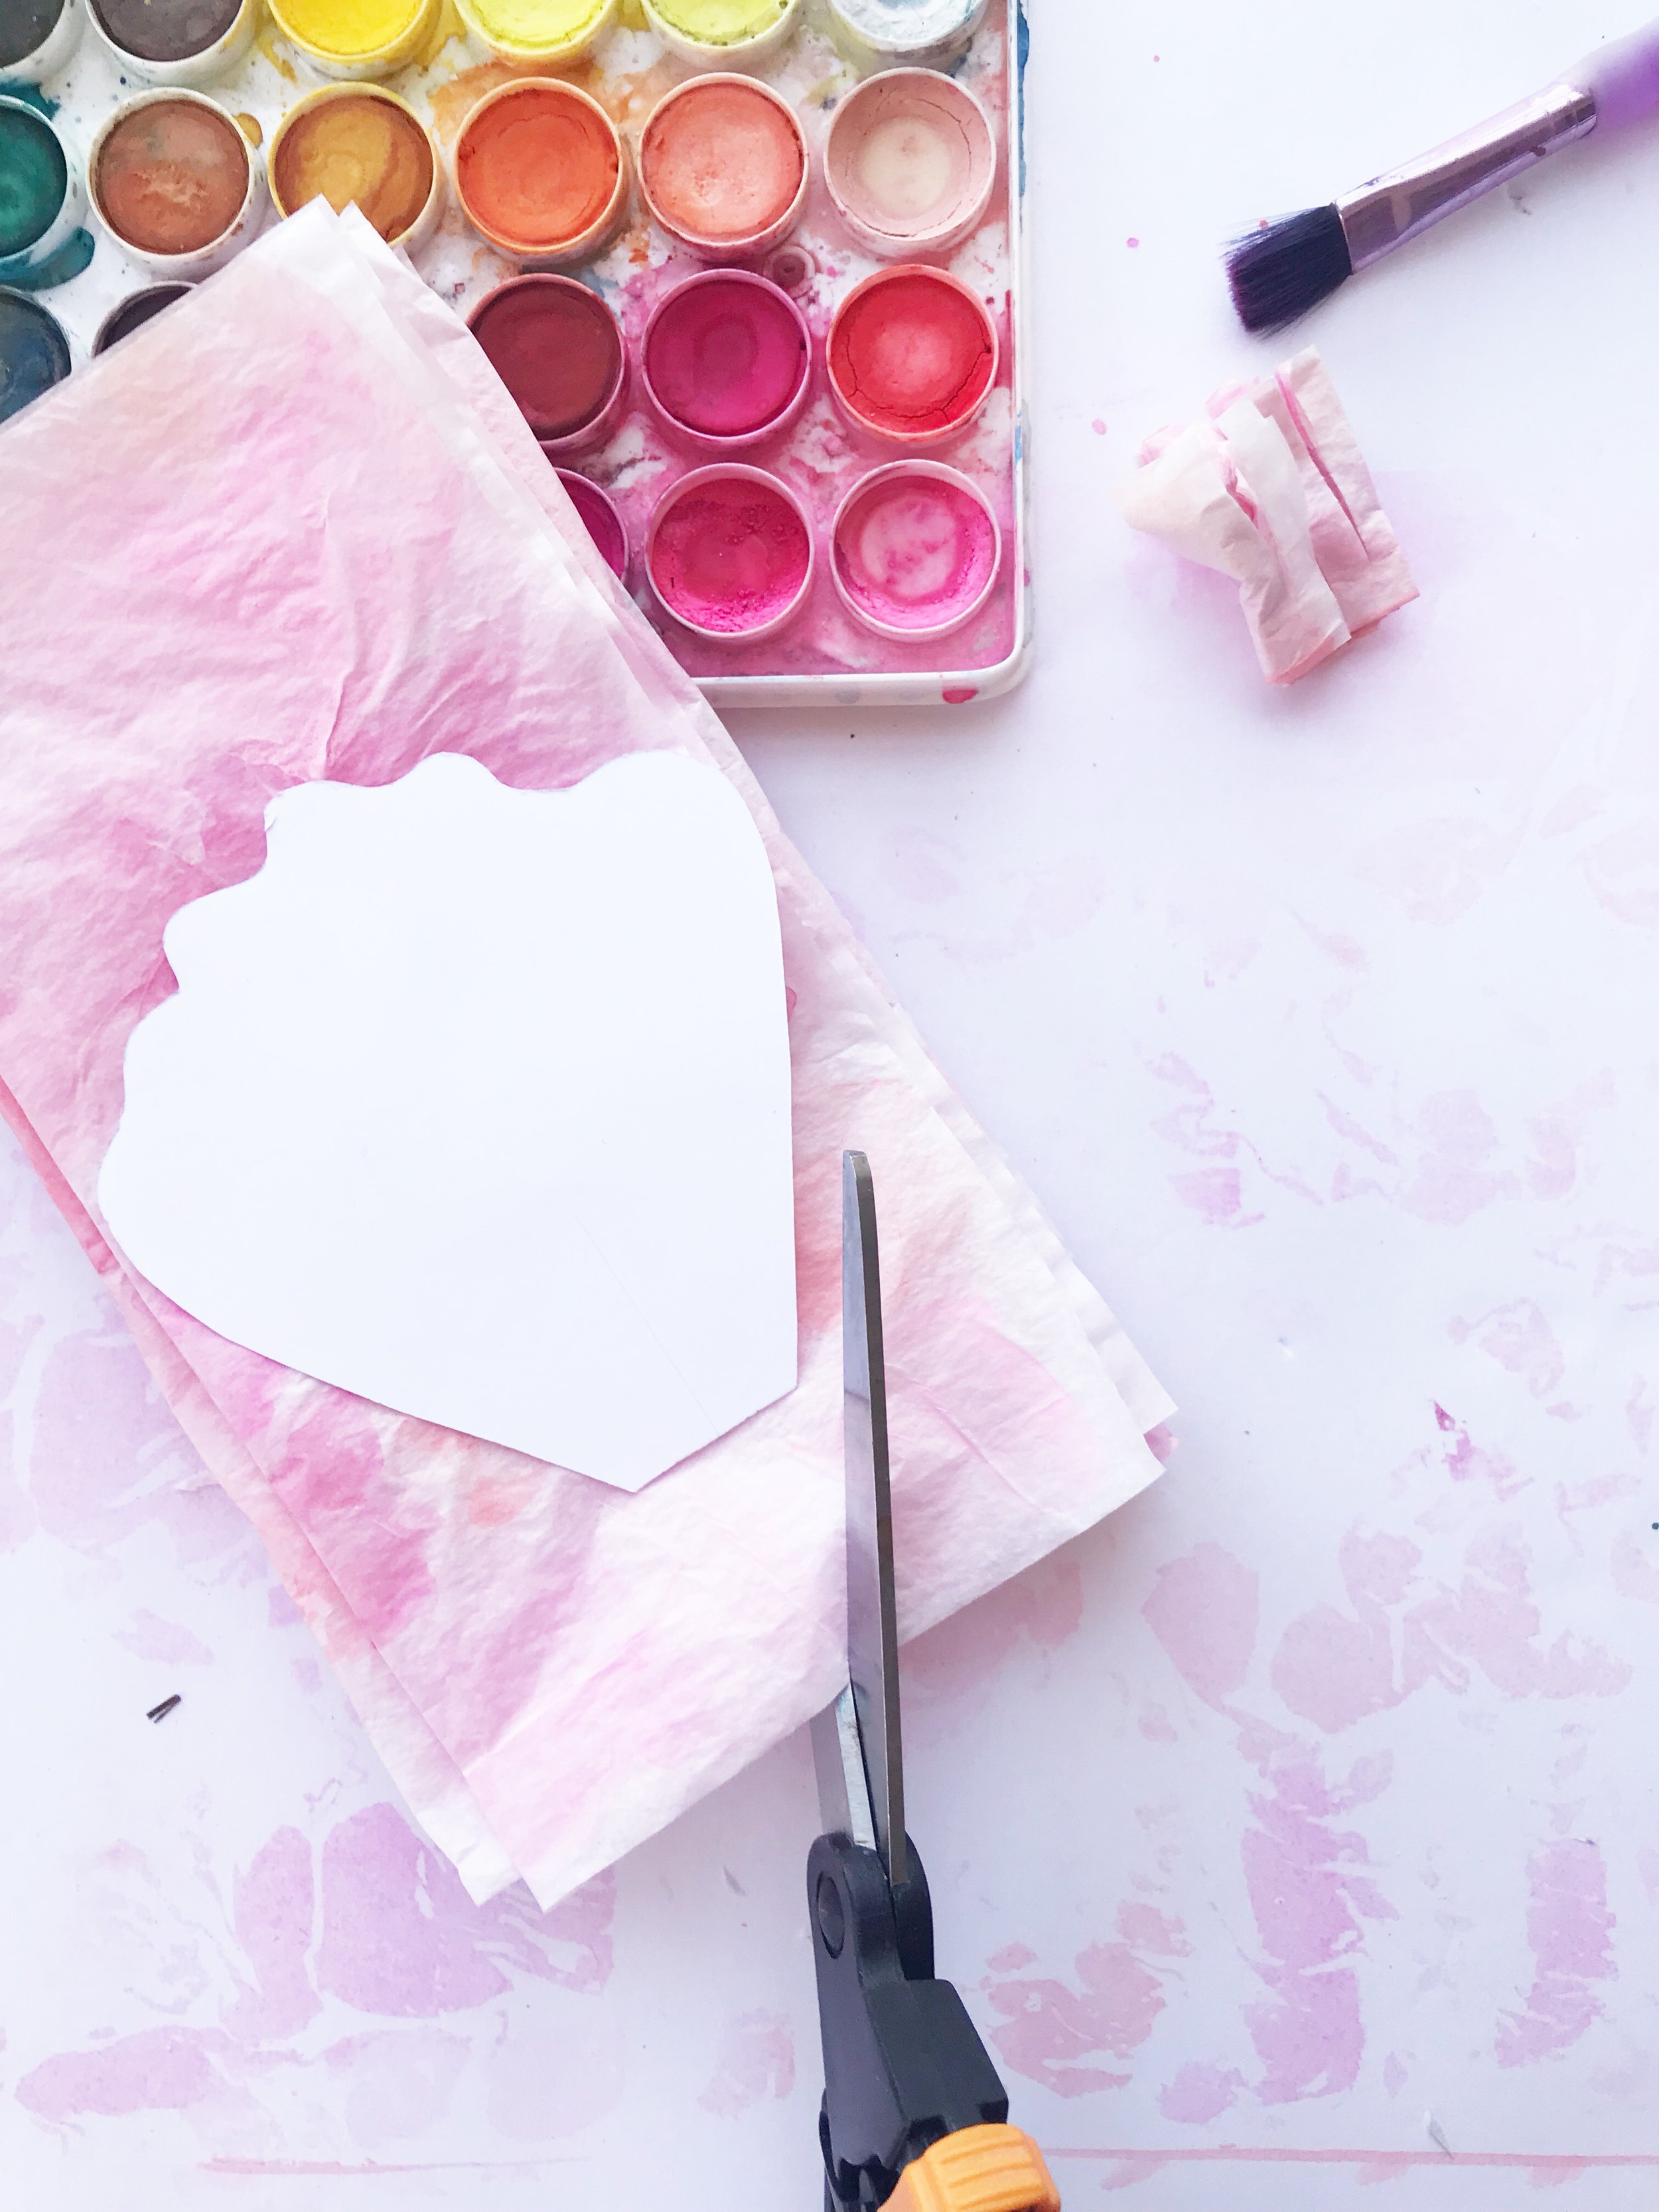
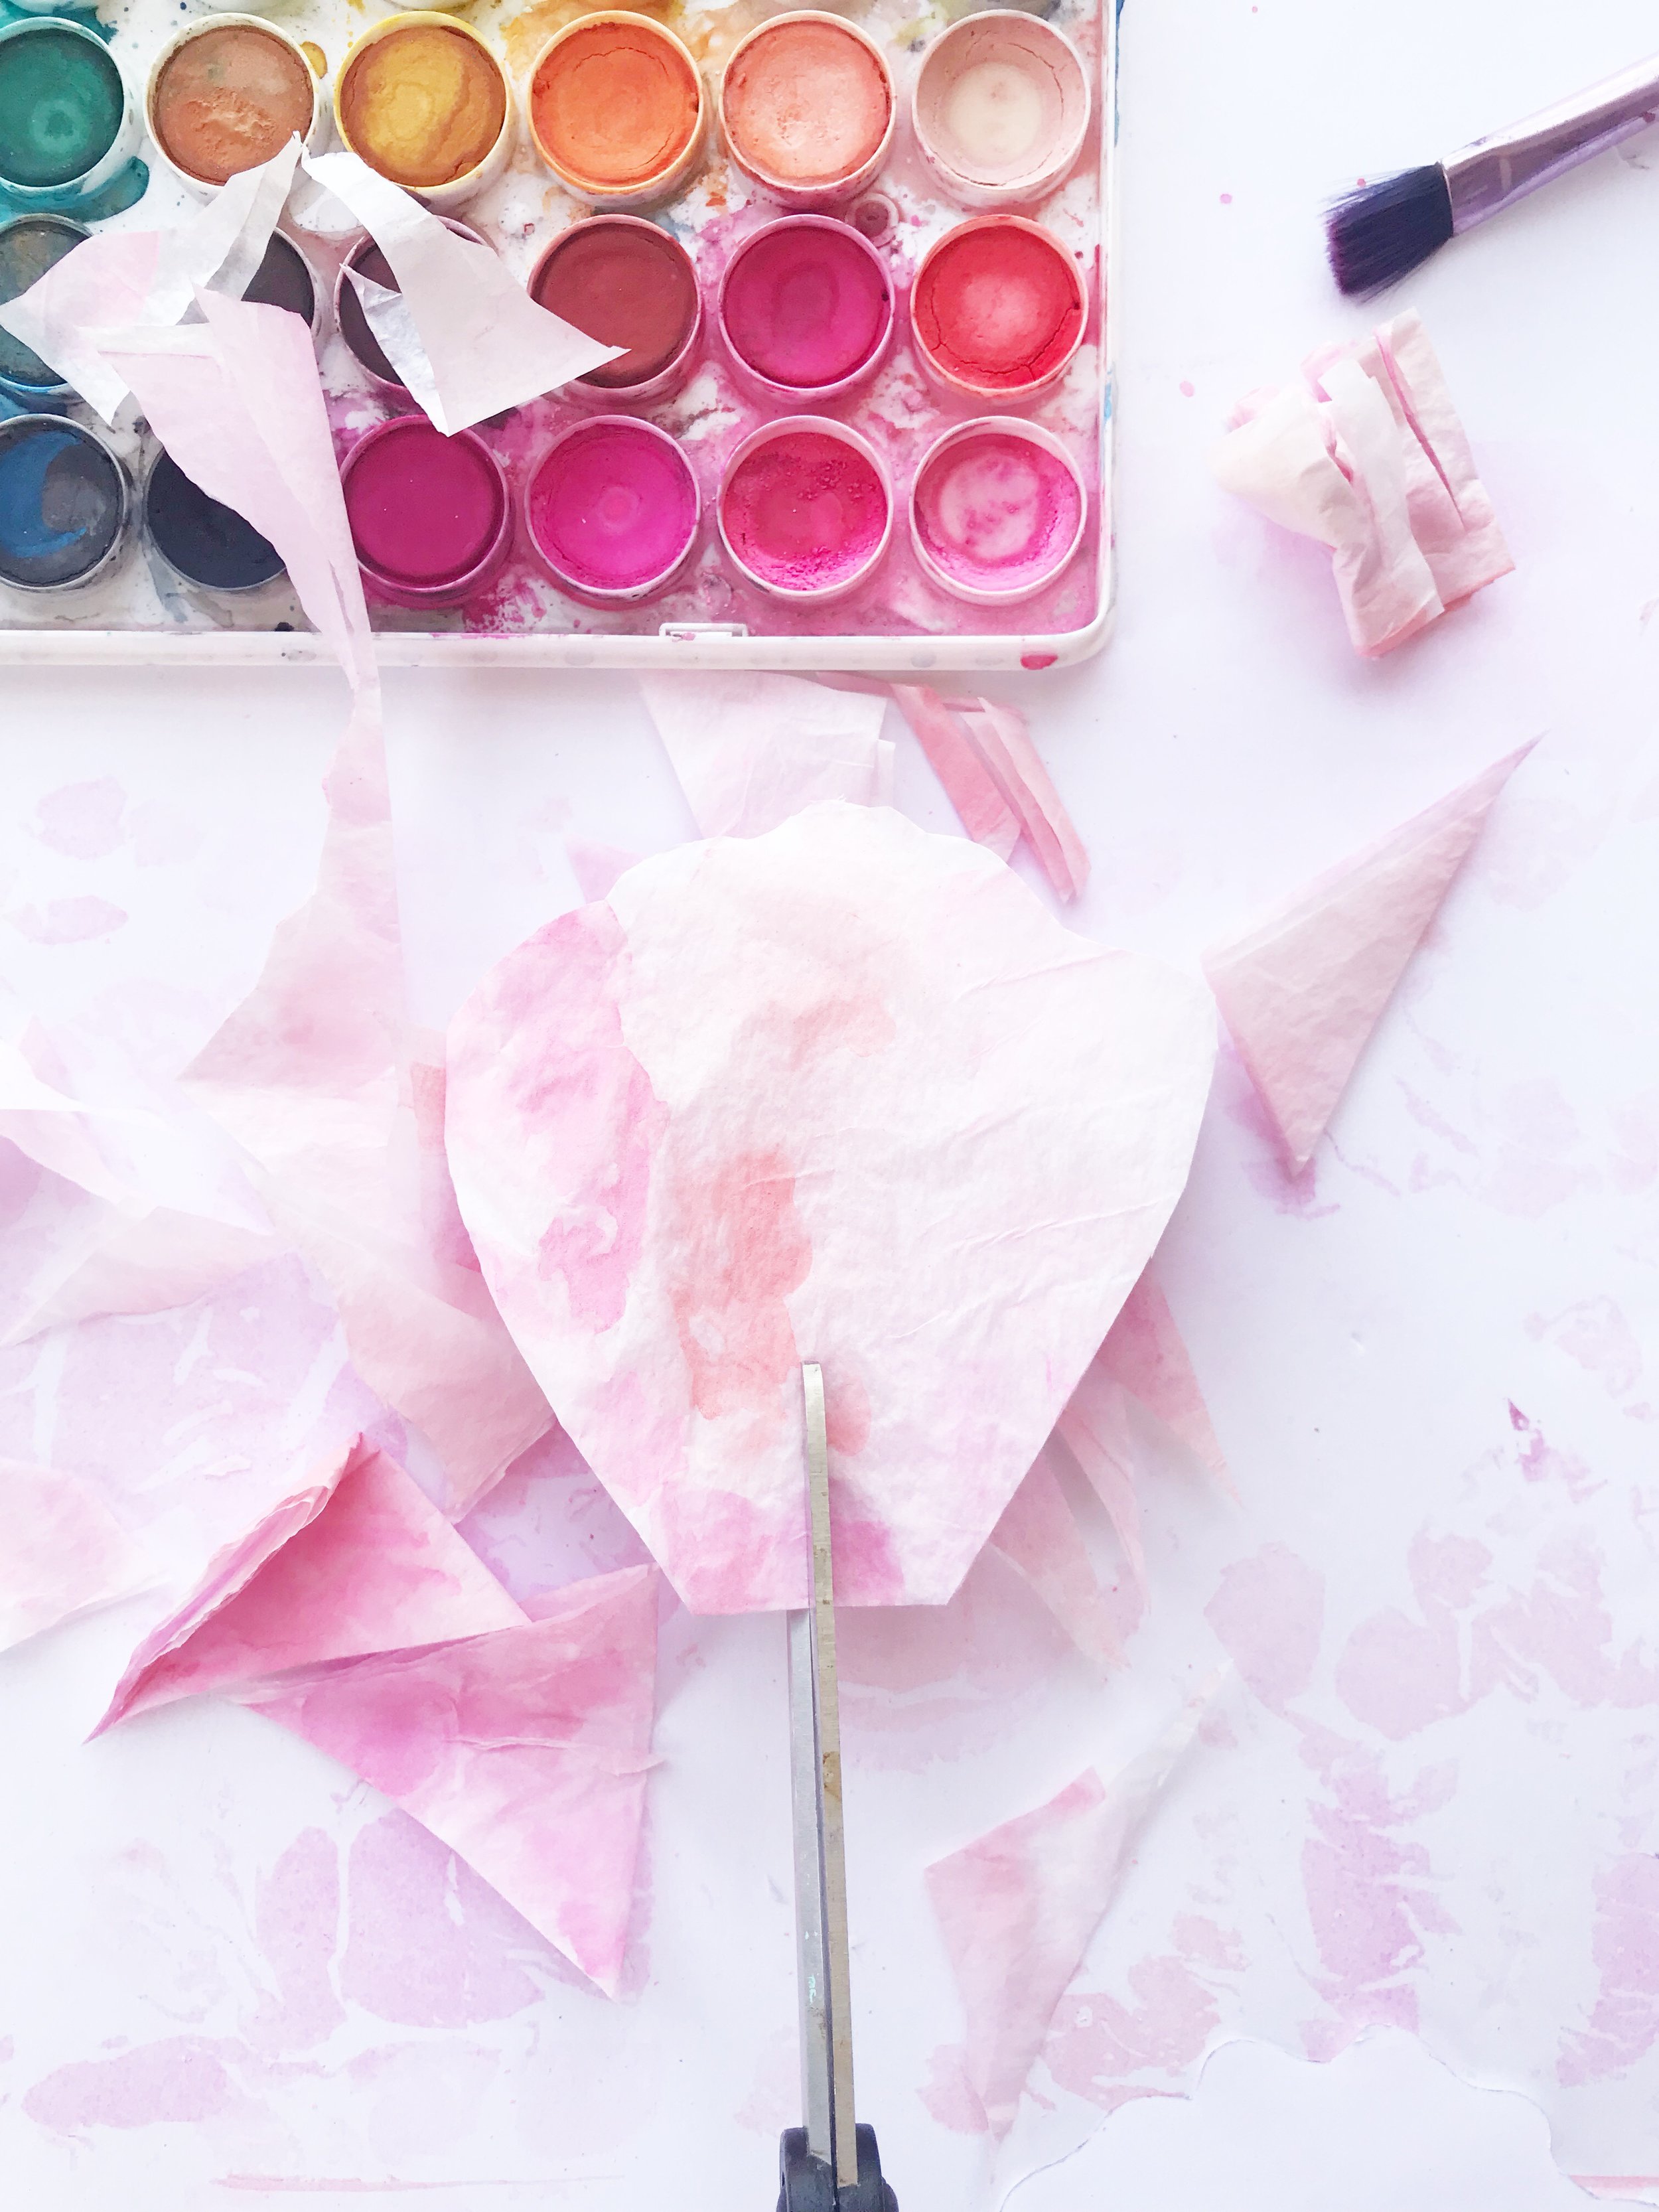
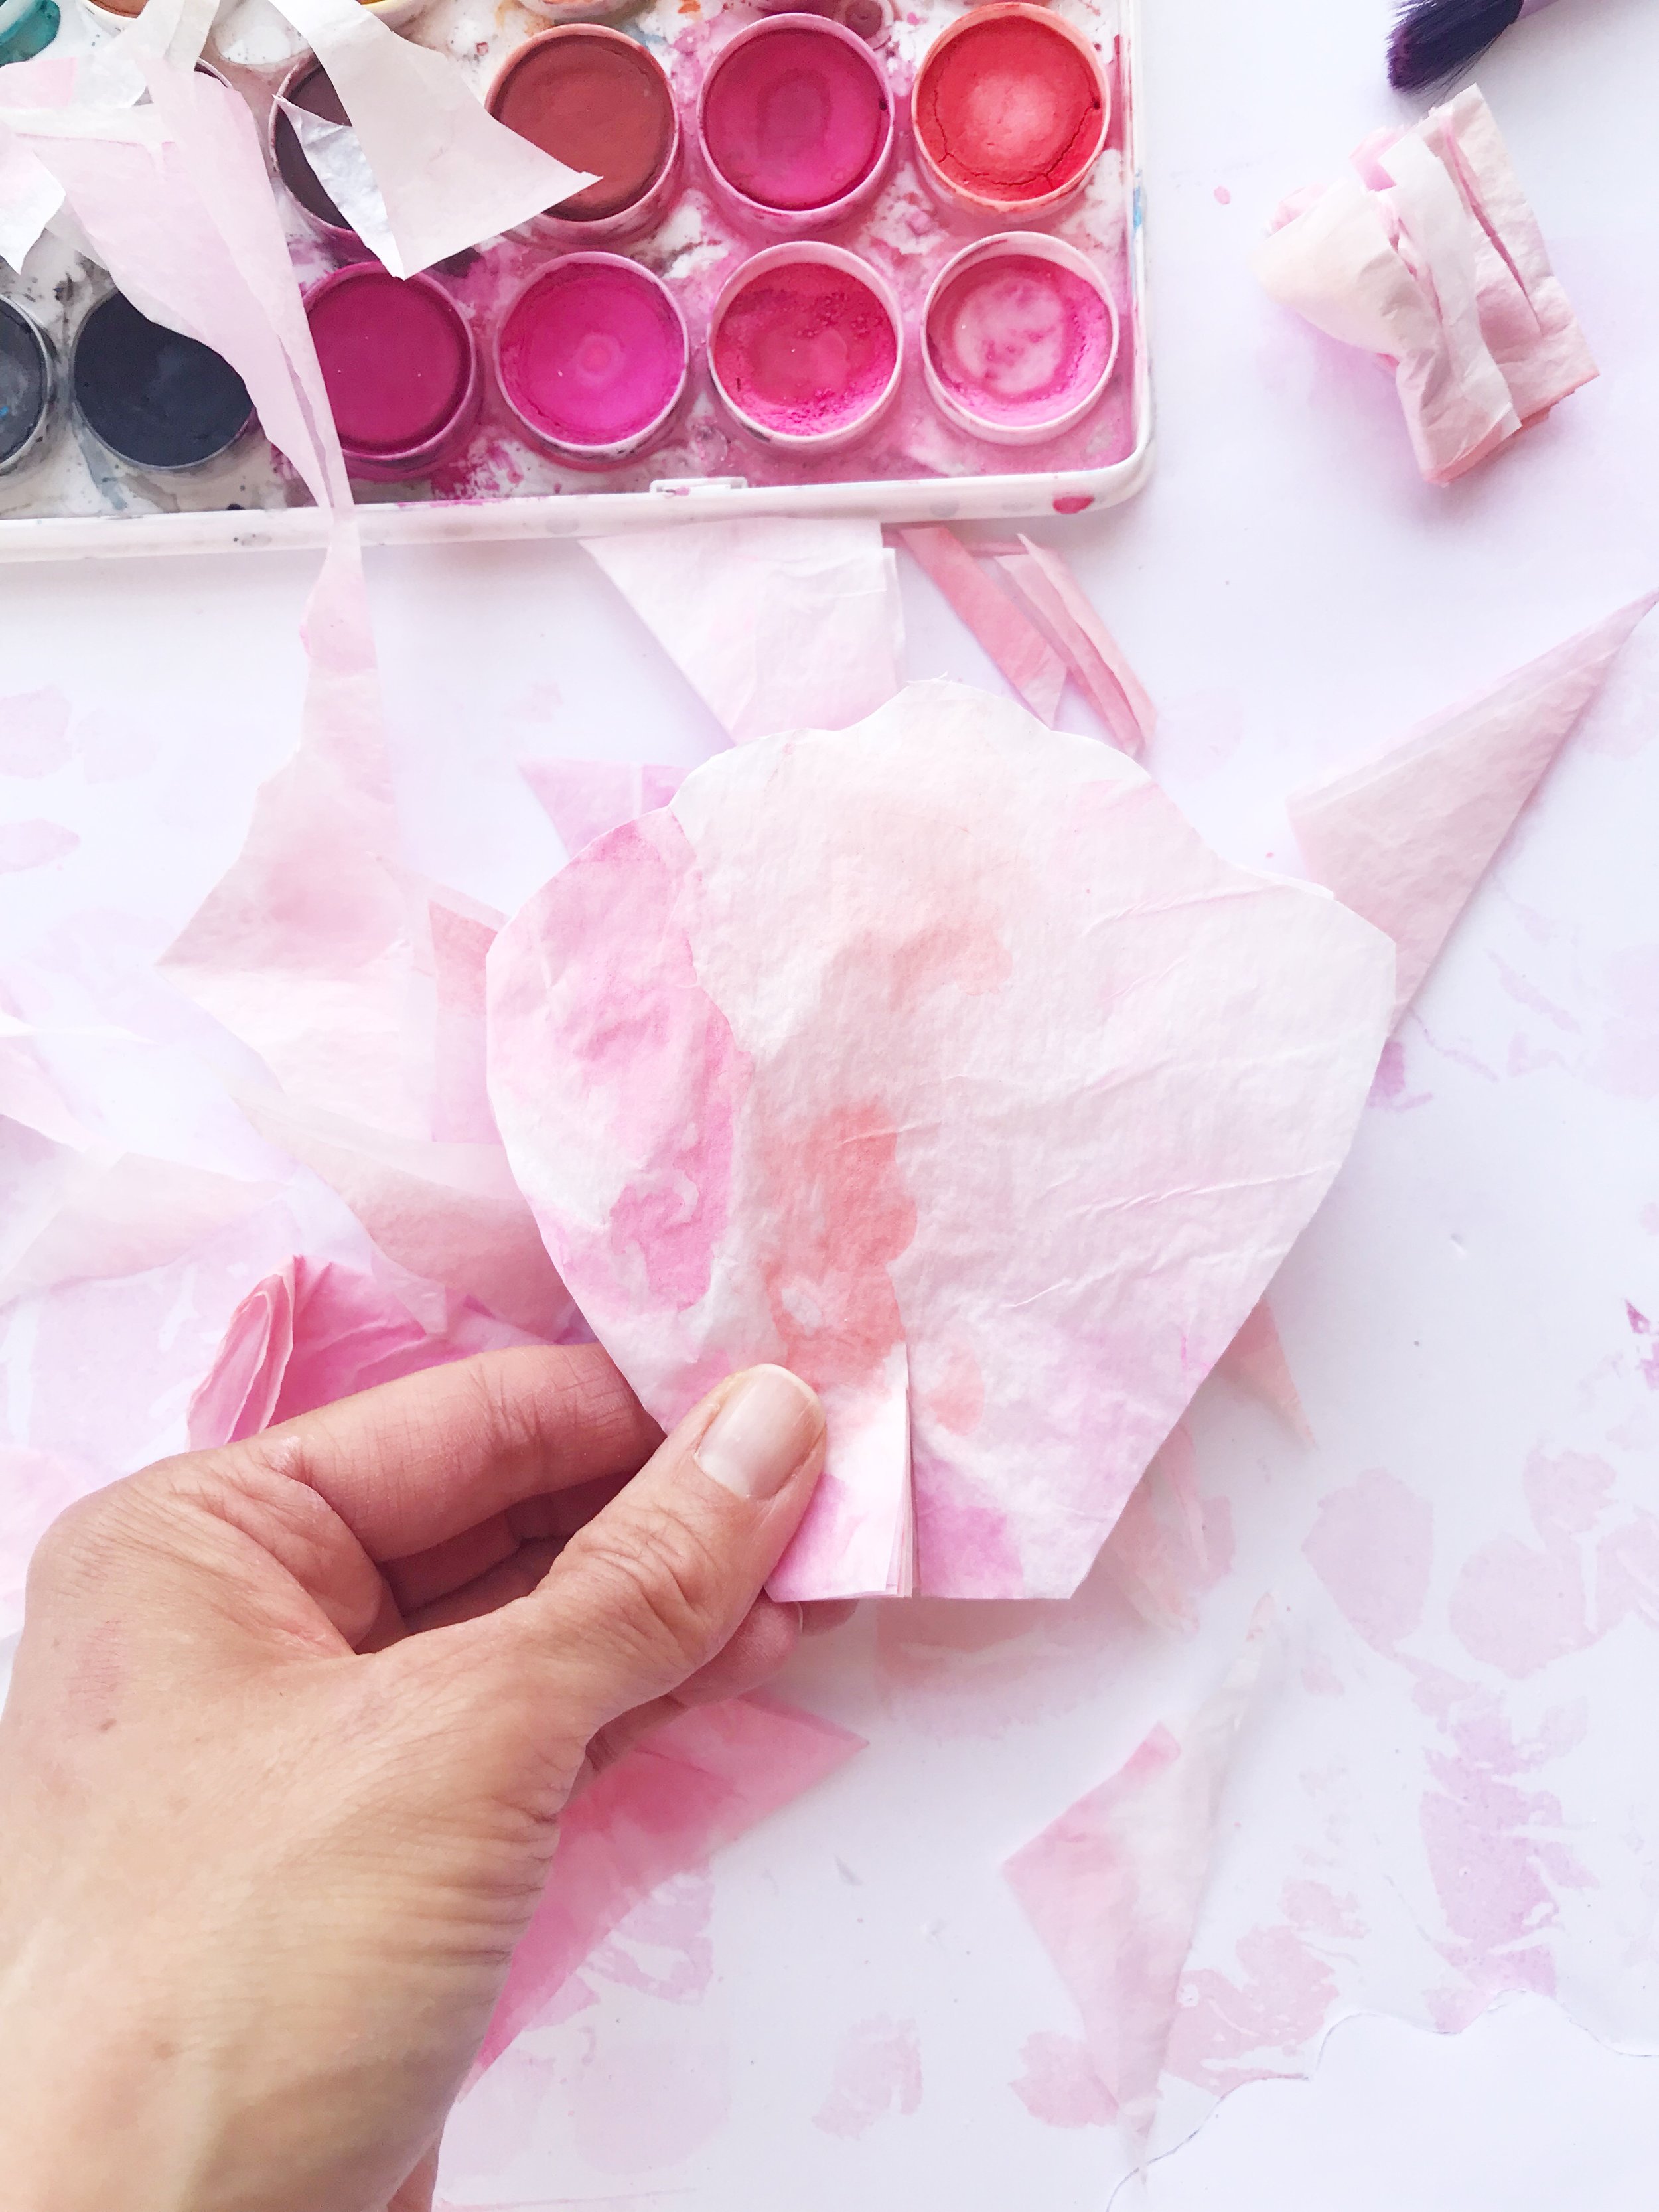
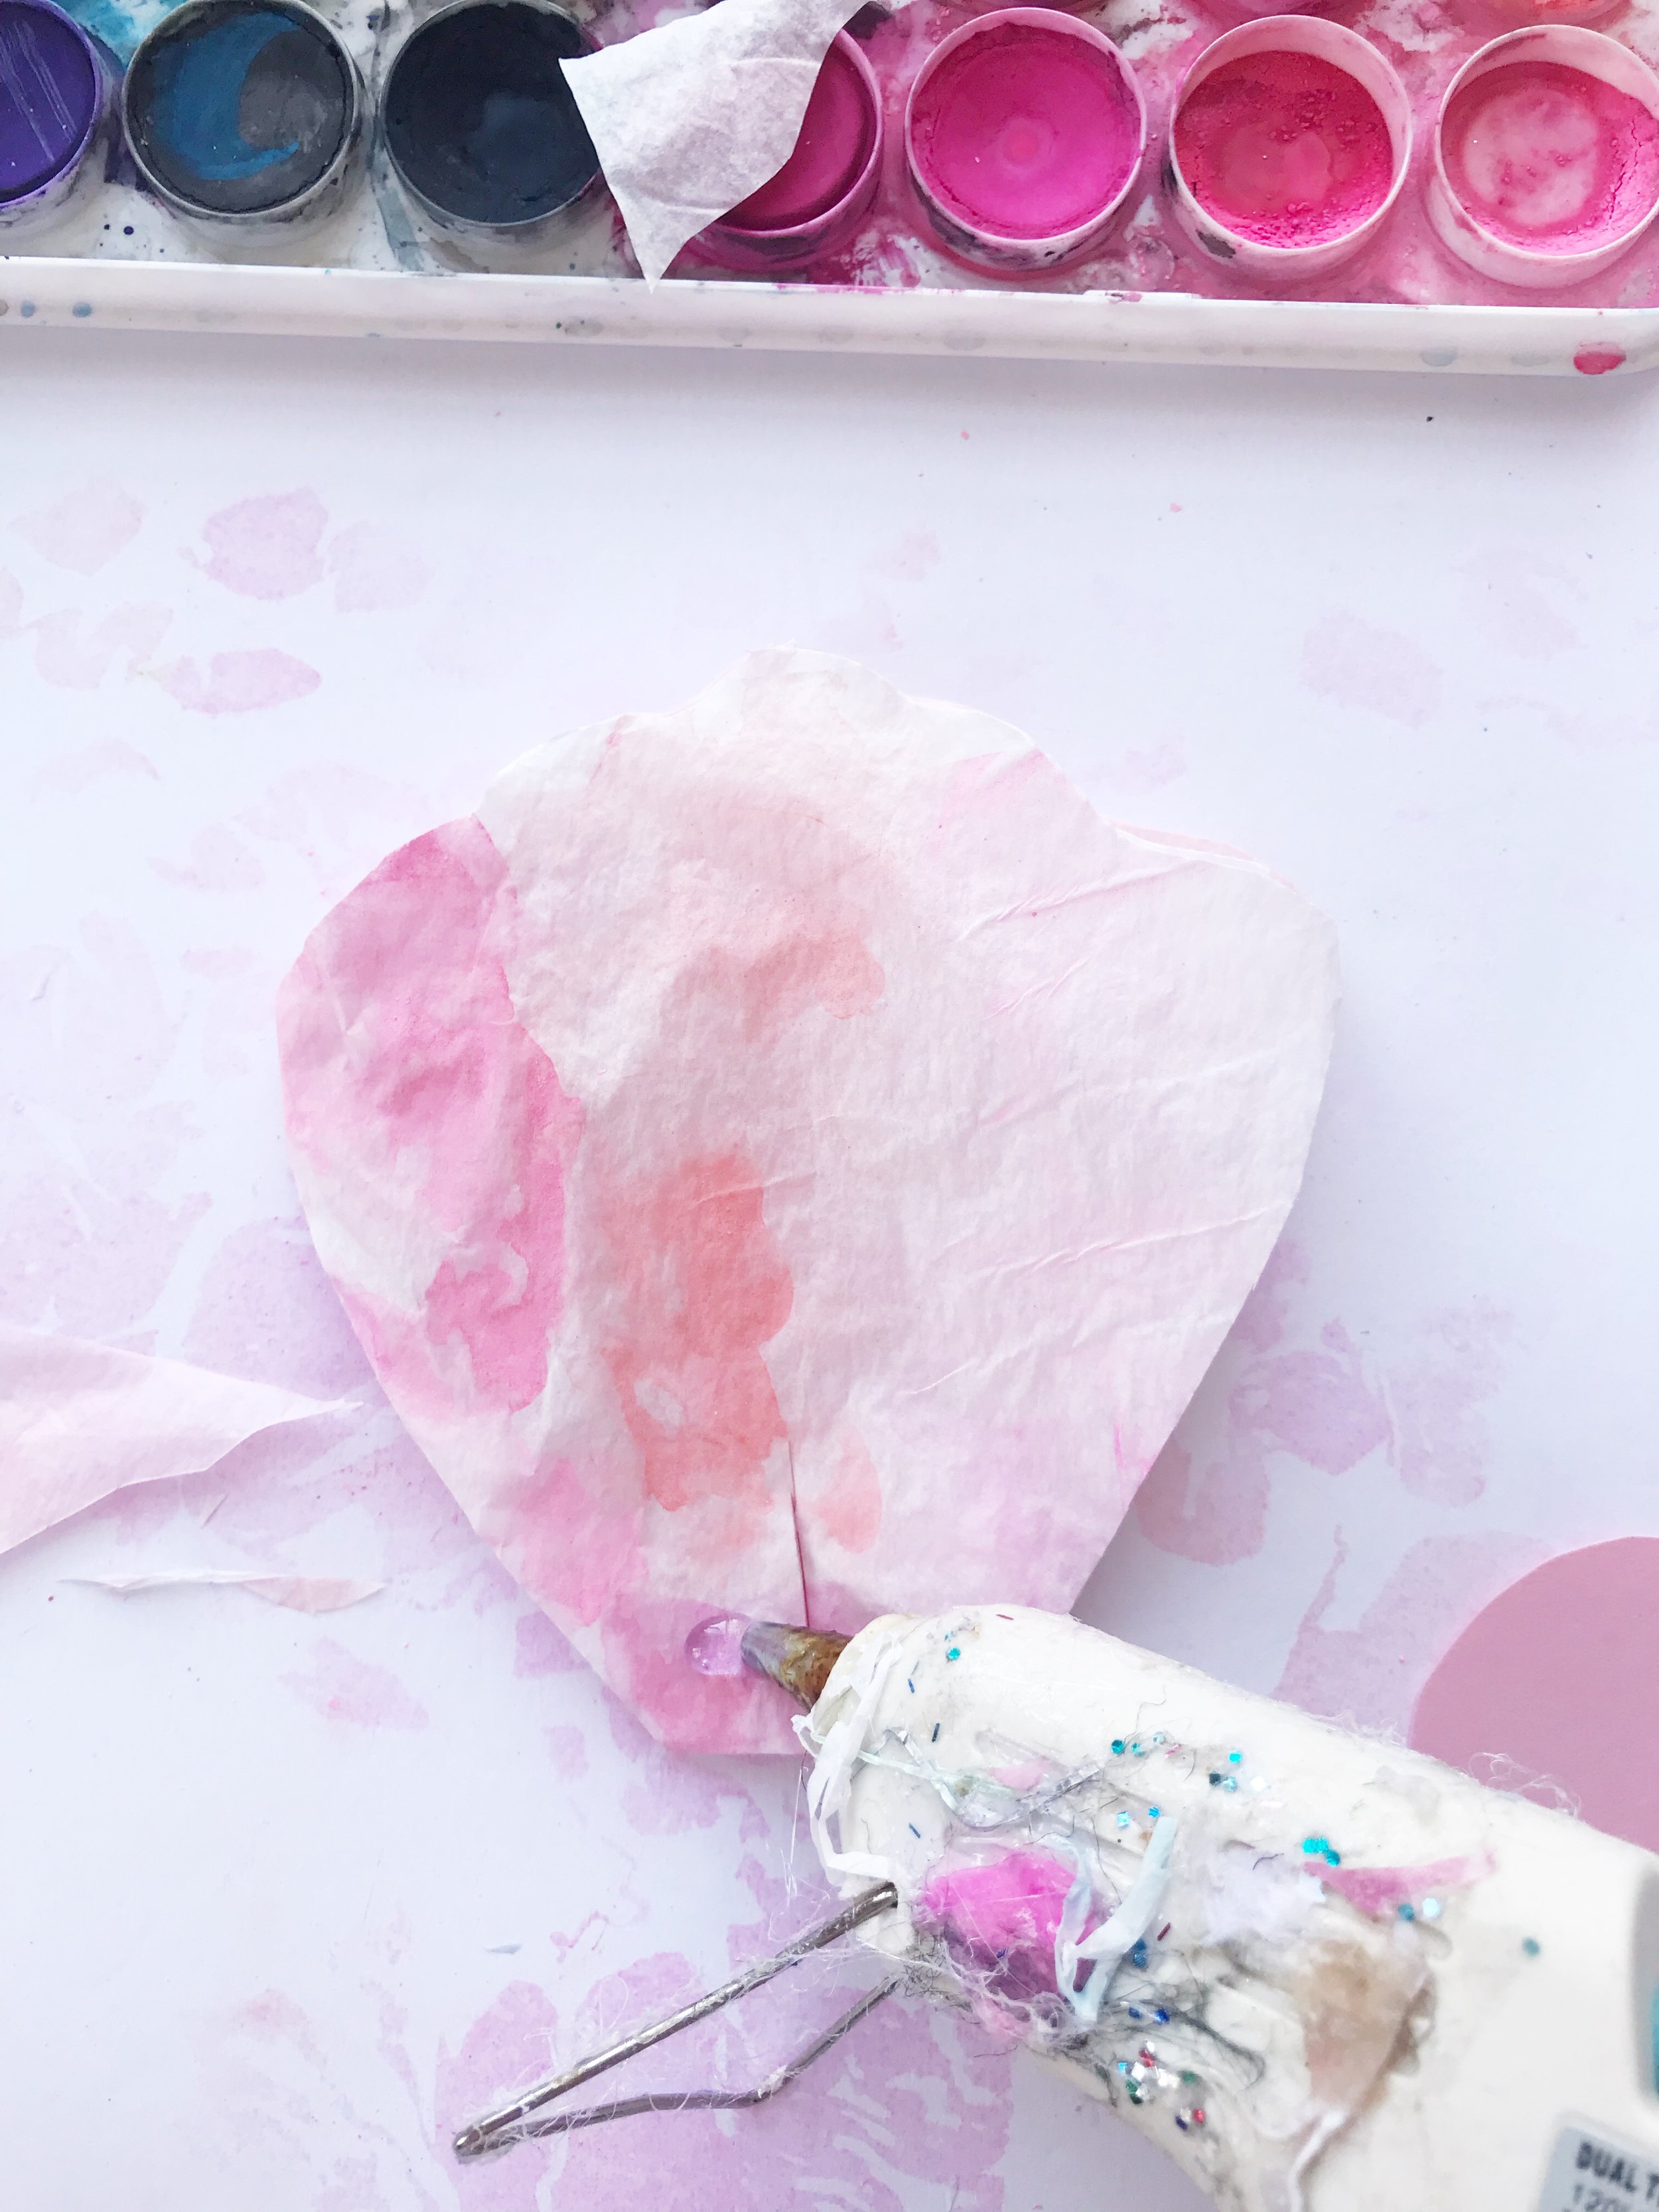
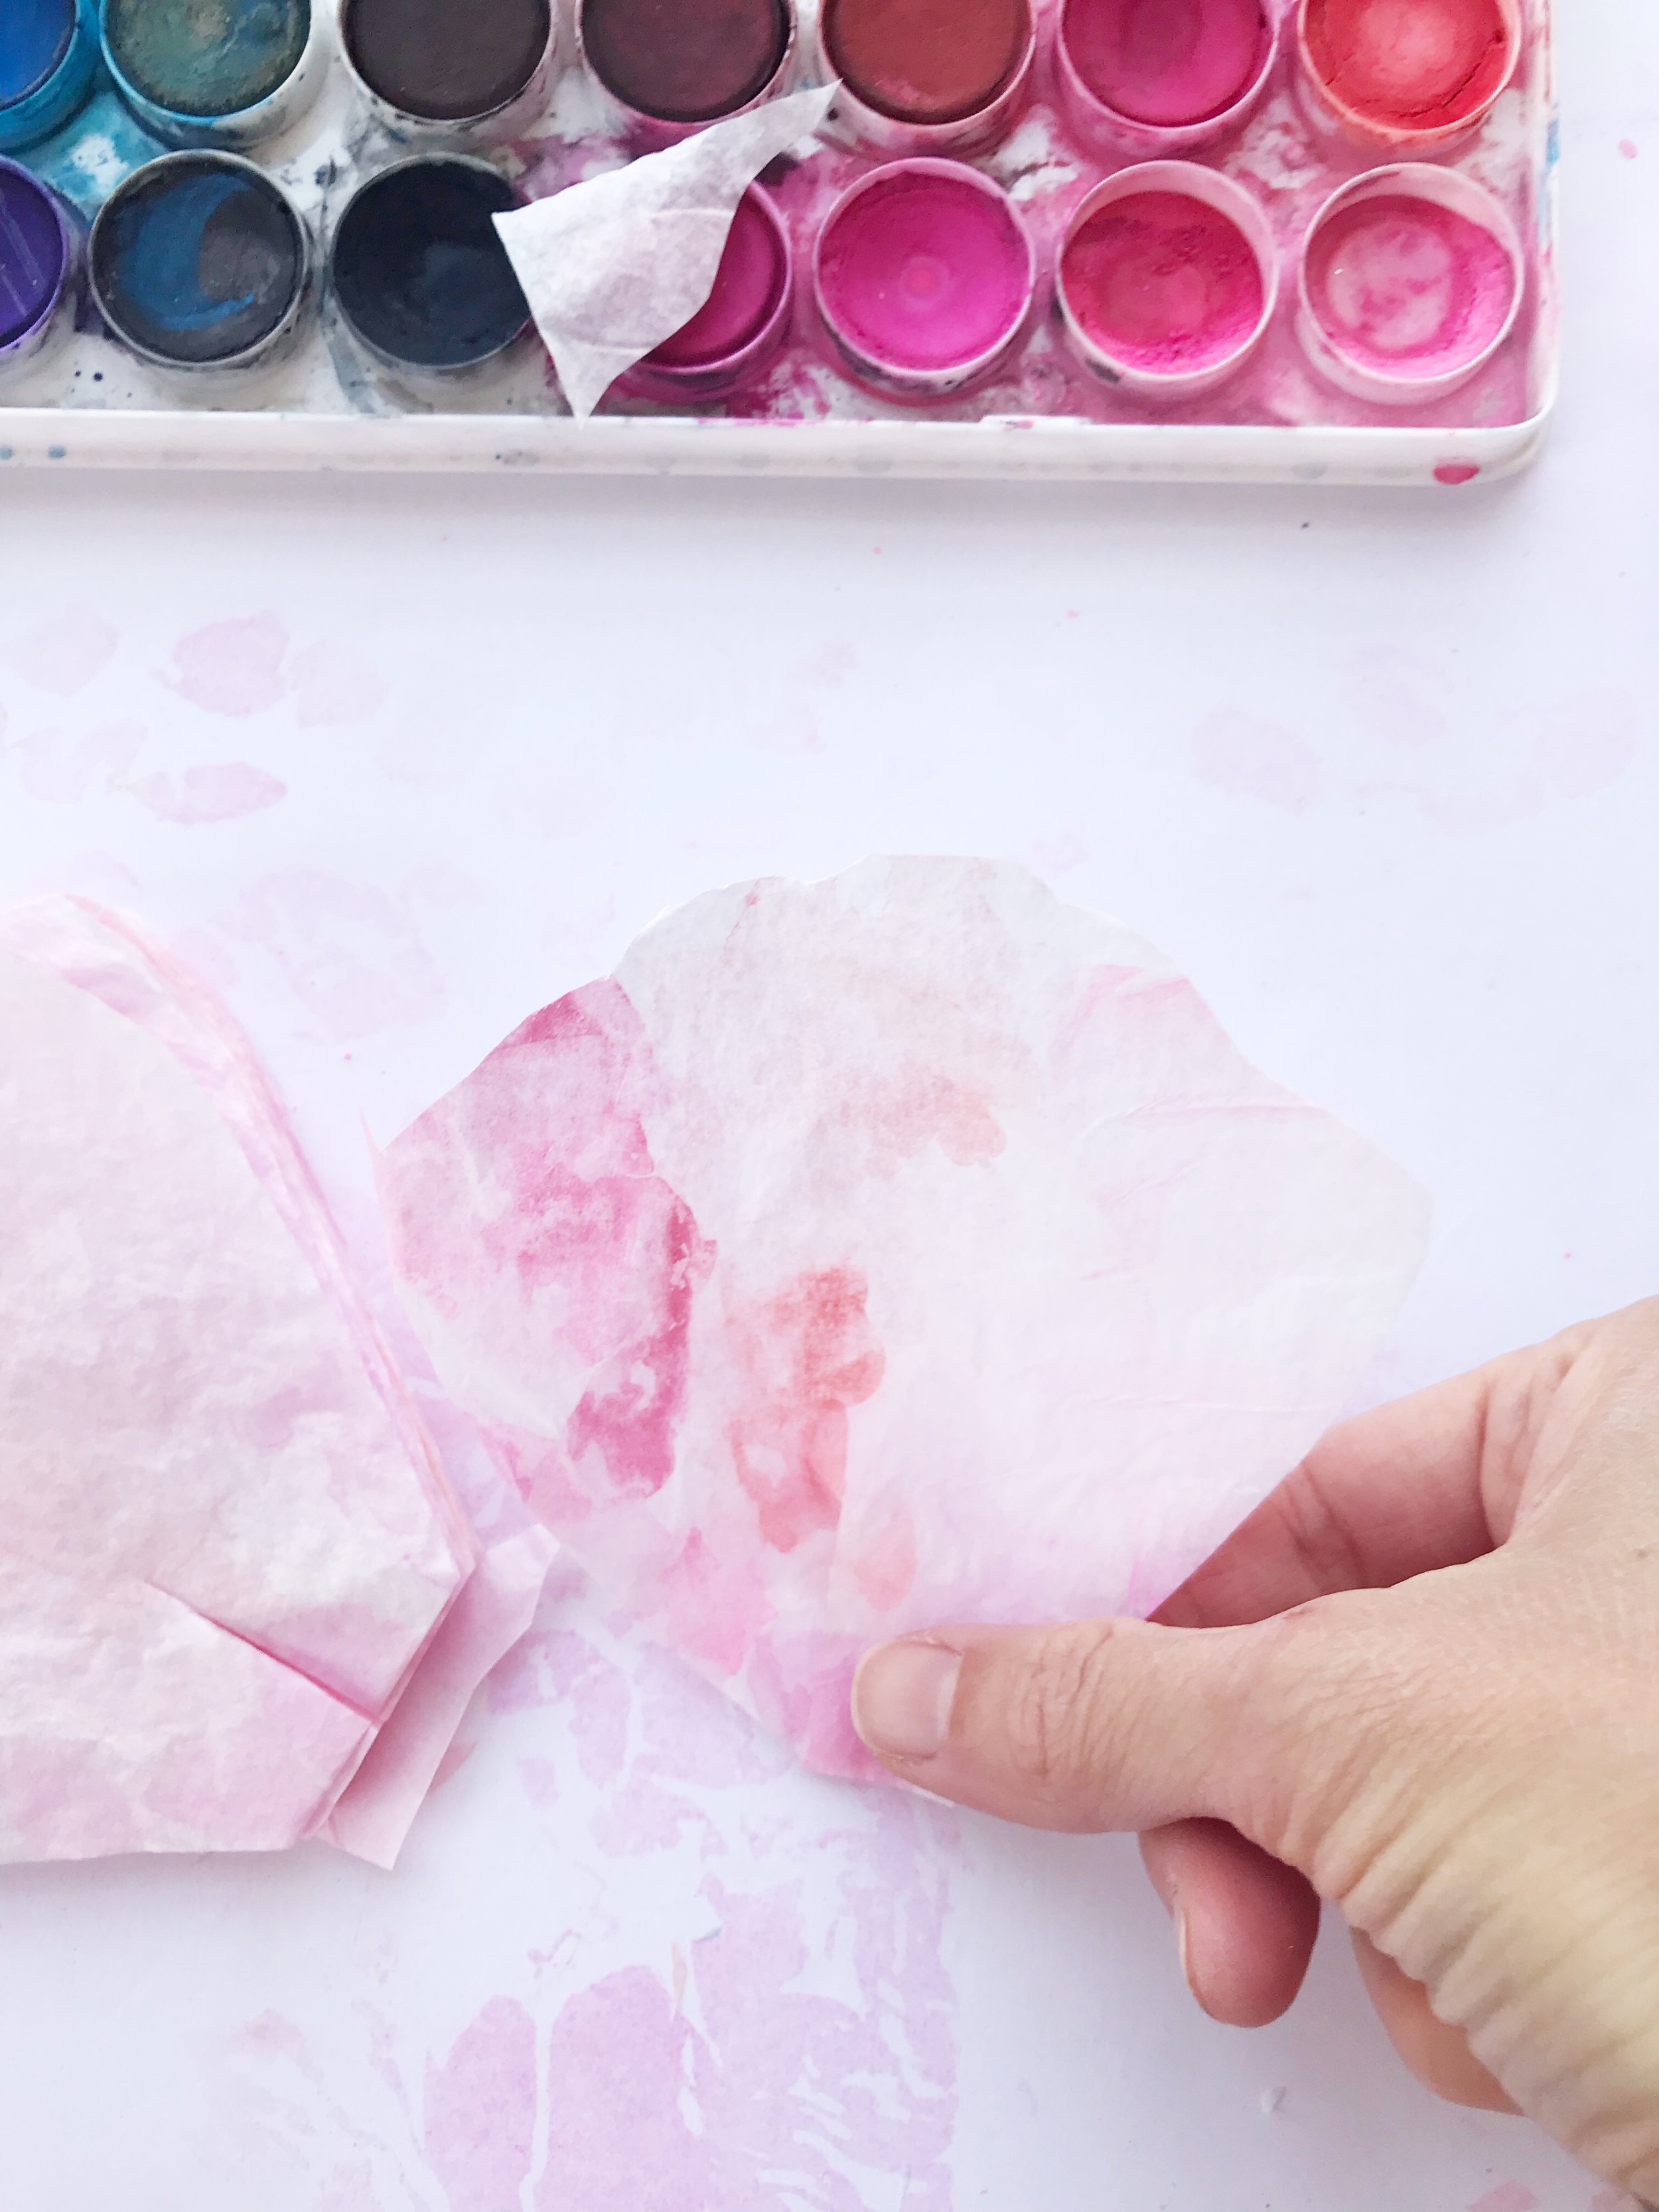
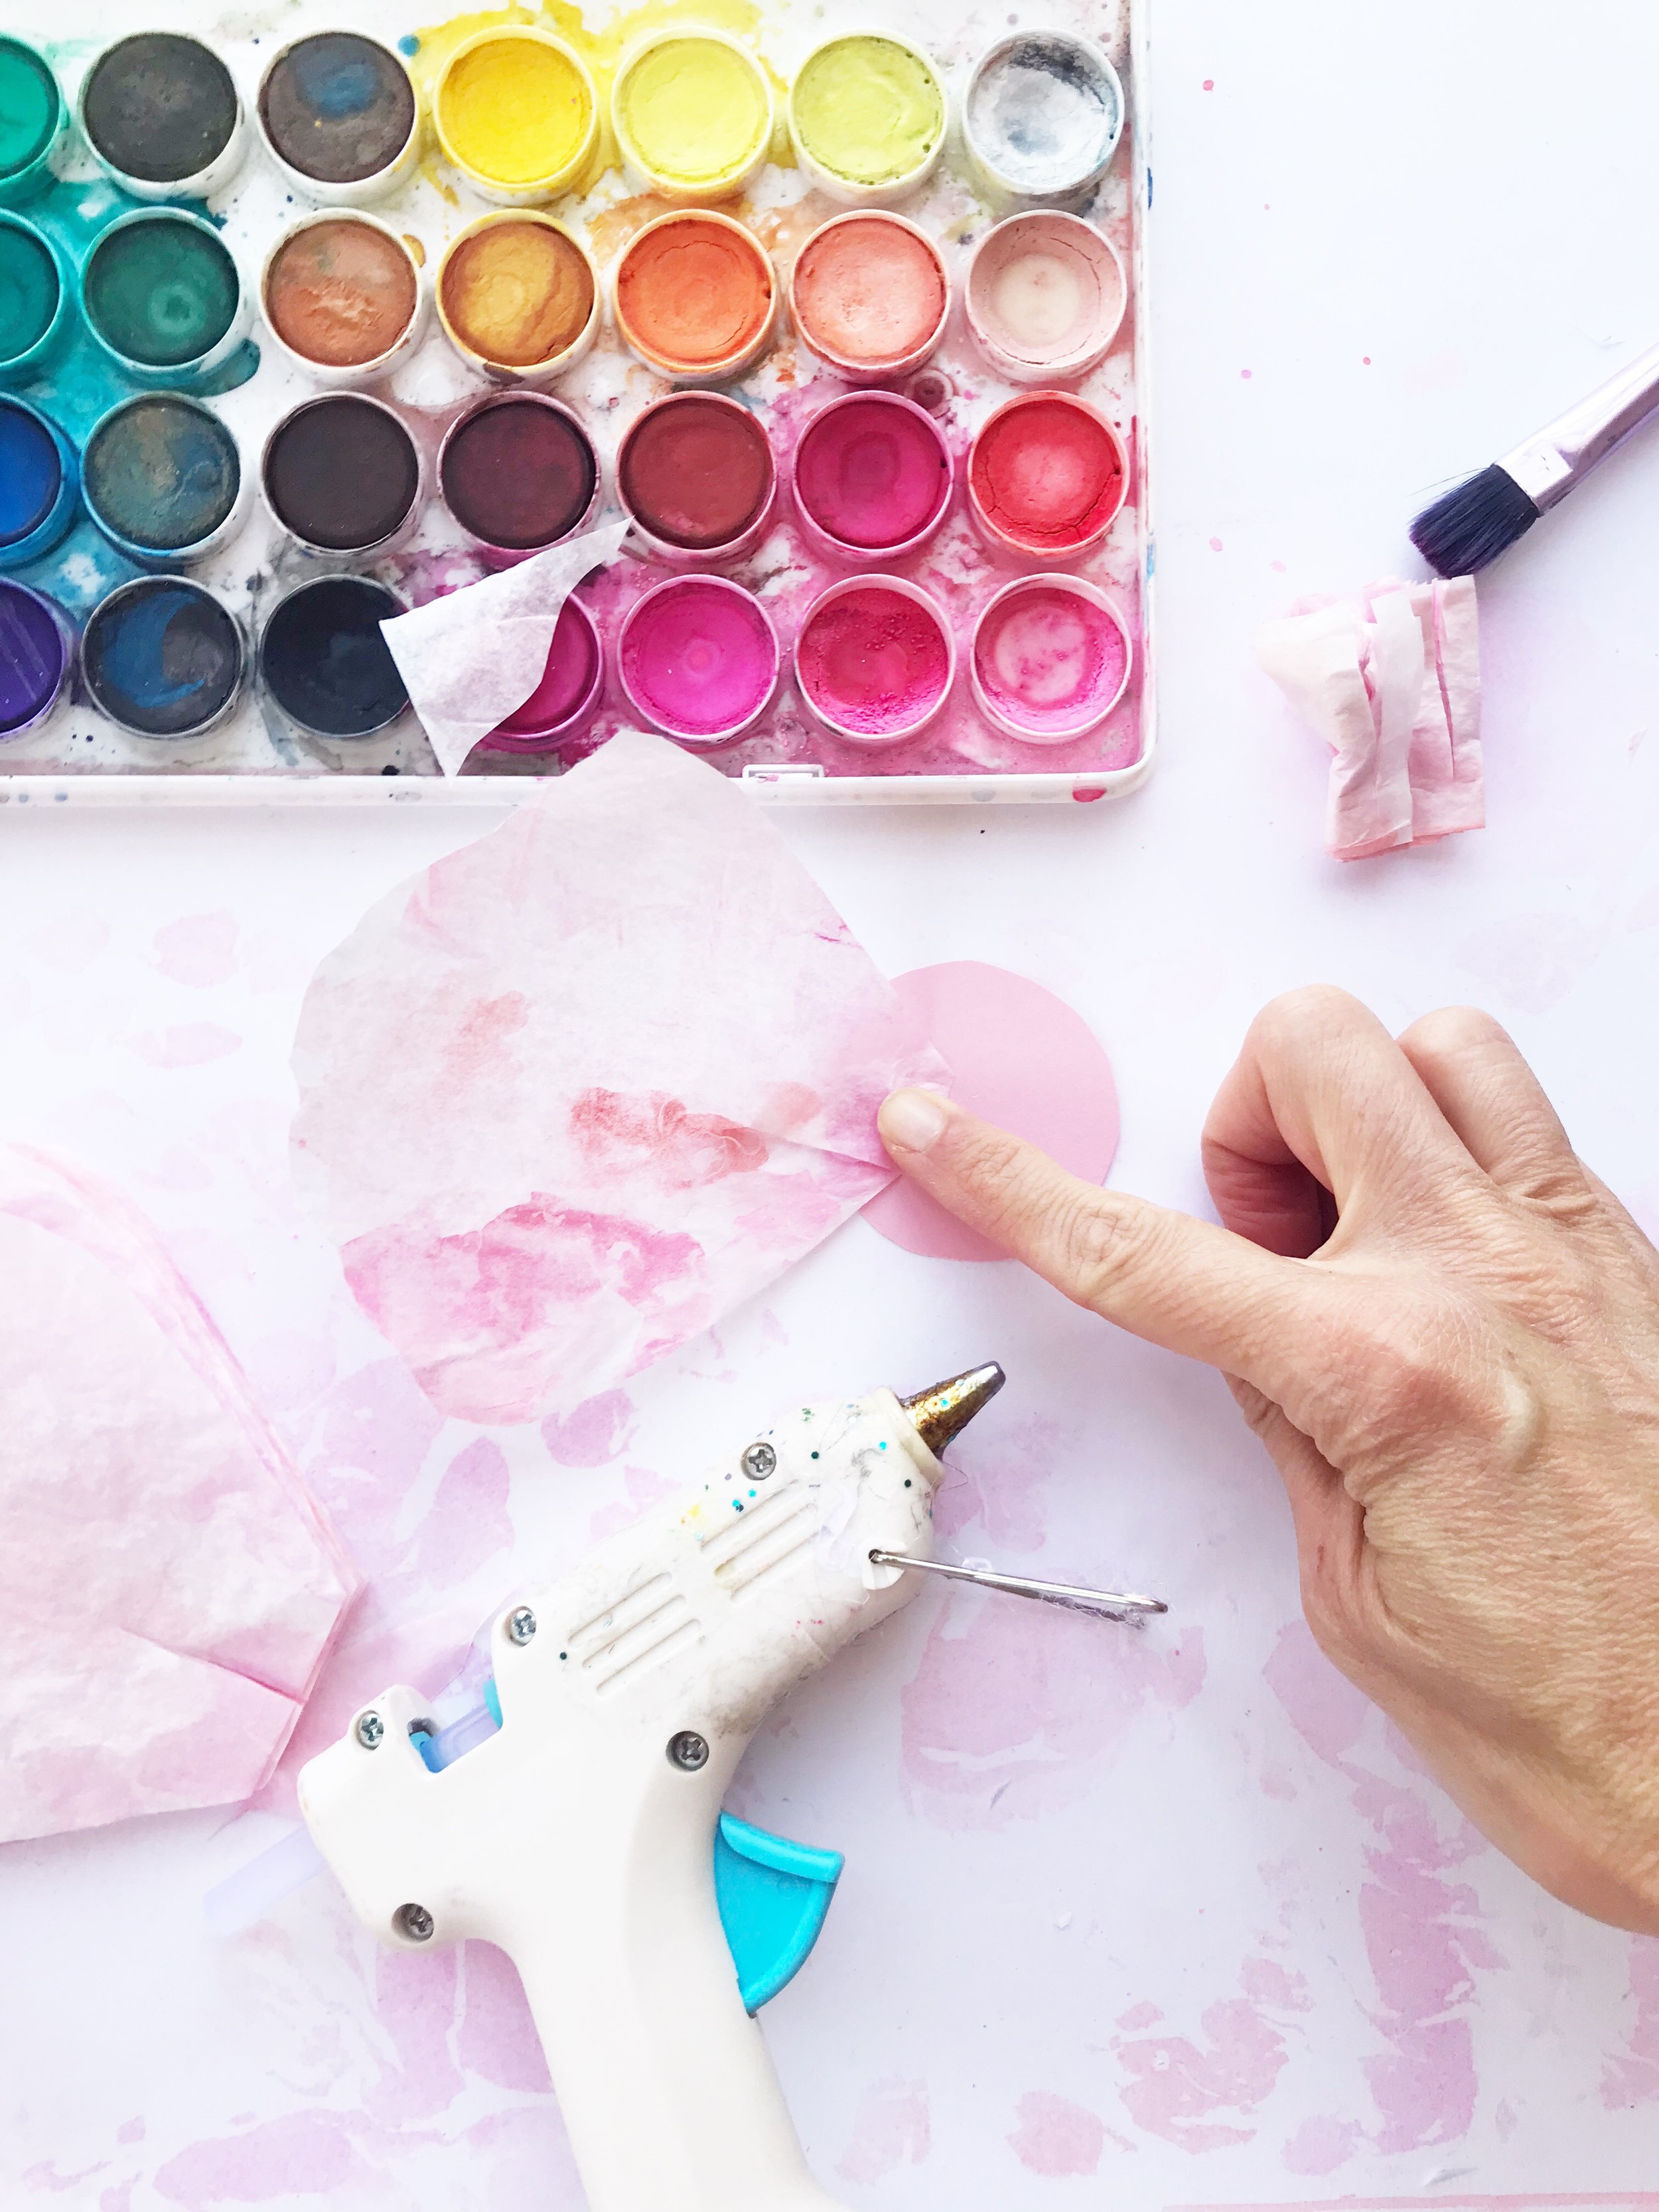
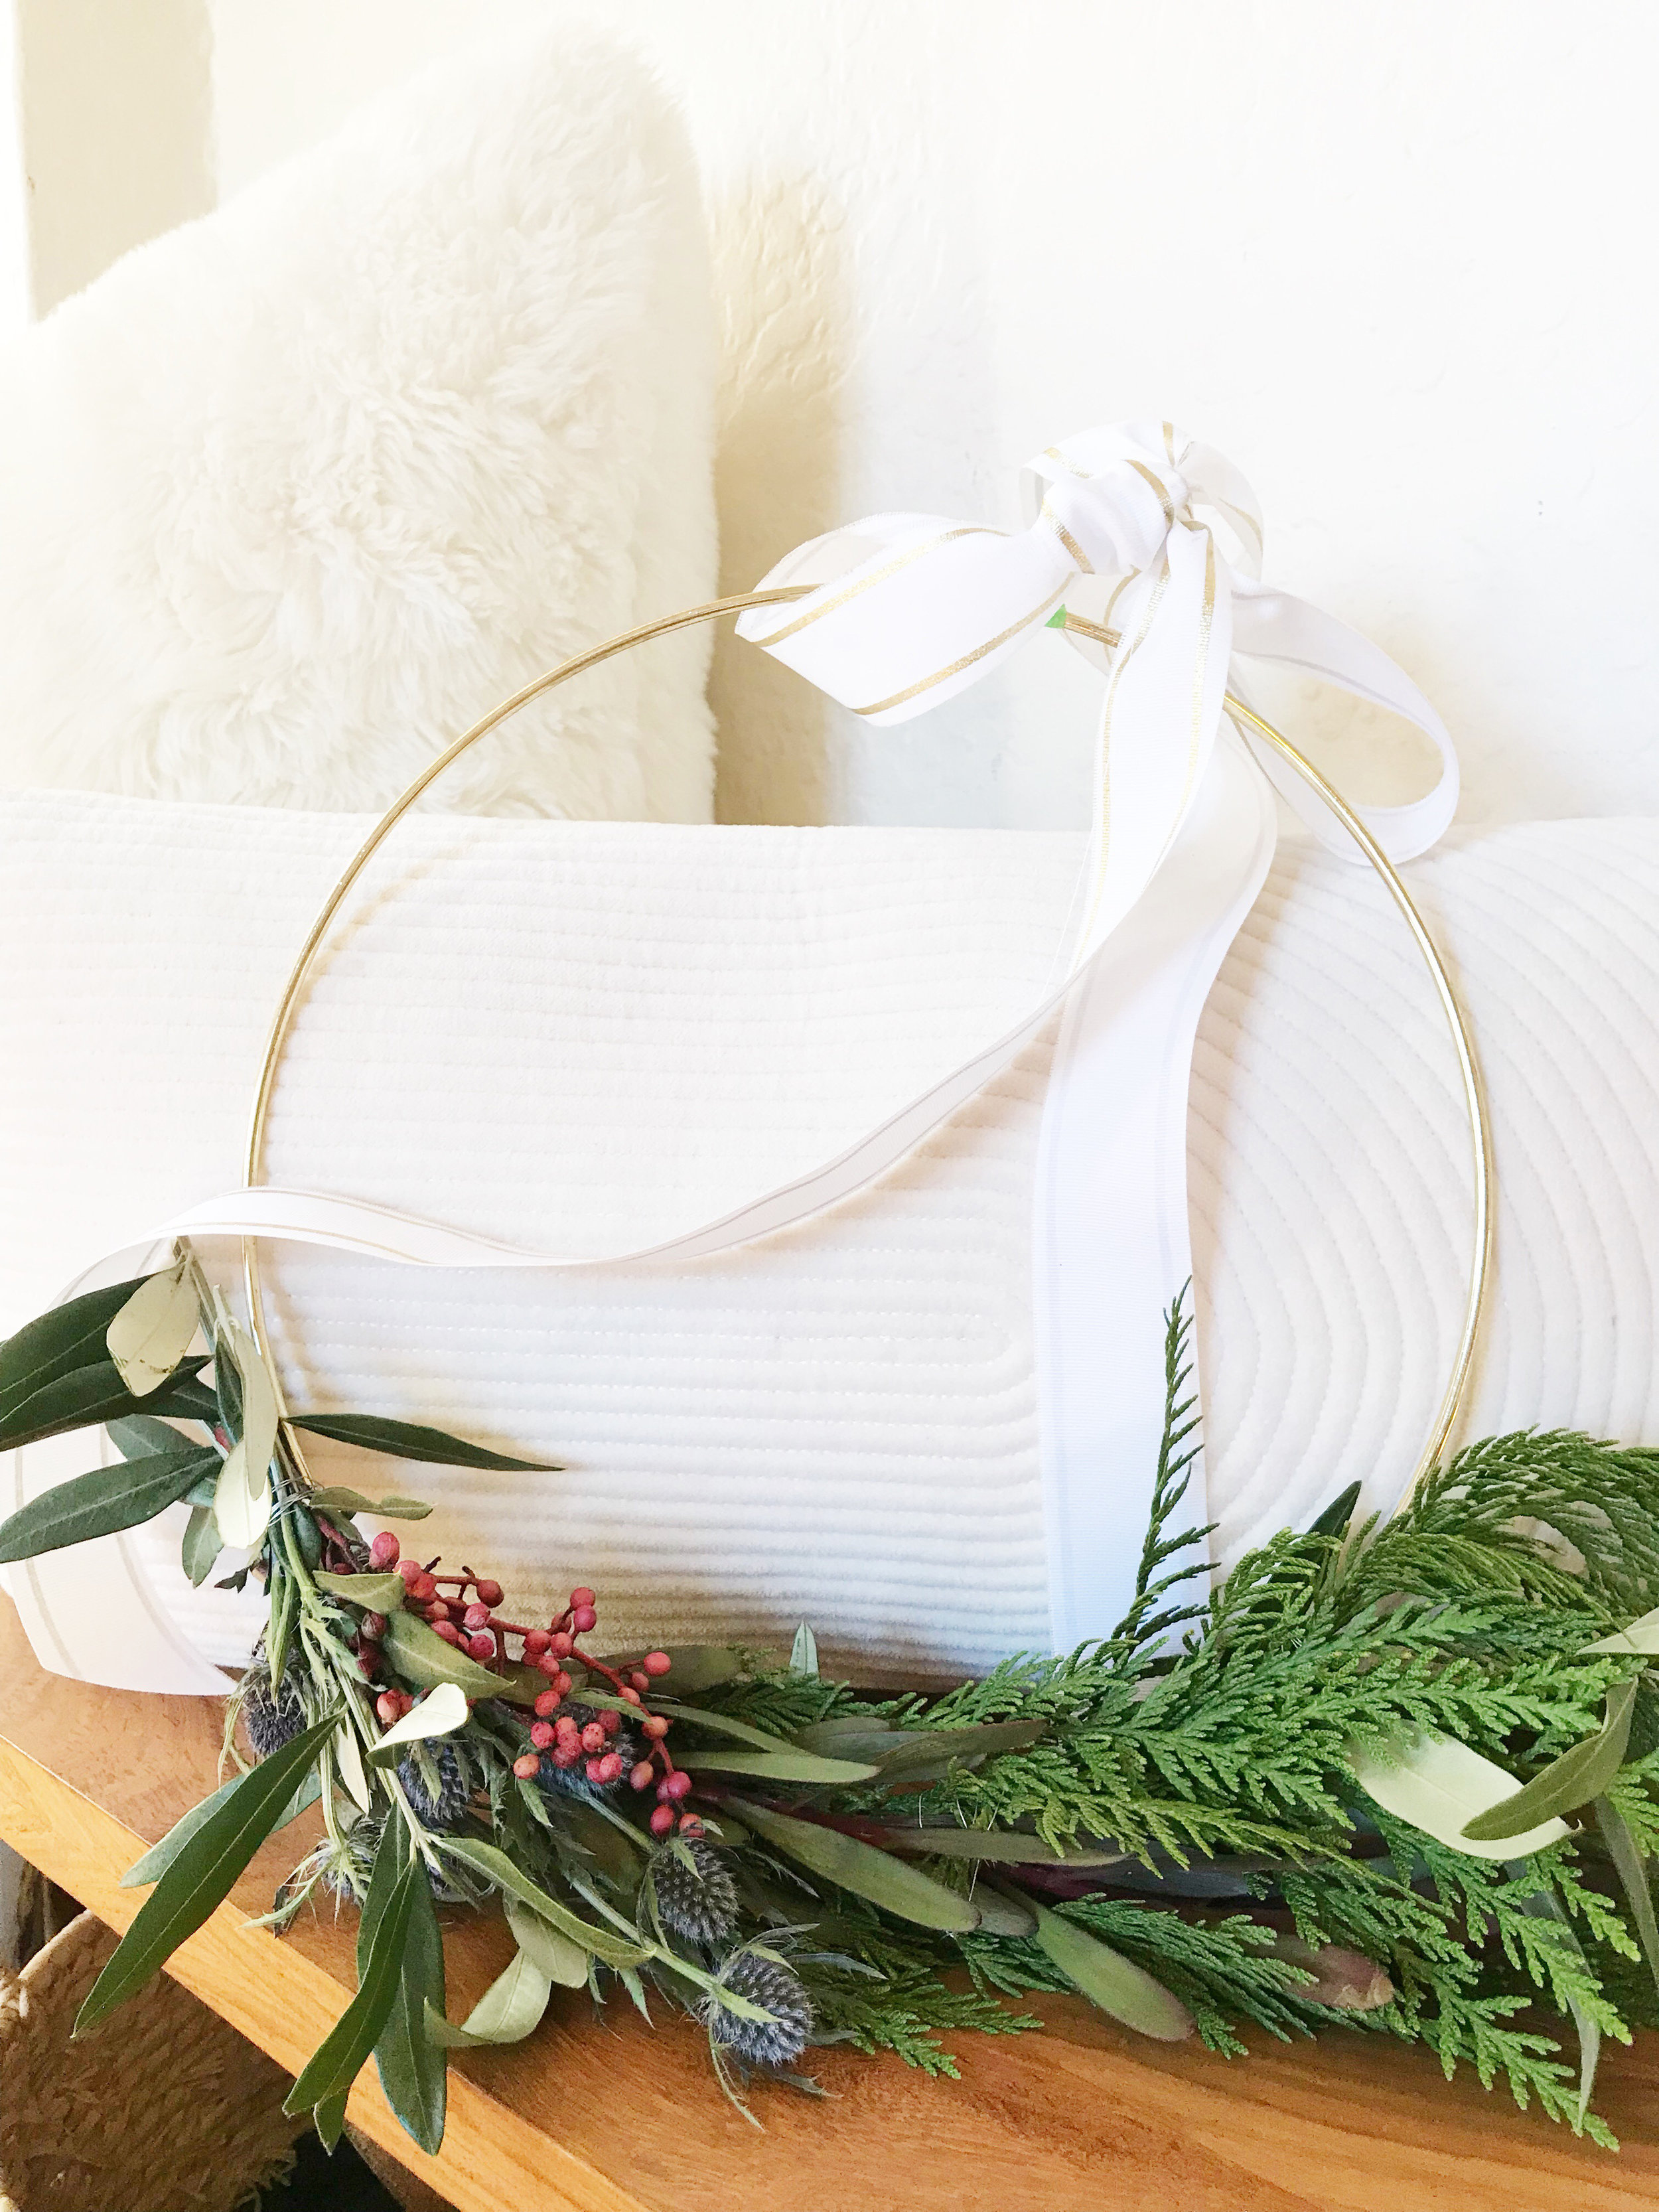
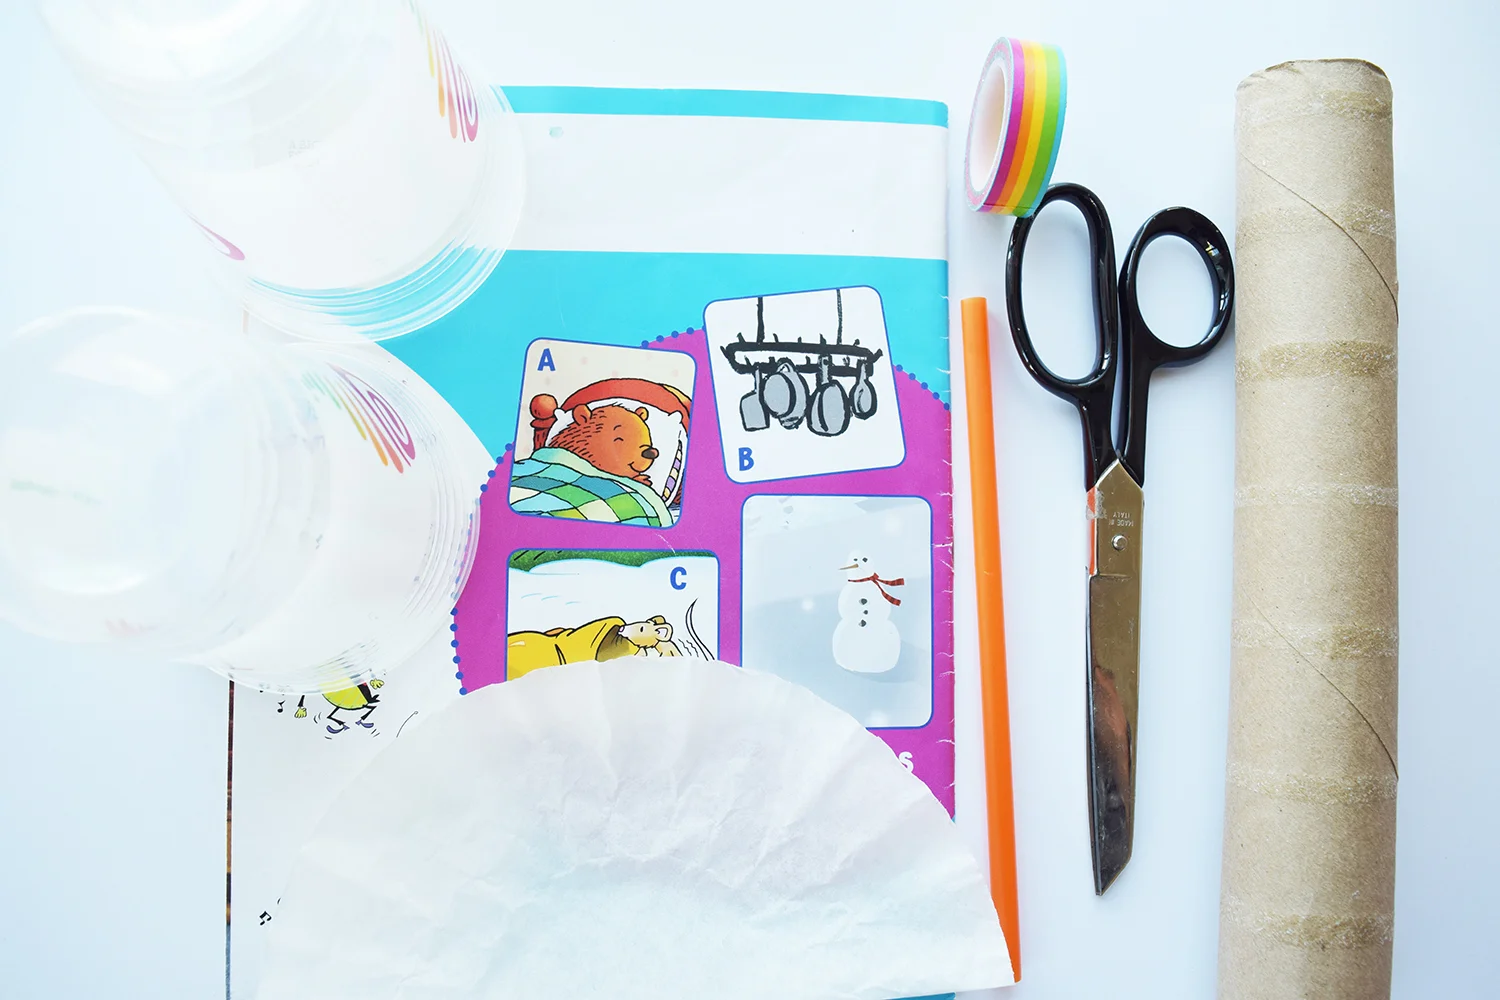
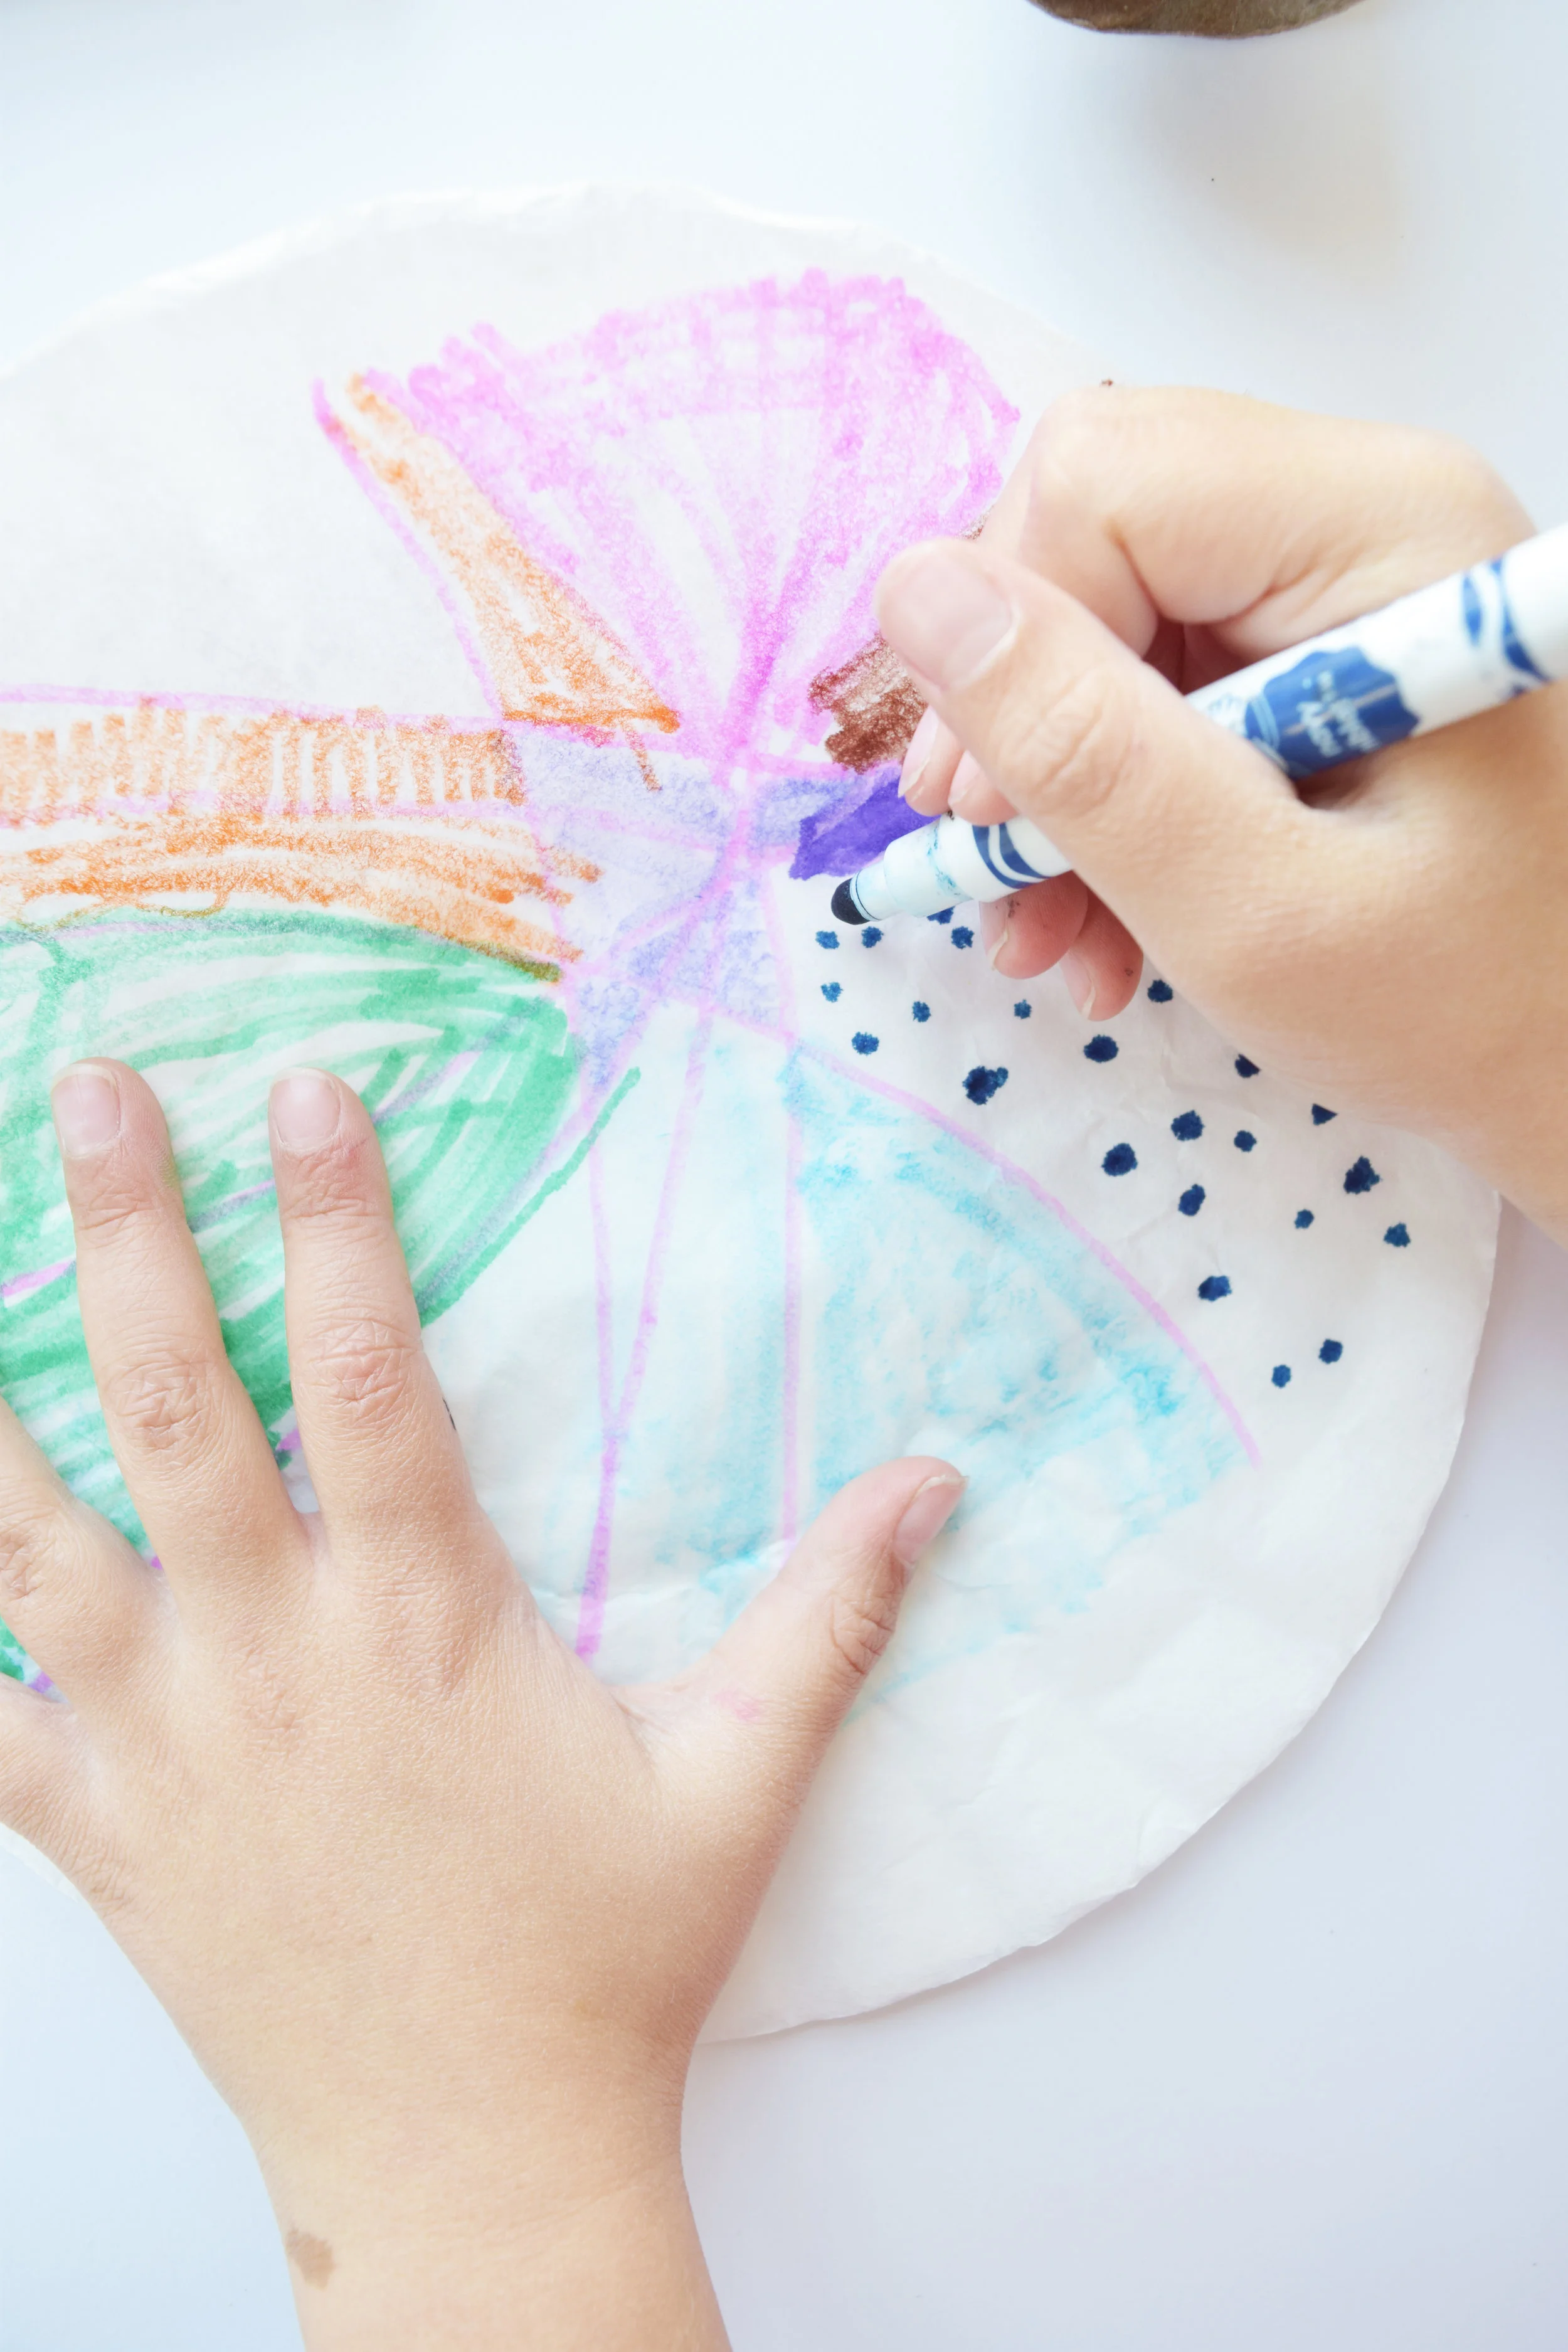
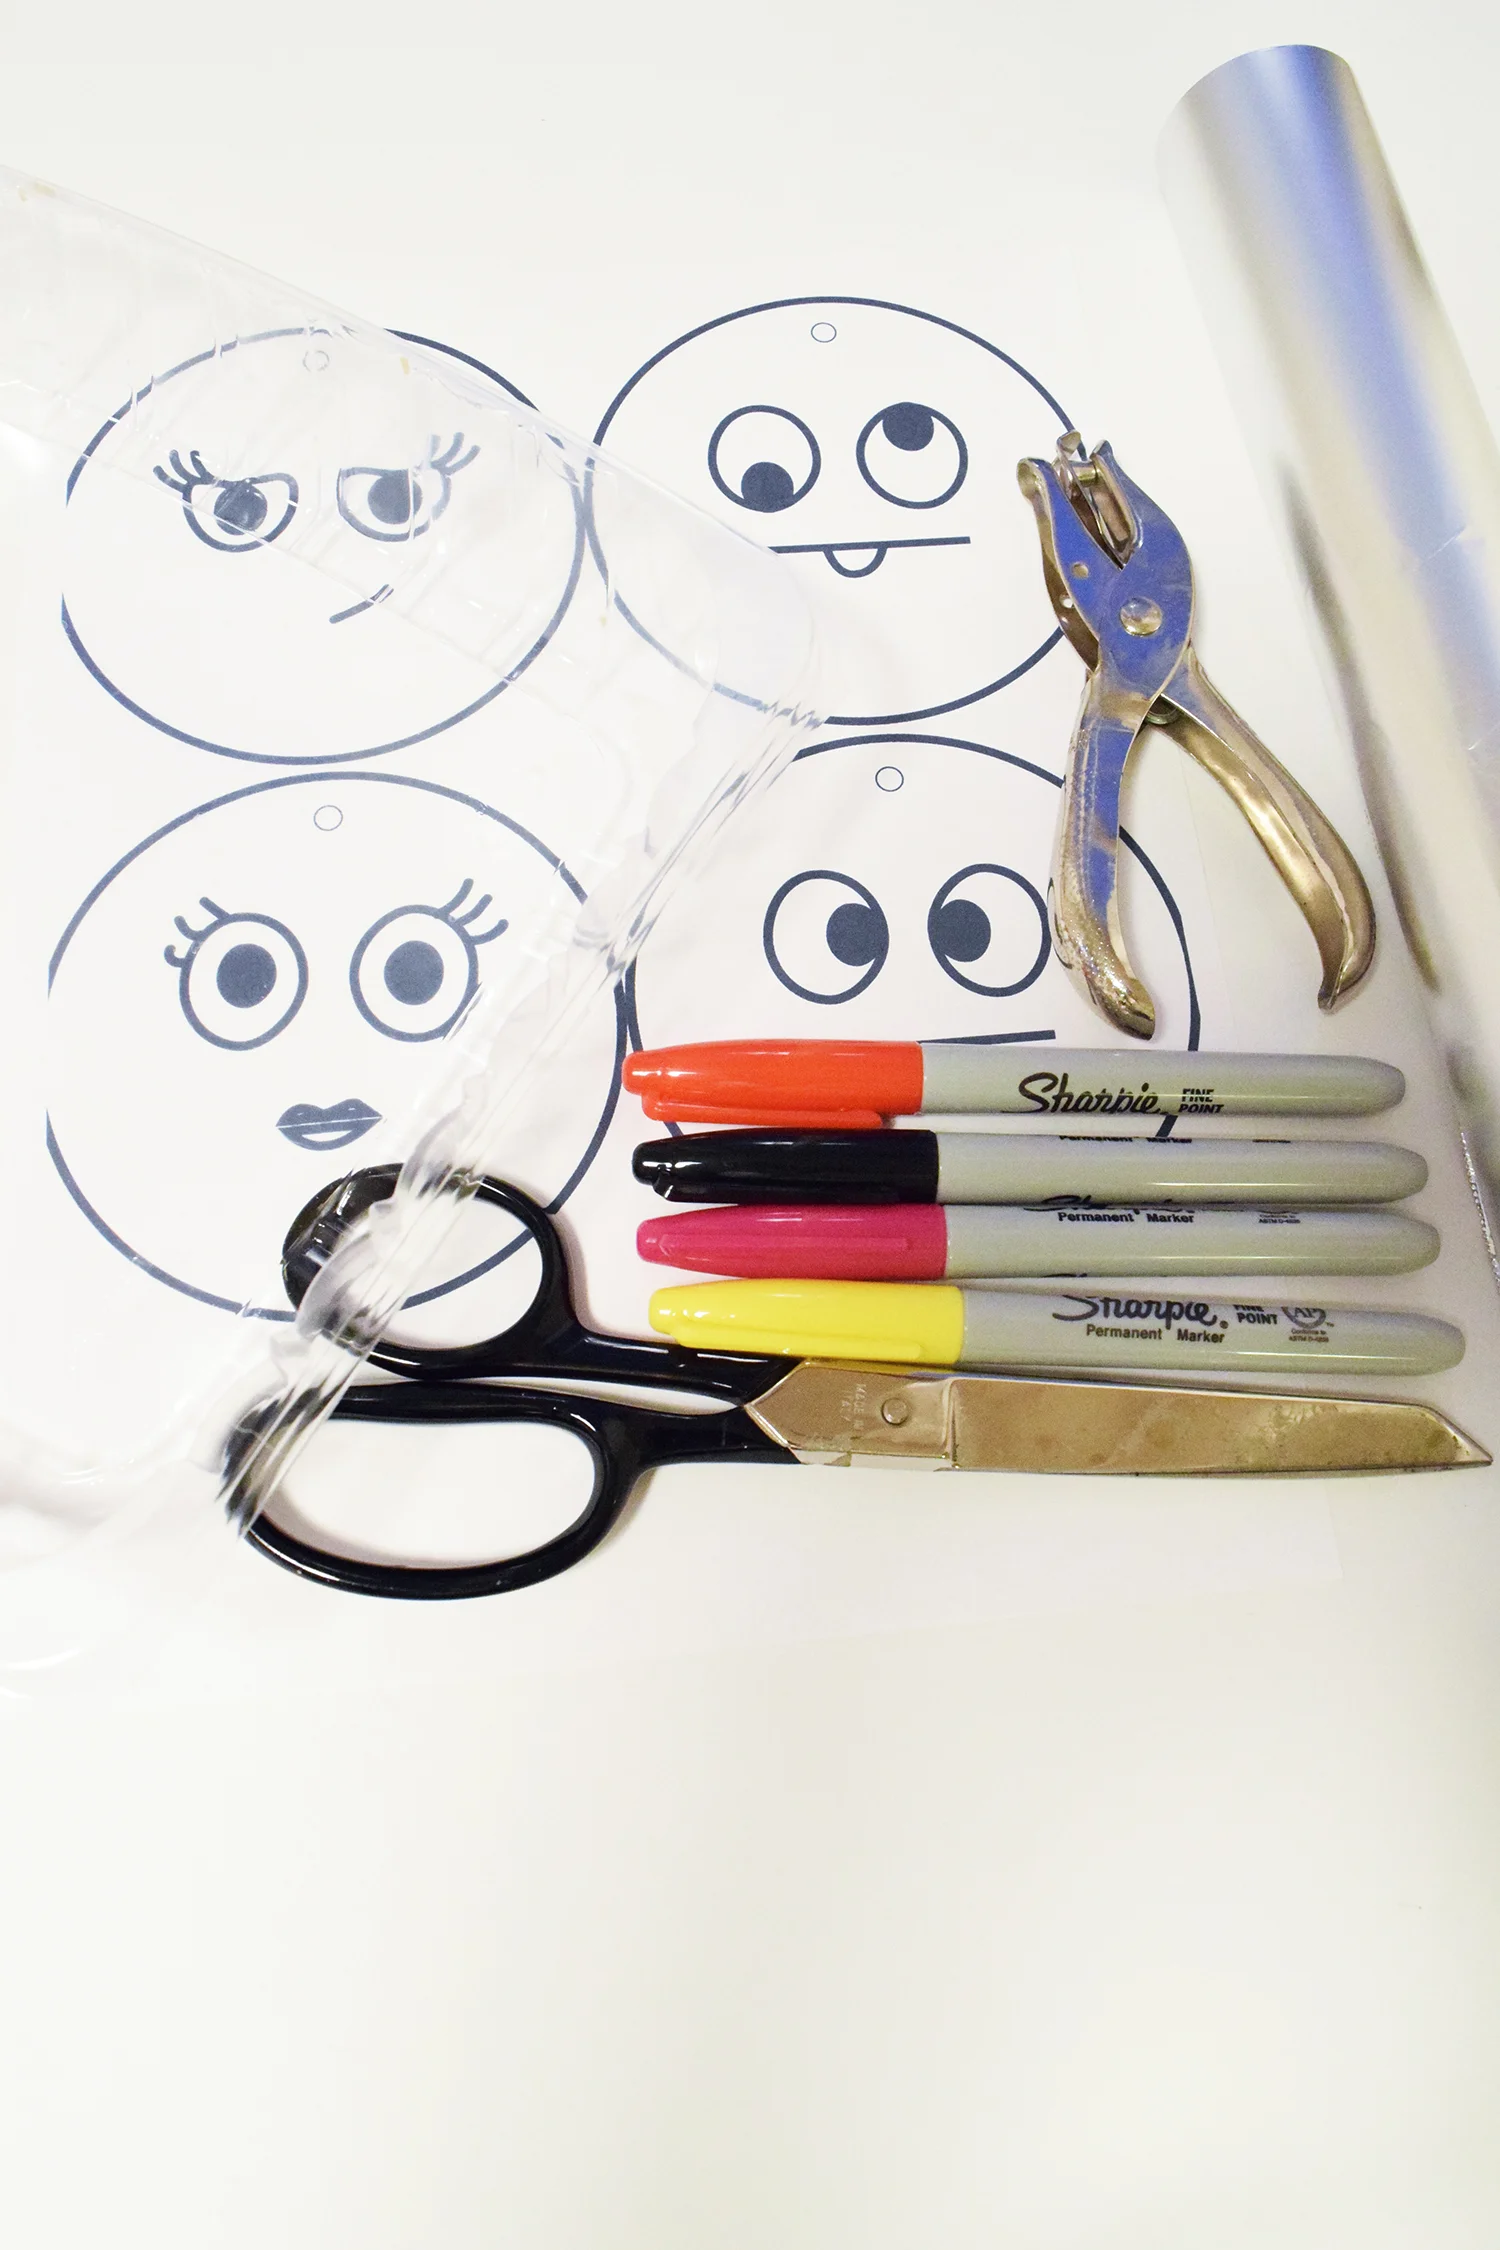
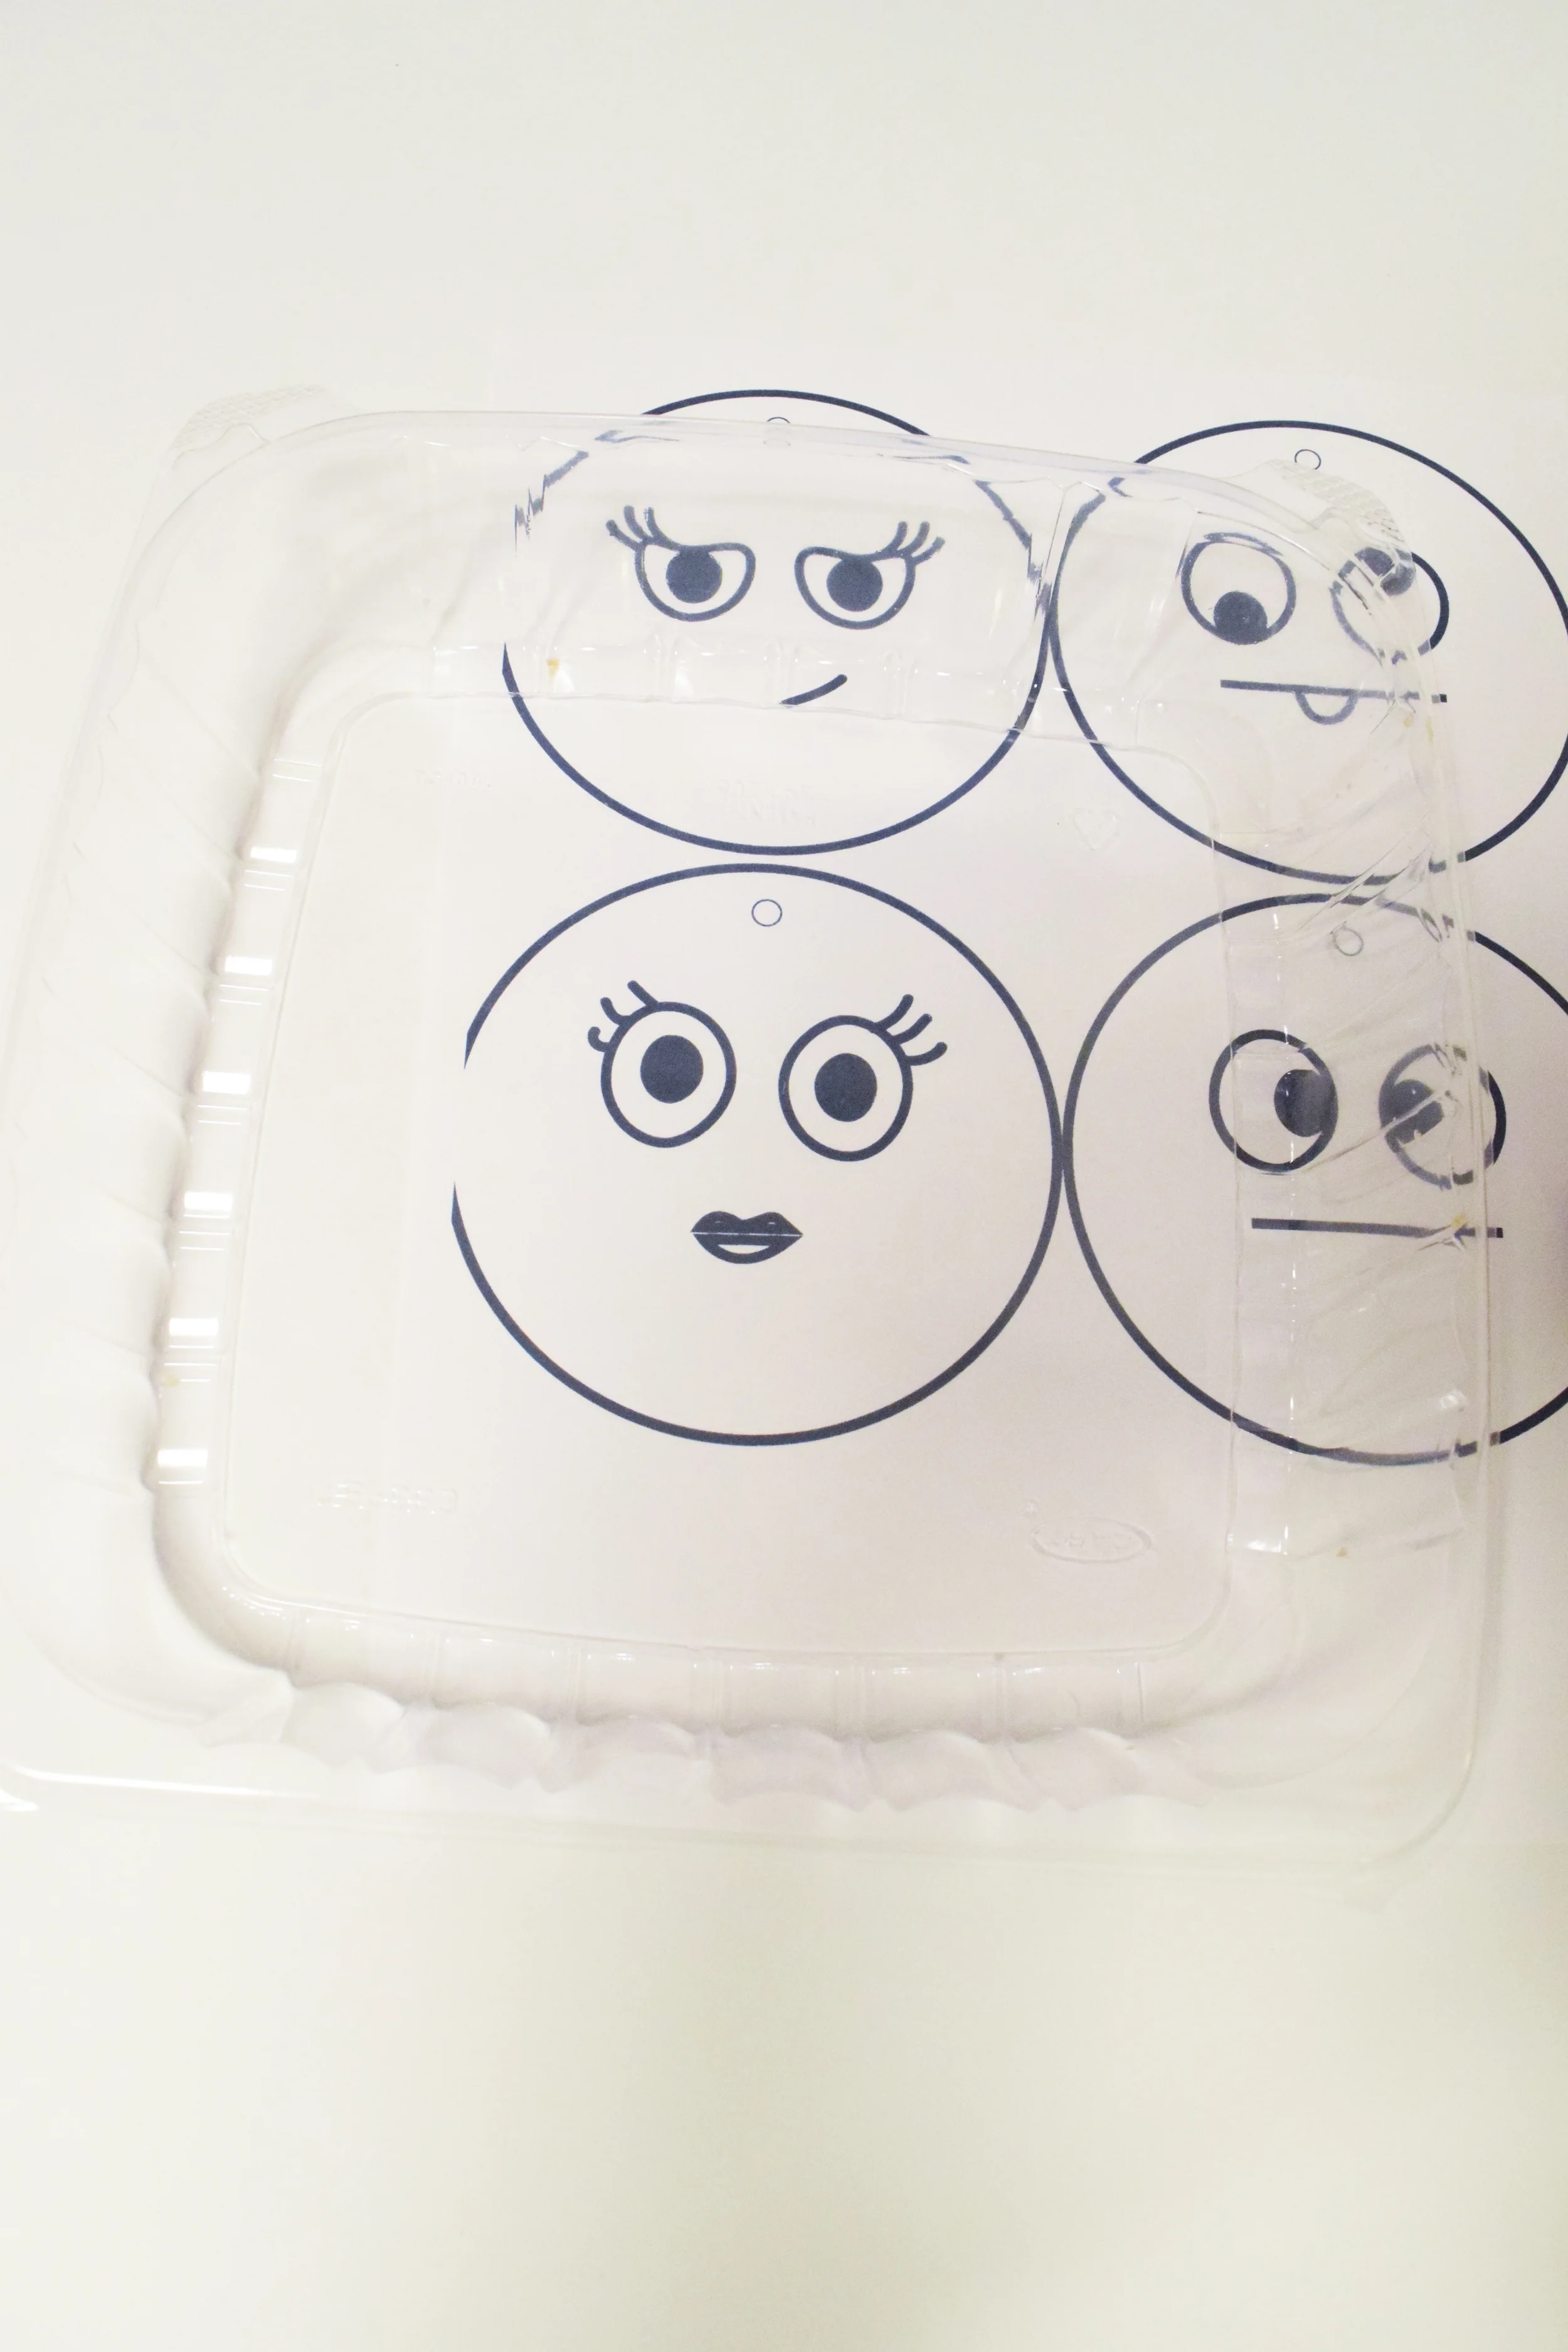
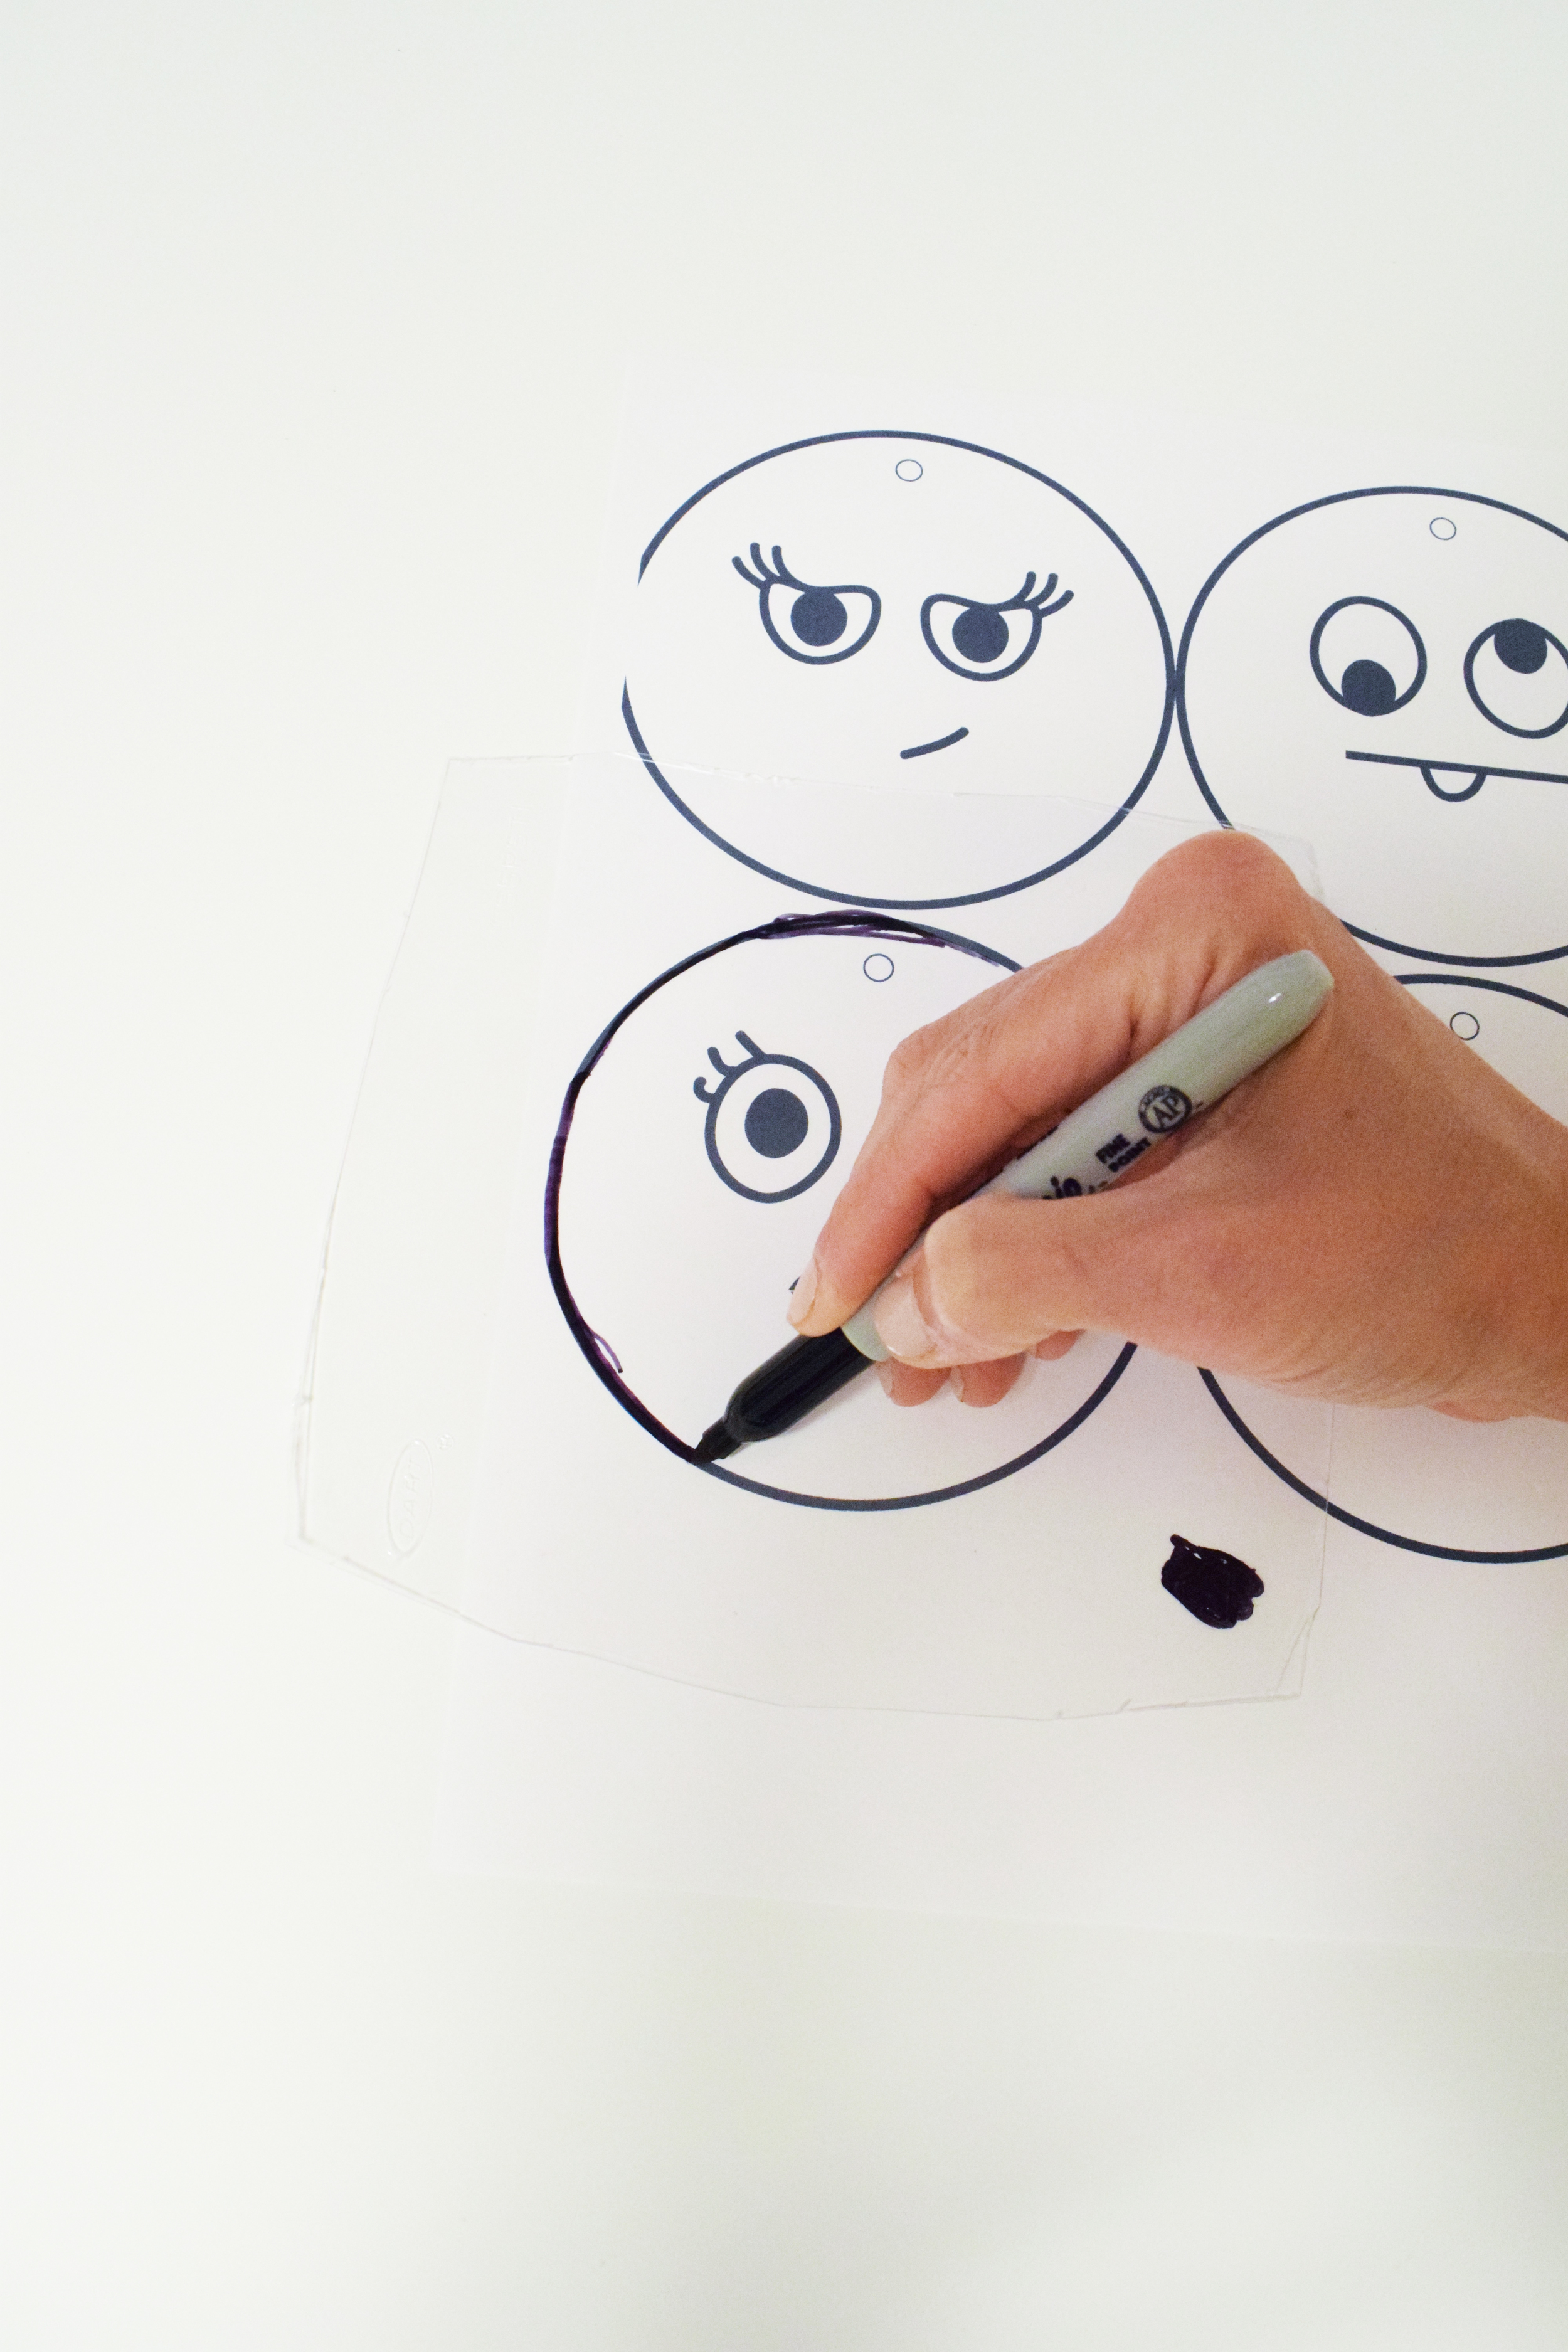
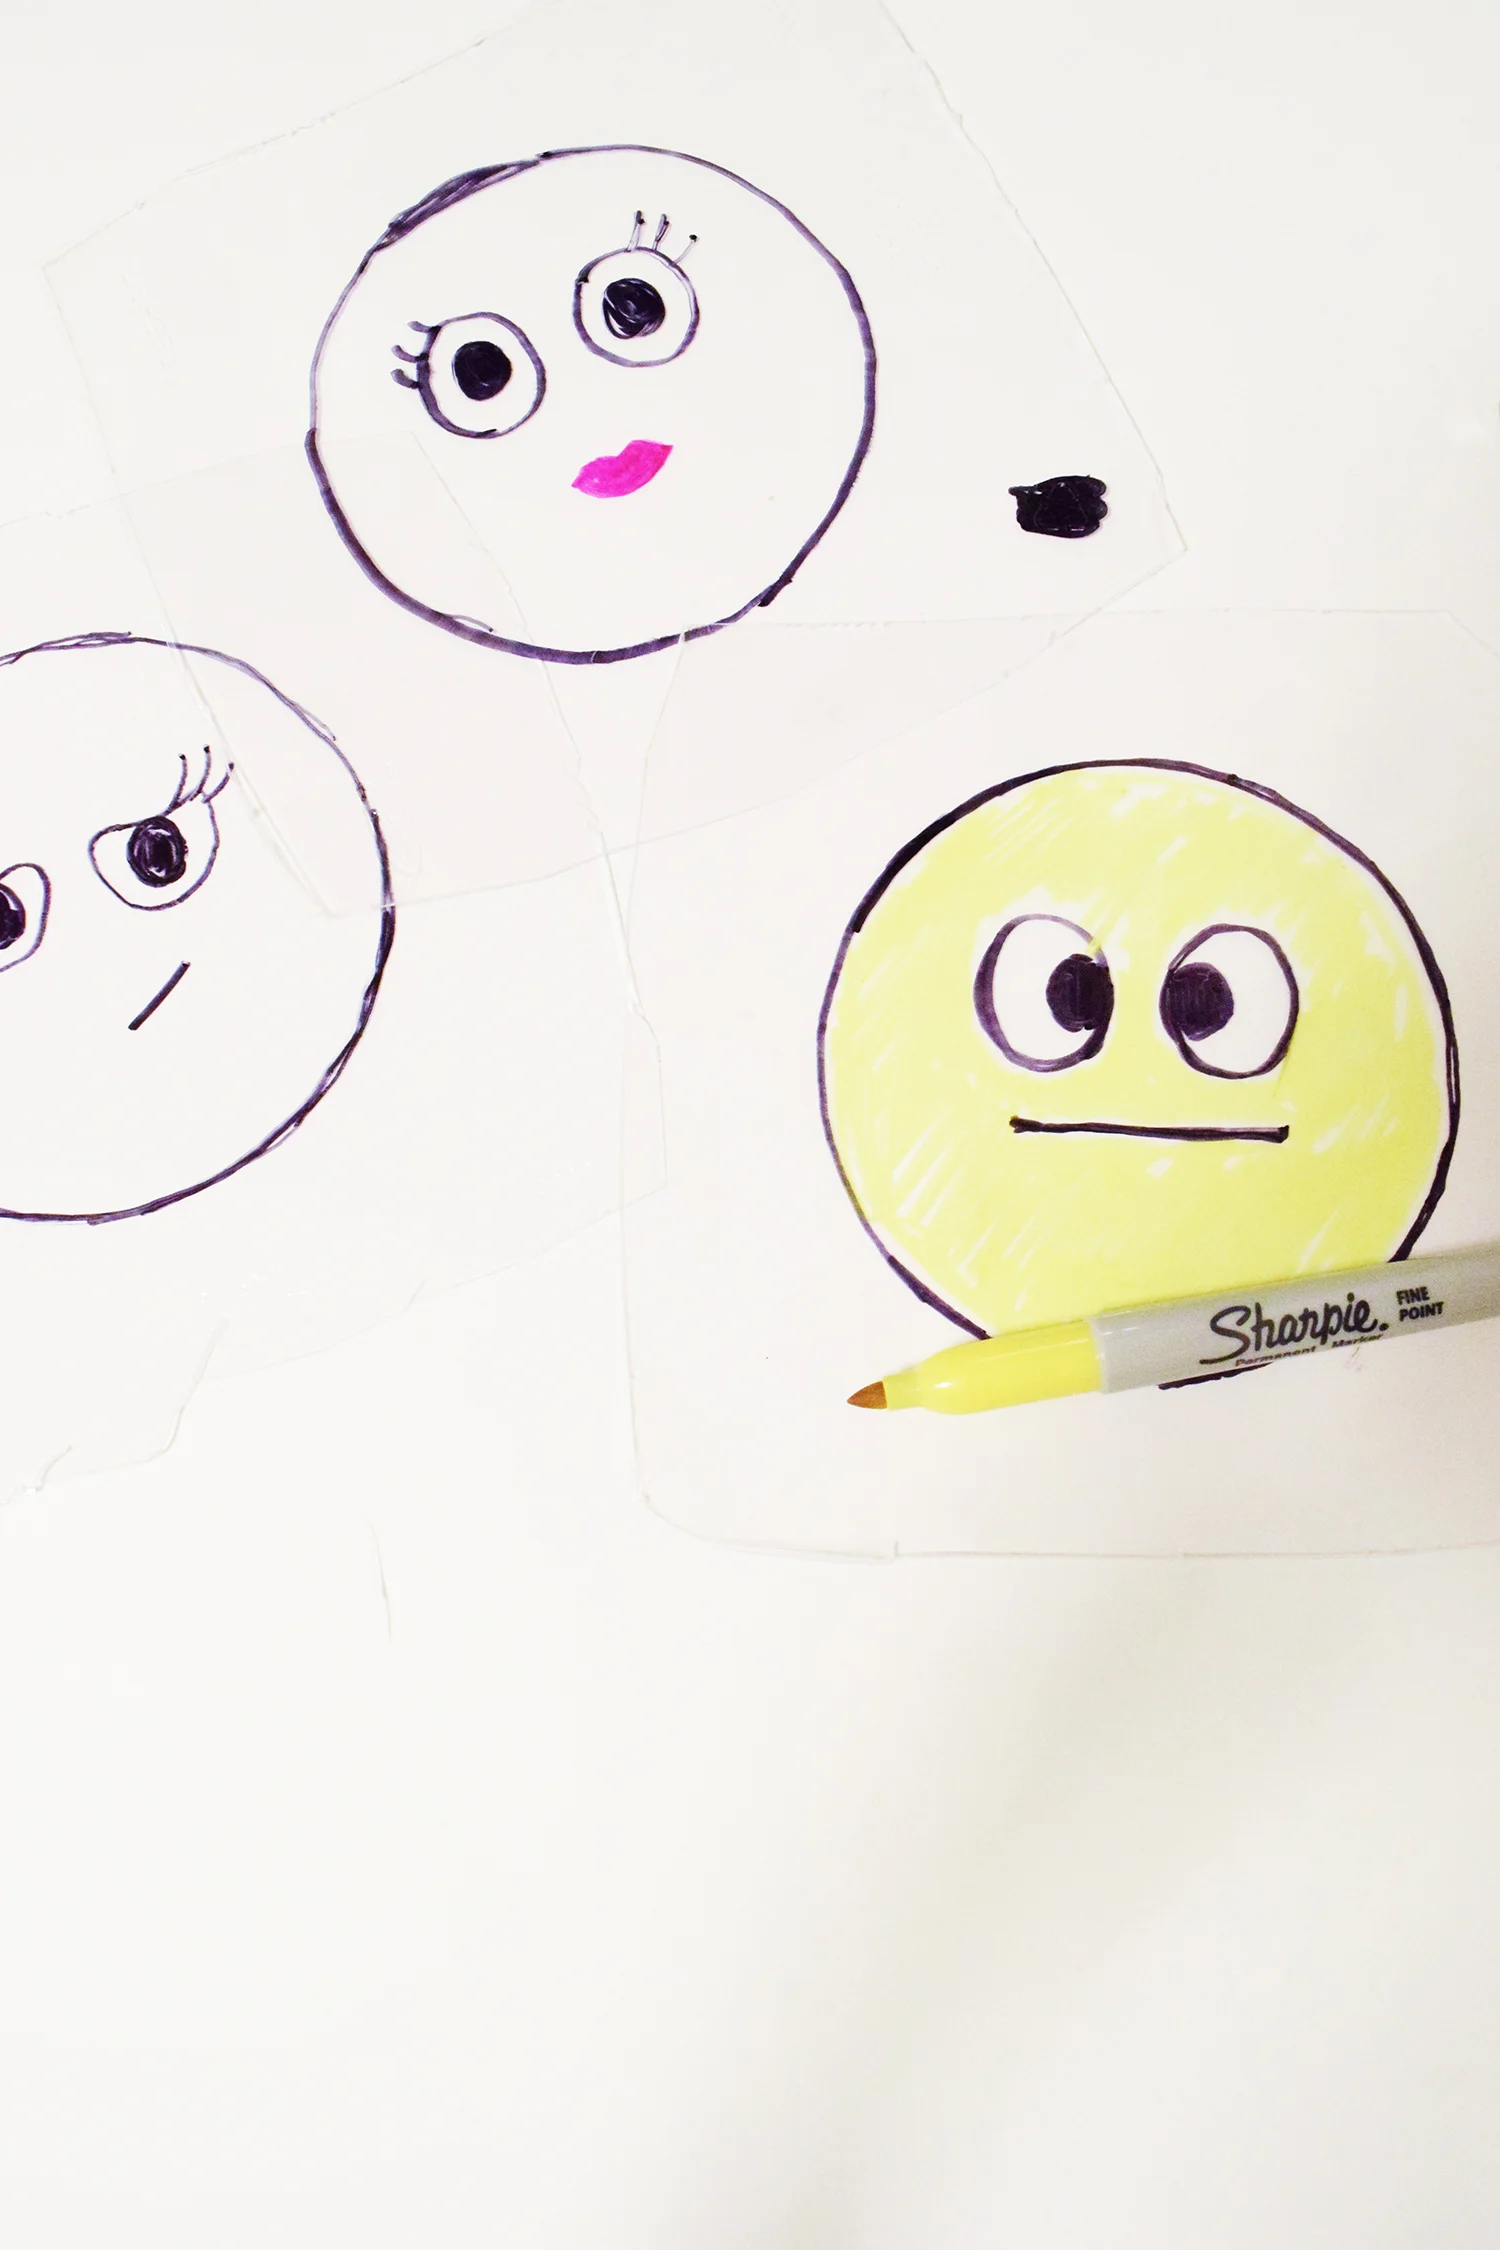
A Falling DIY: Finding Autumn’s joy was never more beautiful or easy with this DIY Falling Leaf Garland. Go out into nature, find a lovely tree branch, print the FREE Leaf Printable, and gather a few other supplies. This DIY easily comes together to bring joyful inspiration wherever it is displayed this Autumn.
Bathe Outside: A great way to create mental luck and joy is to get out and walk in nature. The term for just taking in the forest, through our senses, is called “Forest Bathing.” In Japan, it’s called shinrin-yoku or and it’s simply about being in and soaking up nature. Read more in this article from Time “The Benefits of ‘Forest Bathing’ How To Do It and It’s Great For Your Health.”
Drop me a message and let me know what you are working on or how you will catch some luck this fall.
Also, thanks for reading. This newsletter takes some time to pull together. Consider showing your support by forwarding it to someone who might need some inspiration or buying some of my artwork at INPRNT or Society 6.
If you are seeing this newsletter/blog for the first time and want to keep seeing content subscribe here.
Keep going, creative friends!
xoxo,
Andra


Here Are 3 Ideas To Make Winter A Little More Fun.