
This post contains affiliate links.

// hello friends -
Spring has sprung! Our landscapes are coming alive with flowers blooming, little critters hatching and sunny days filled with glorious warm moments. Many of us may feel the impulse to do some spring cleaning or freshen up our home with a fresh coat of bright paint, a big flower bouquet or find just the right spot for a new plant. When I came across this DIY air plant string art project by ProFlowers, I couldn’t pass up the opportunity to create a modern decor piece for my office!
Air plant string art combines creative string art designs with air plant accents to create unique living art for your space. There are so many different styles that you can create with this concept, from bohemian to minimalist and everything in between. Check out these amazing design ideas from ProFlowers.
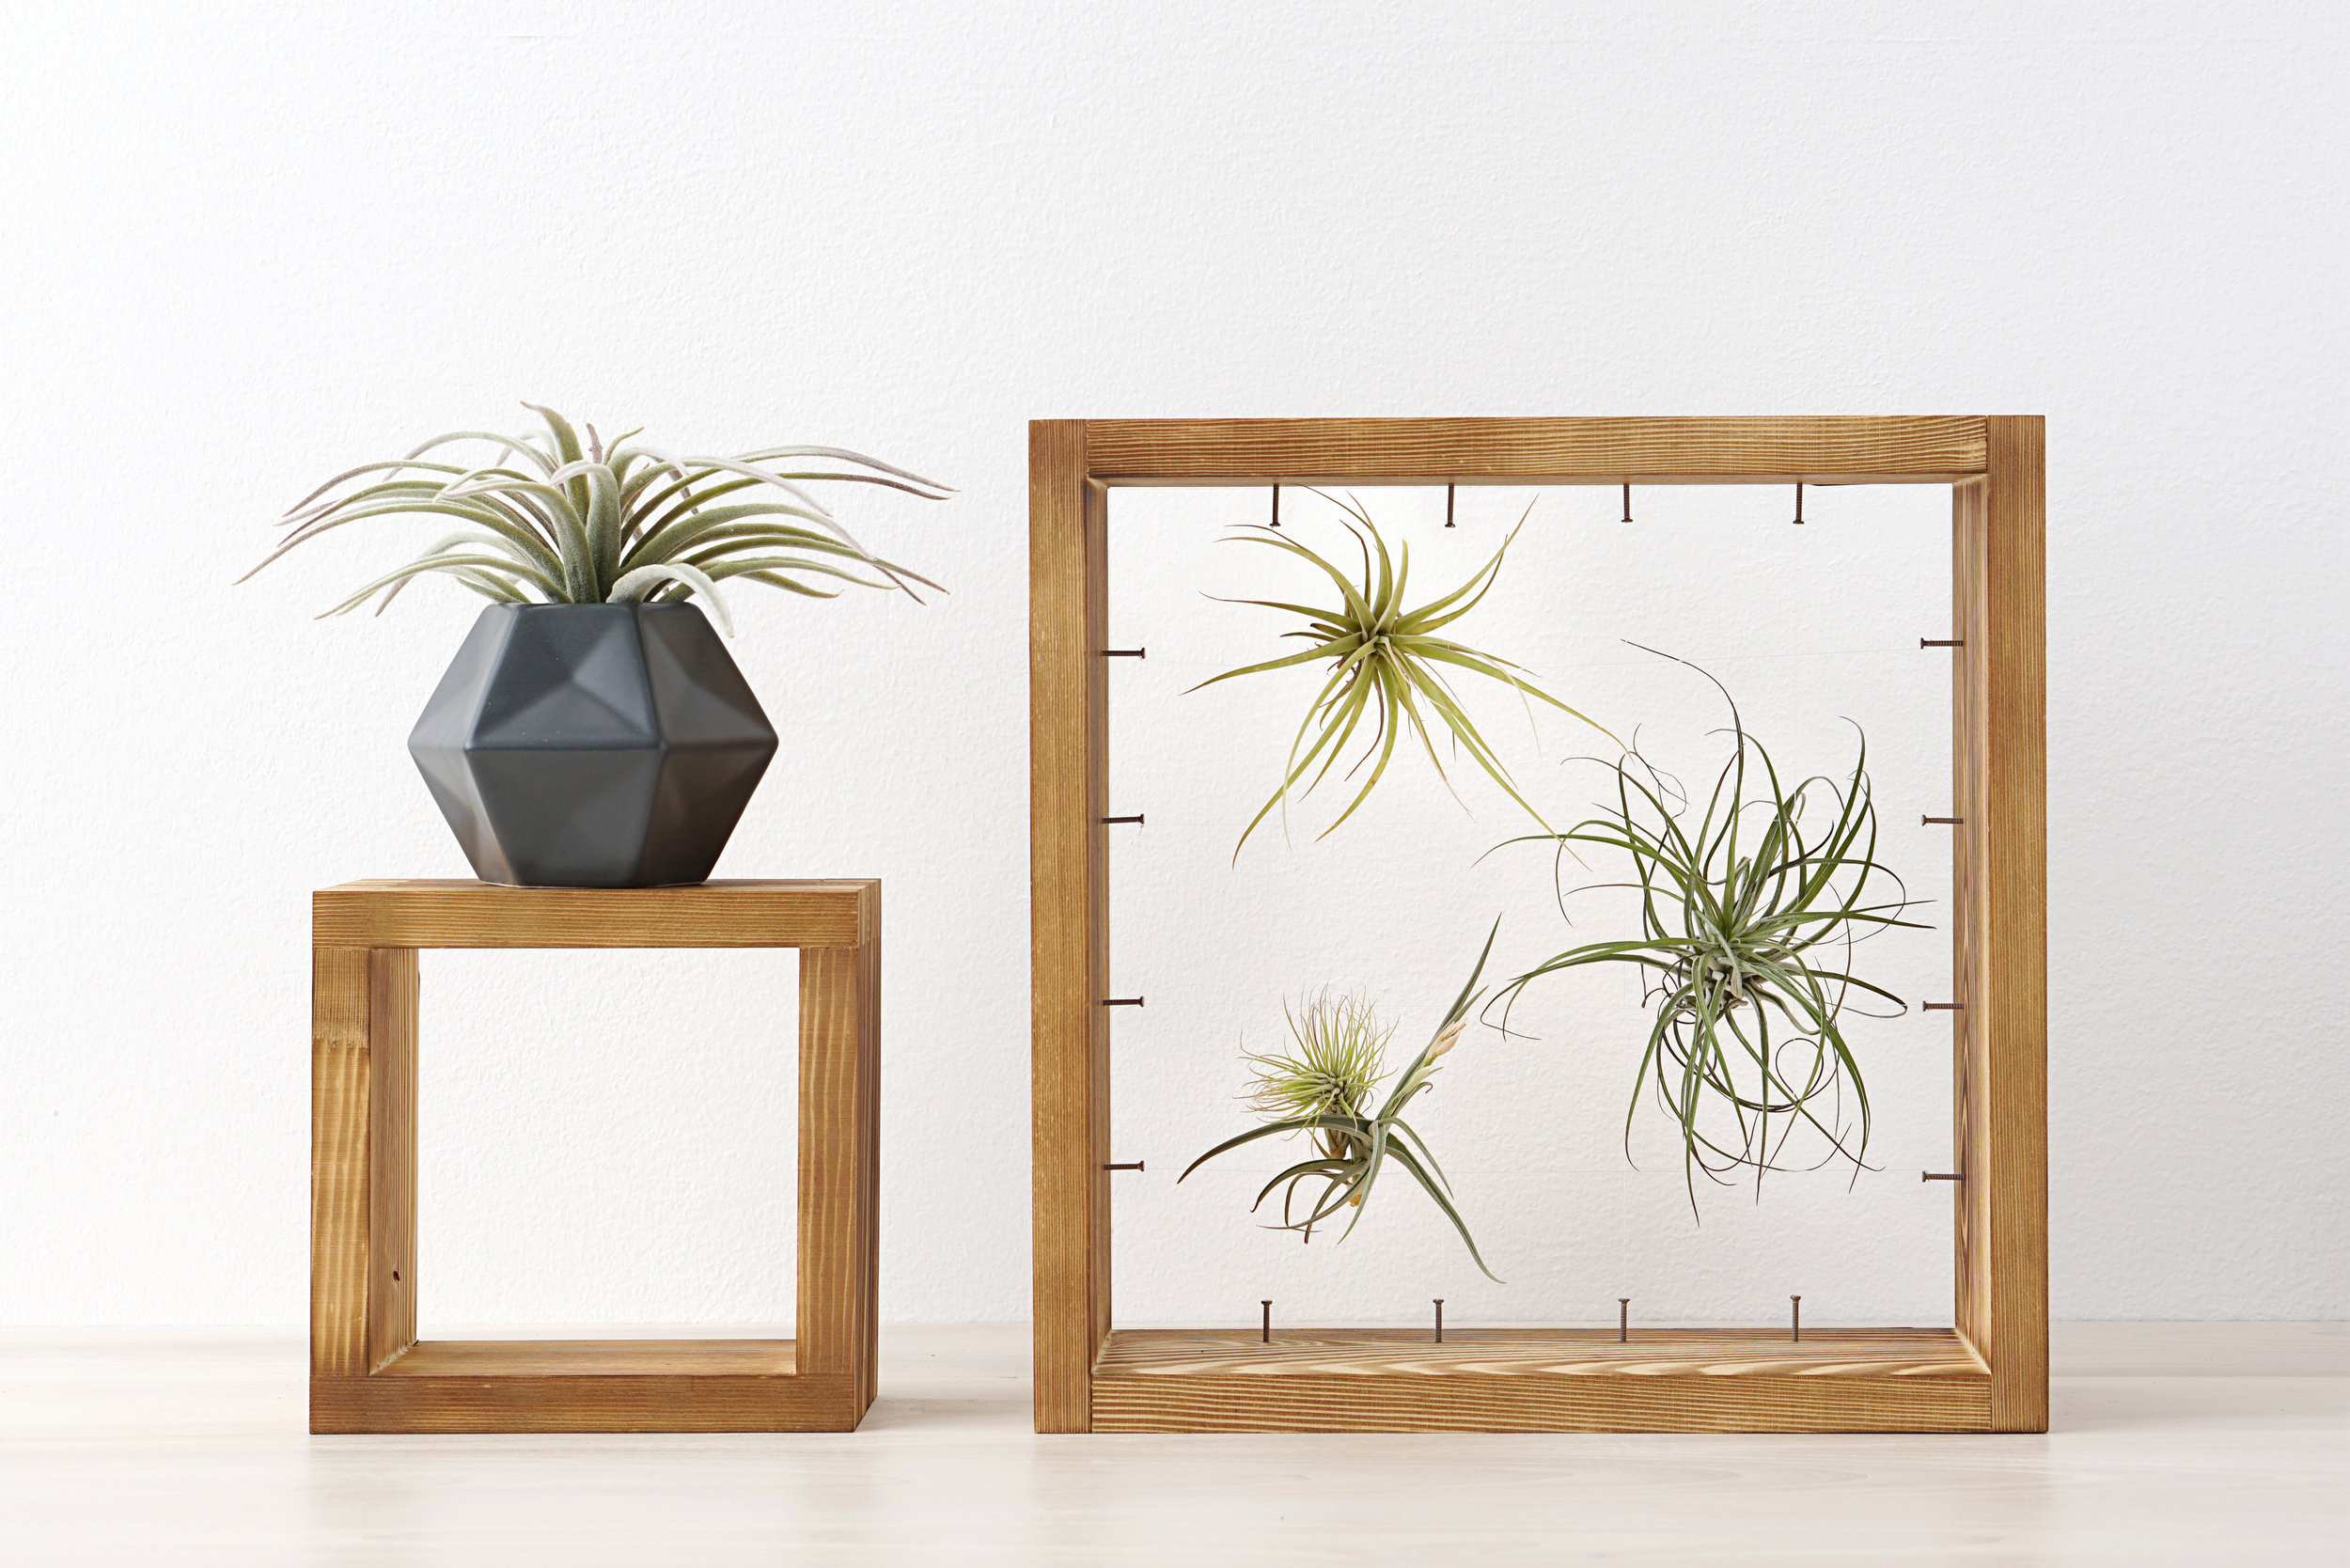
Image by ProFlowers

Image by ProFlowers
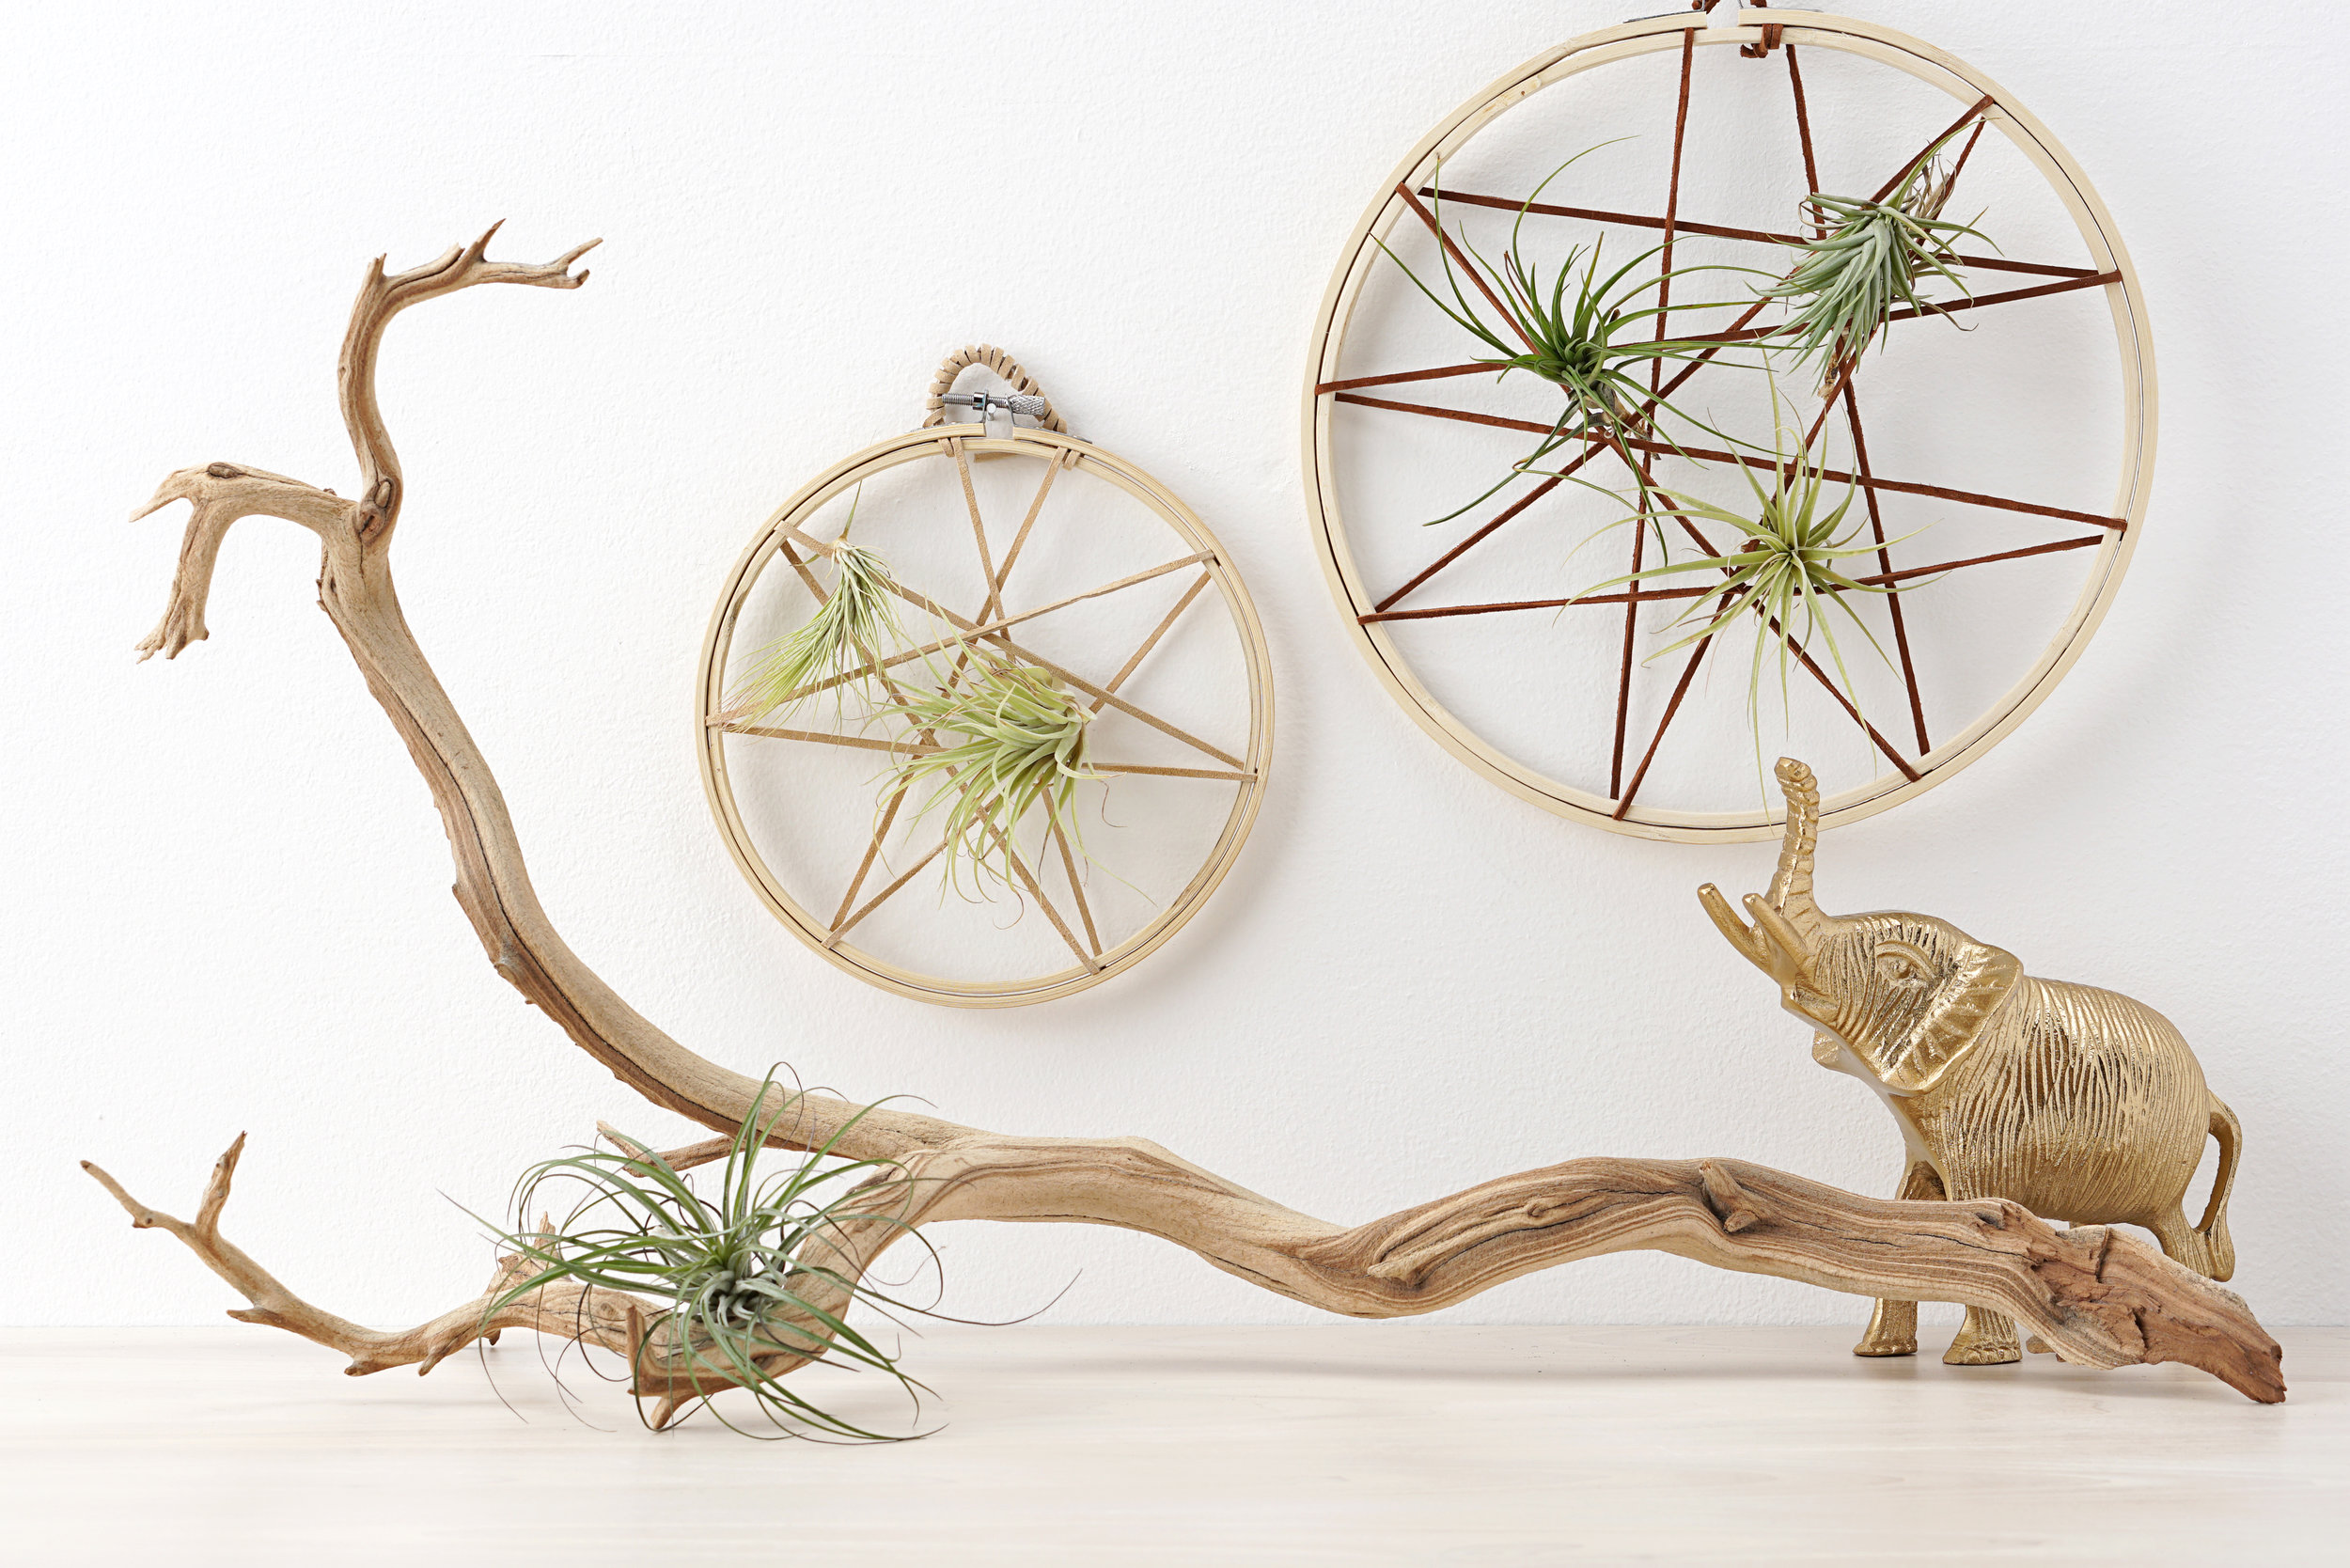
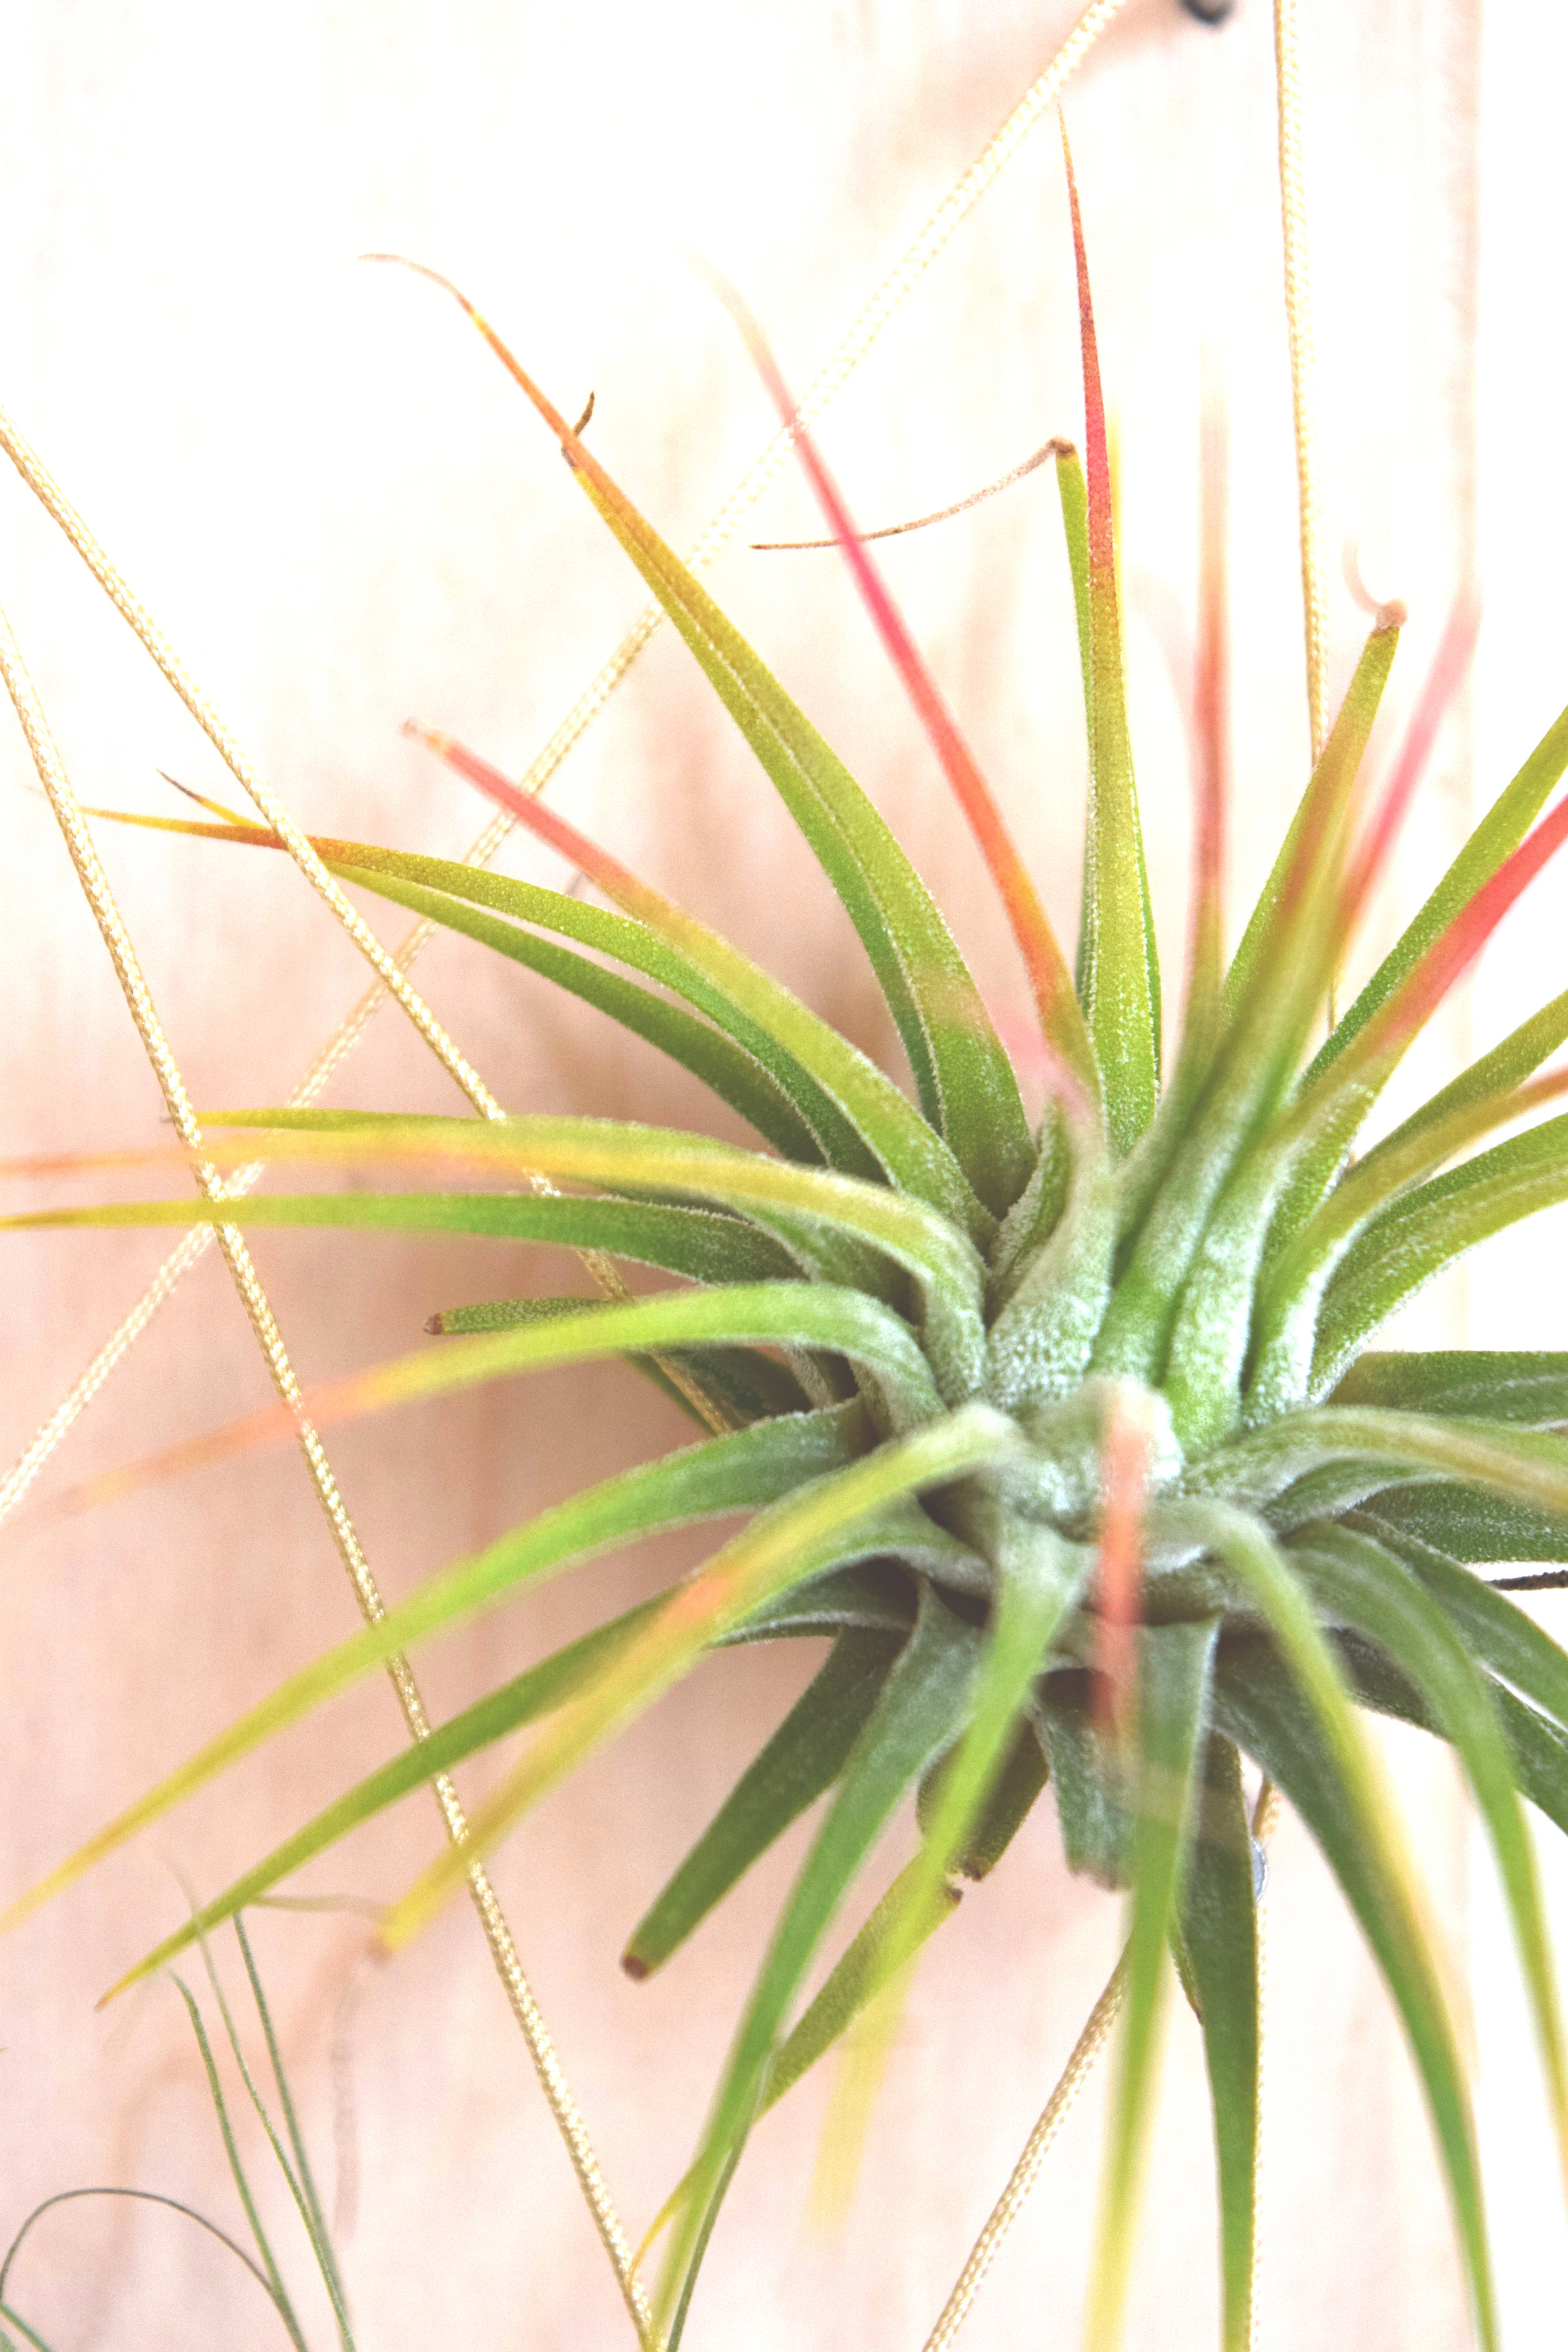
Image by ProFlowers
When I went to create my project, I kept it neutral. However, go ahead and feel inspired to paint the wood base with a bright coral or aqua for a fun pop of color on your wall. If you plan on painting your base, just give the surface time to dry before you start hammering the nails into the wood.
Let’s get started on this “DIY Air Plant String Art” by ProFlowers.

The materials you’ll need include:
String or jewelry cord {affiliate link}
Hammer
Scissors
Pencil
Eraser
Paint or 10mm wooden craft beads {affiliate link} (optional)
To create your own personal air plant string art follow the instructions laid out below or check out the comprehensive “DIY Air Plant String Art Tutorial” at ProFlowers.
Step 1: In pencil, mark where your nails will go with light markings on your wood.
Step 2: Hammer in the nails on a protected/covered work surface. Make sure to leave at least half an inch exposed above the wood so you’ll have room to tie and cut your string.
Step 3: Tie your string onto the nail at your starting point and make sure it’s tied tight.
Step 4: Wrap your string around different nails, loop them twice for a better hold.
Step 5: Tie the string and cut off any loose ends, make sure the string is pulled tight so the air plants will stay put on in the string.
Step 6: Place the air plants in your string design and make sure they’re secure.
Step 7: Enjoy! Display your art by propping it up or hanging it on a wall and just your air plants regularly to keep them fresh.
* When purchasing the wood base, consider the thickness of the wood and the length of the nails needed for your project. For example, a 1/4 inch thick base would be too thin for a 1-inch nail.


Isn’t it lovely to have a little a creative spring refresh in our office? If you want to keep creating check out my “Create Everyday: How To Unlock Your Creative Magic Now!” class on Skillshare. It’s a great way to keep creating everyday.

Until, soon friends!


Here Are 3 Ideas To Make Winter A Little More Fun.