Here Is How To Make Valentine's Sew Happy!
This post contains affiliate links.

// Hello, Friends-
Valentine’s Day is just a few weeks away which means it’s a great time to create and collaborate!
Here is something I have realized about creativity.
Creativity comes from living, doing, and being together!
When creativity strikes, it’s a rumination of the the days events, a compilation of our senses, a blob of thoughts processed, a brewed set of ideas, and most importantly the randomness of people we encounter.
And it’s the randomness that keeps creativity alive.
That’s why kids are so amazing!
Kids are random.
And “sew creative.”

When my sweet little 7-year-old daughter popped into my office, started throwing around post ideas, I realized it was important to stop and listen. She really and I mean REALLY loves sewing. She came up with today’s project and together, we created beautiful, fabulous and stretchy headbands…
Together!
They are a perfect gift to give your Valentine or just a fun thing to sew.
Easy Headbands
1/4 yard jersey knit fabric (57-inches wide)
1 spool multipurpose thread
small fabric clips {affiliate link} or straight sewing pins {affiliate link}
Janome sewing machine {affiliate link} or a basic sewing machine
fabric scissors {affiliate link}
Step 1: Layout the fabric on a flat surface and fold the fabric in half widthwise. Trim and remove the binding edge.

Step 2: Fold the fabric in half widthwise again.

Step 3: Turn the fabric so the long side is facing you. Fold the fabric lengthwise 3-inches from the edge. (This will create at 2.5-inch headband with 1/4-inch seam allowance).
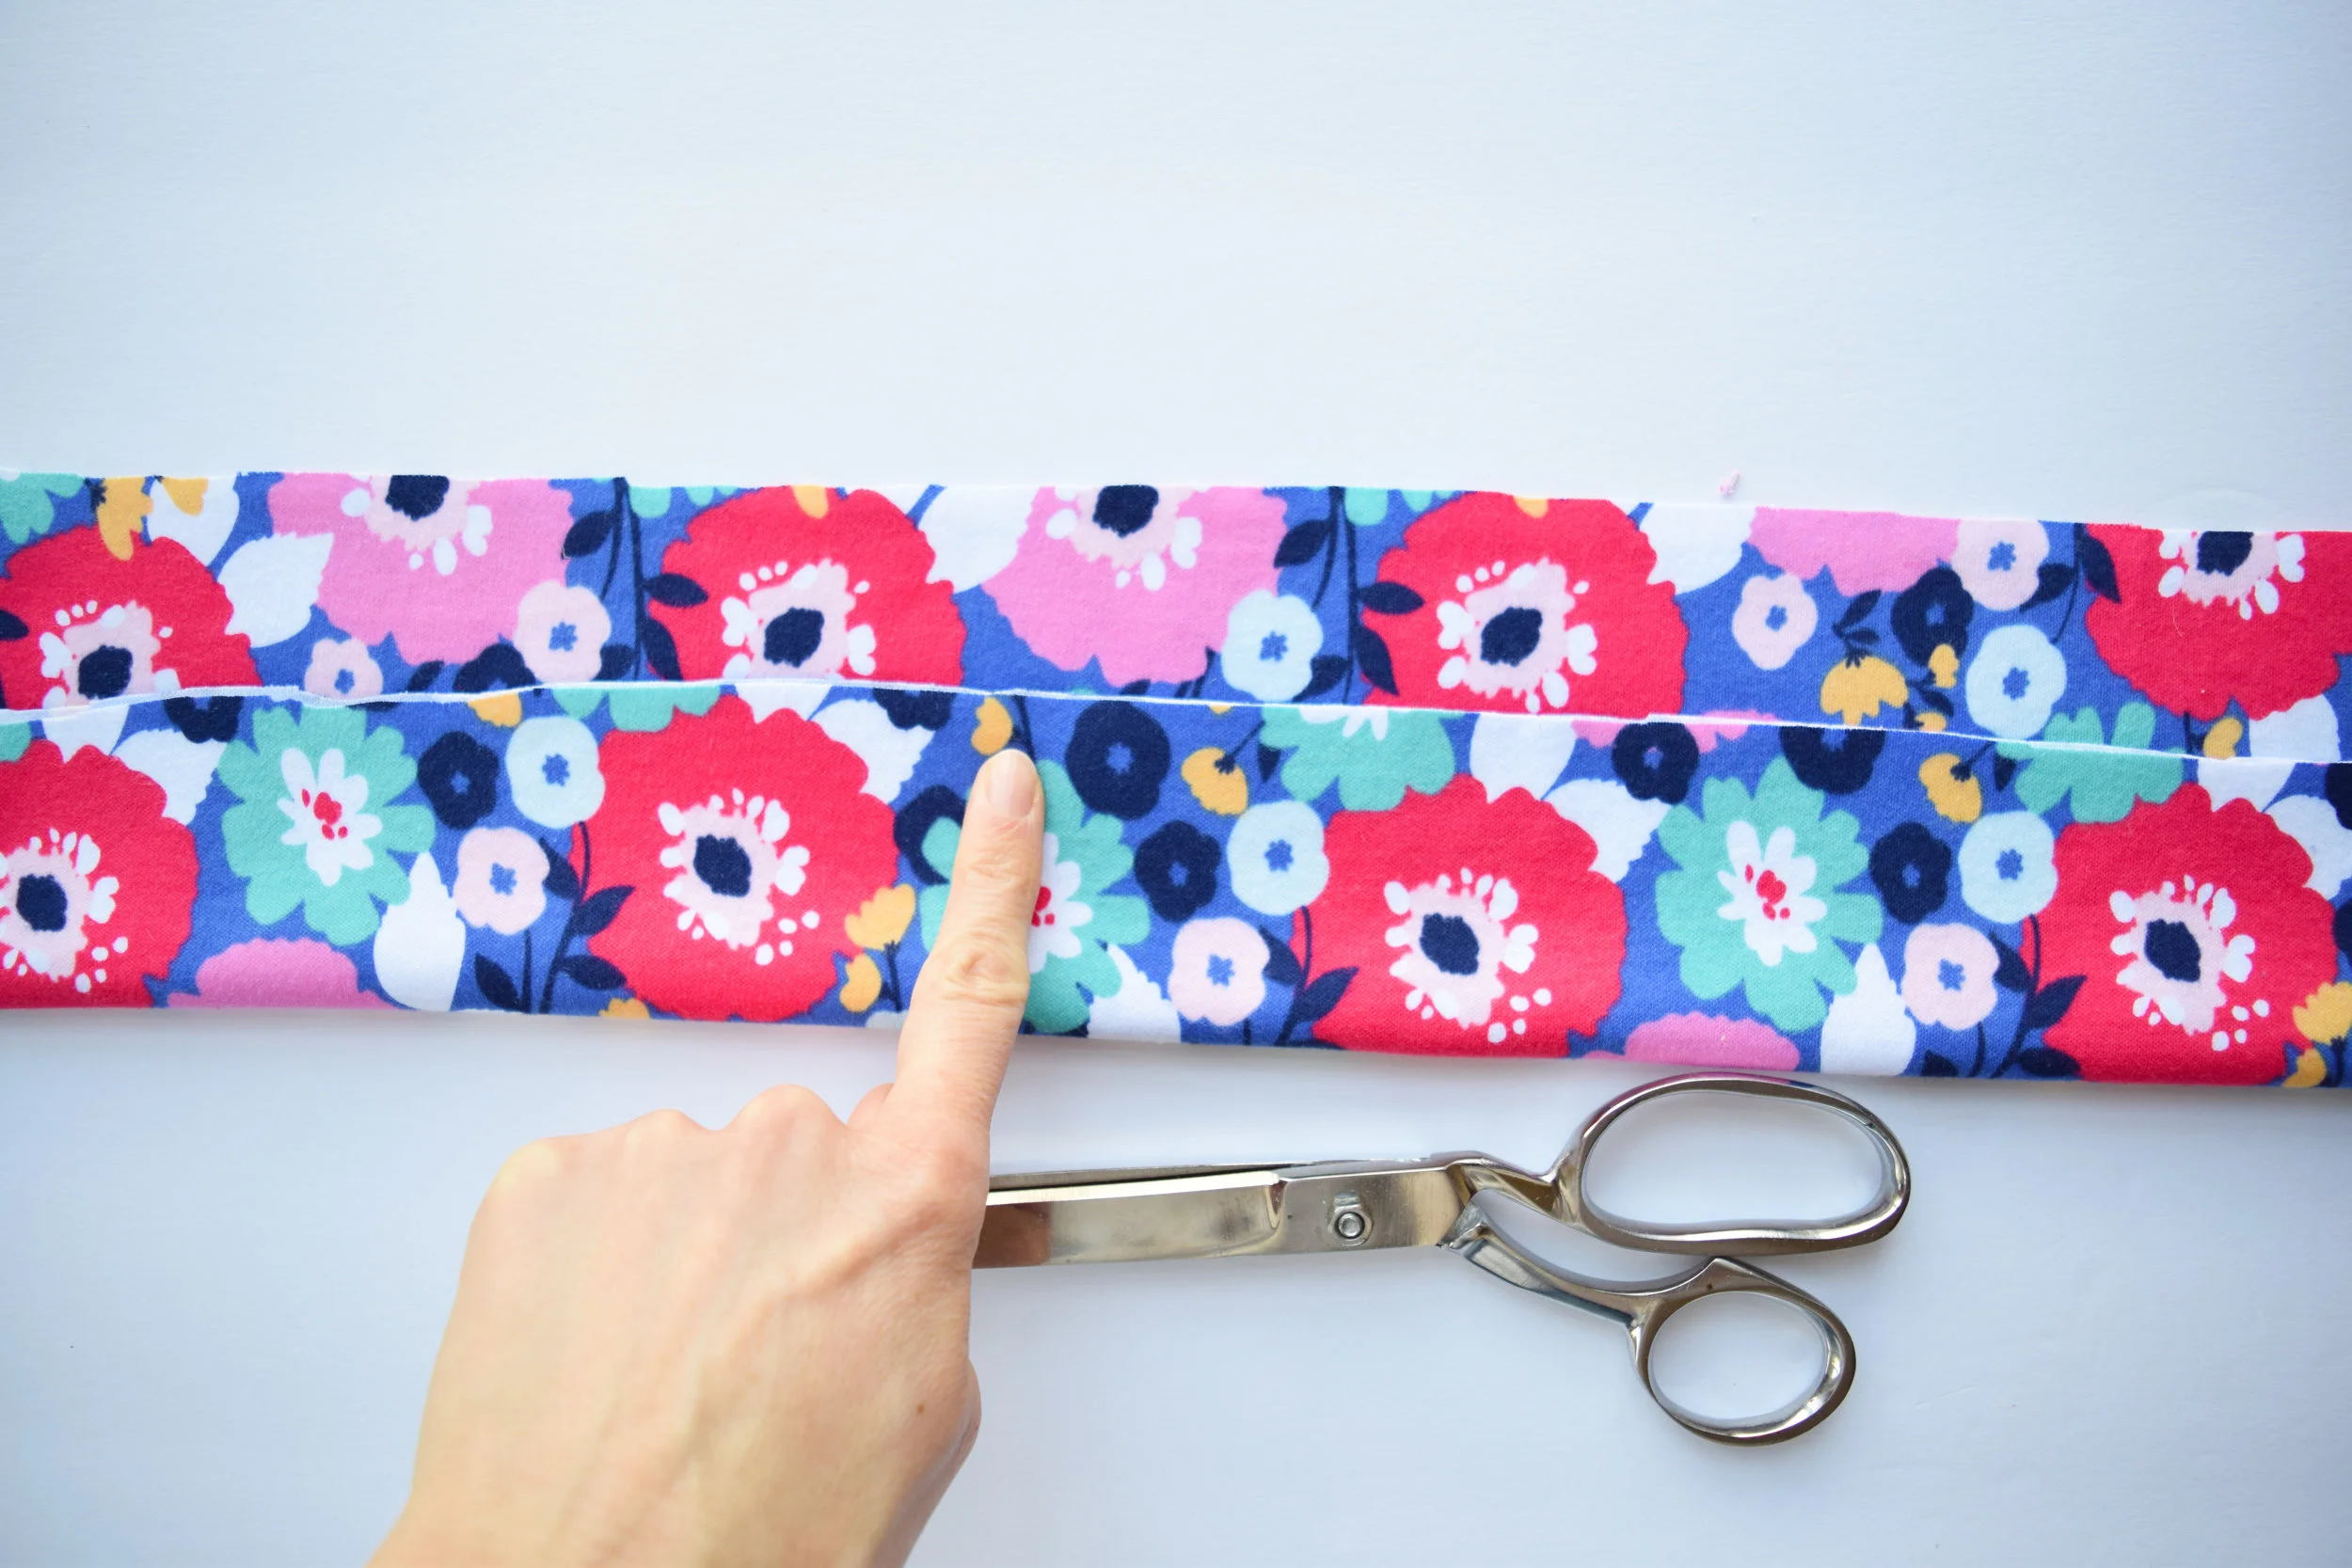
Step 4: Now cut the fabric along the fold.
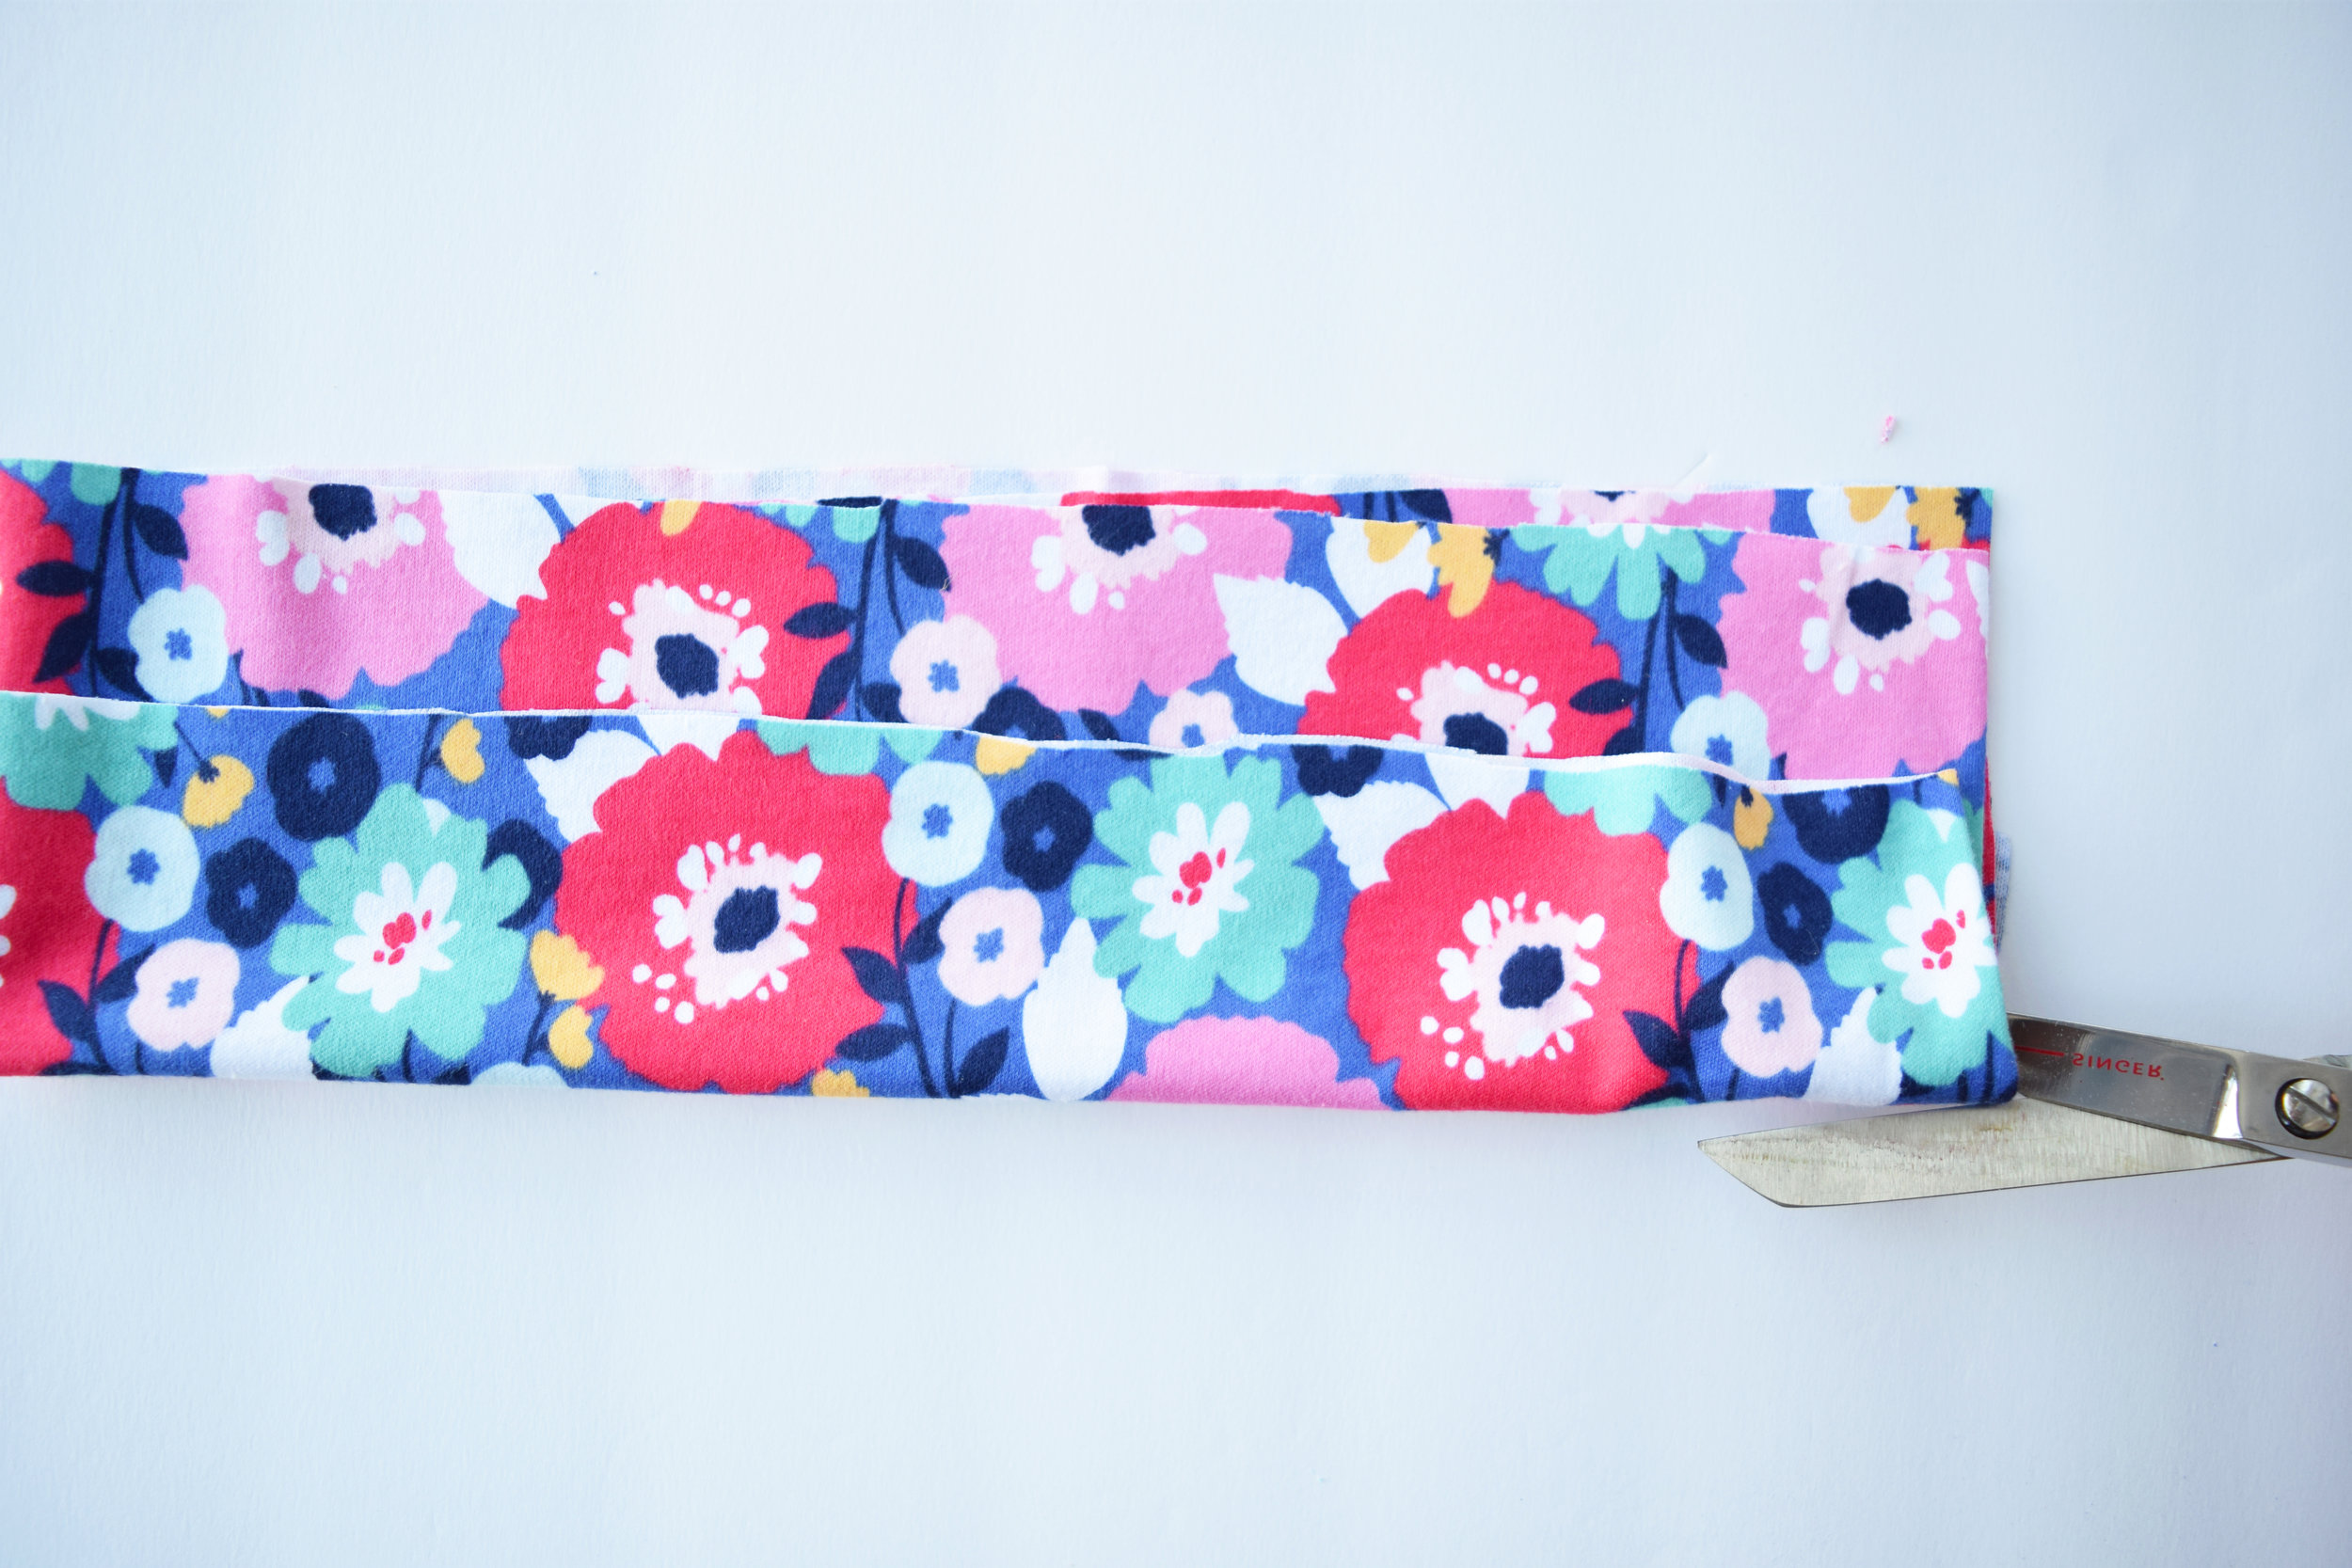
Step 5: On the end with the RAW FABRIC EDGE, cut a point in the end of the fabric. NOTE: DO NOT CUT THE END OF THE FABRIC WITH THE DOUBLE FOLD.

Step 6: Clip the fabric together with the wrong side facing out and the pattern on the inside.

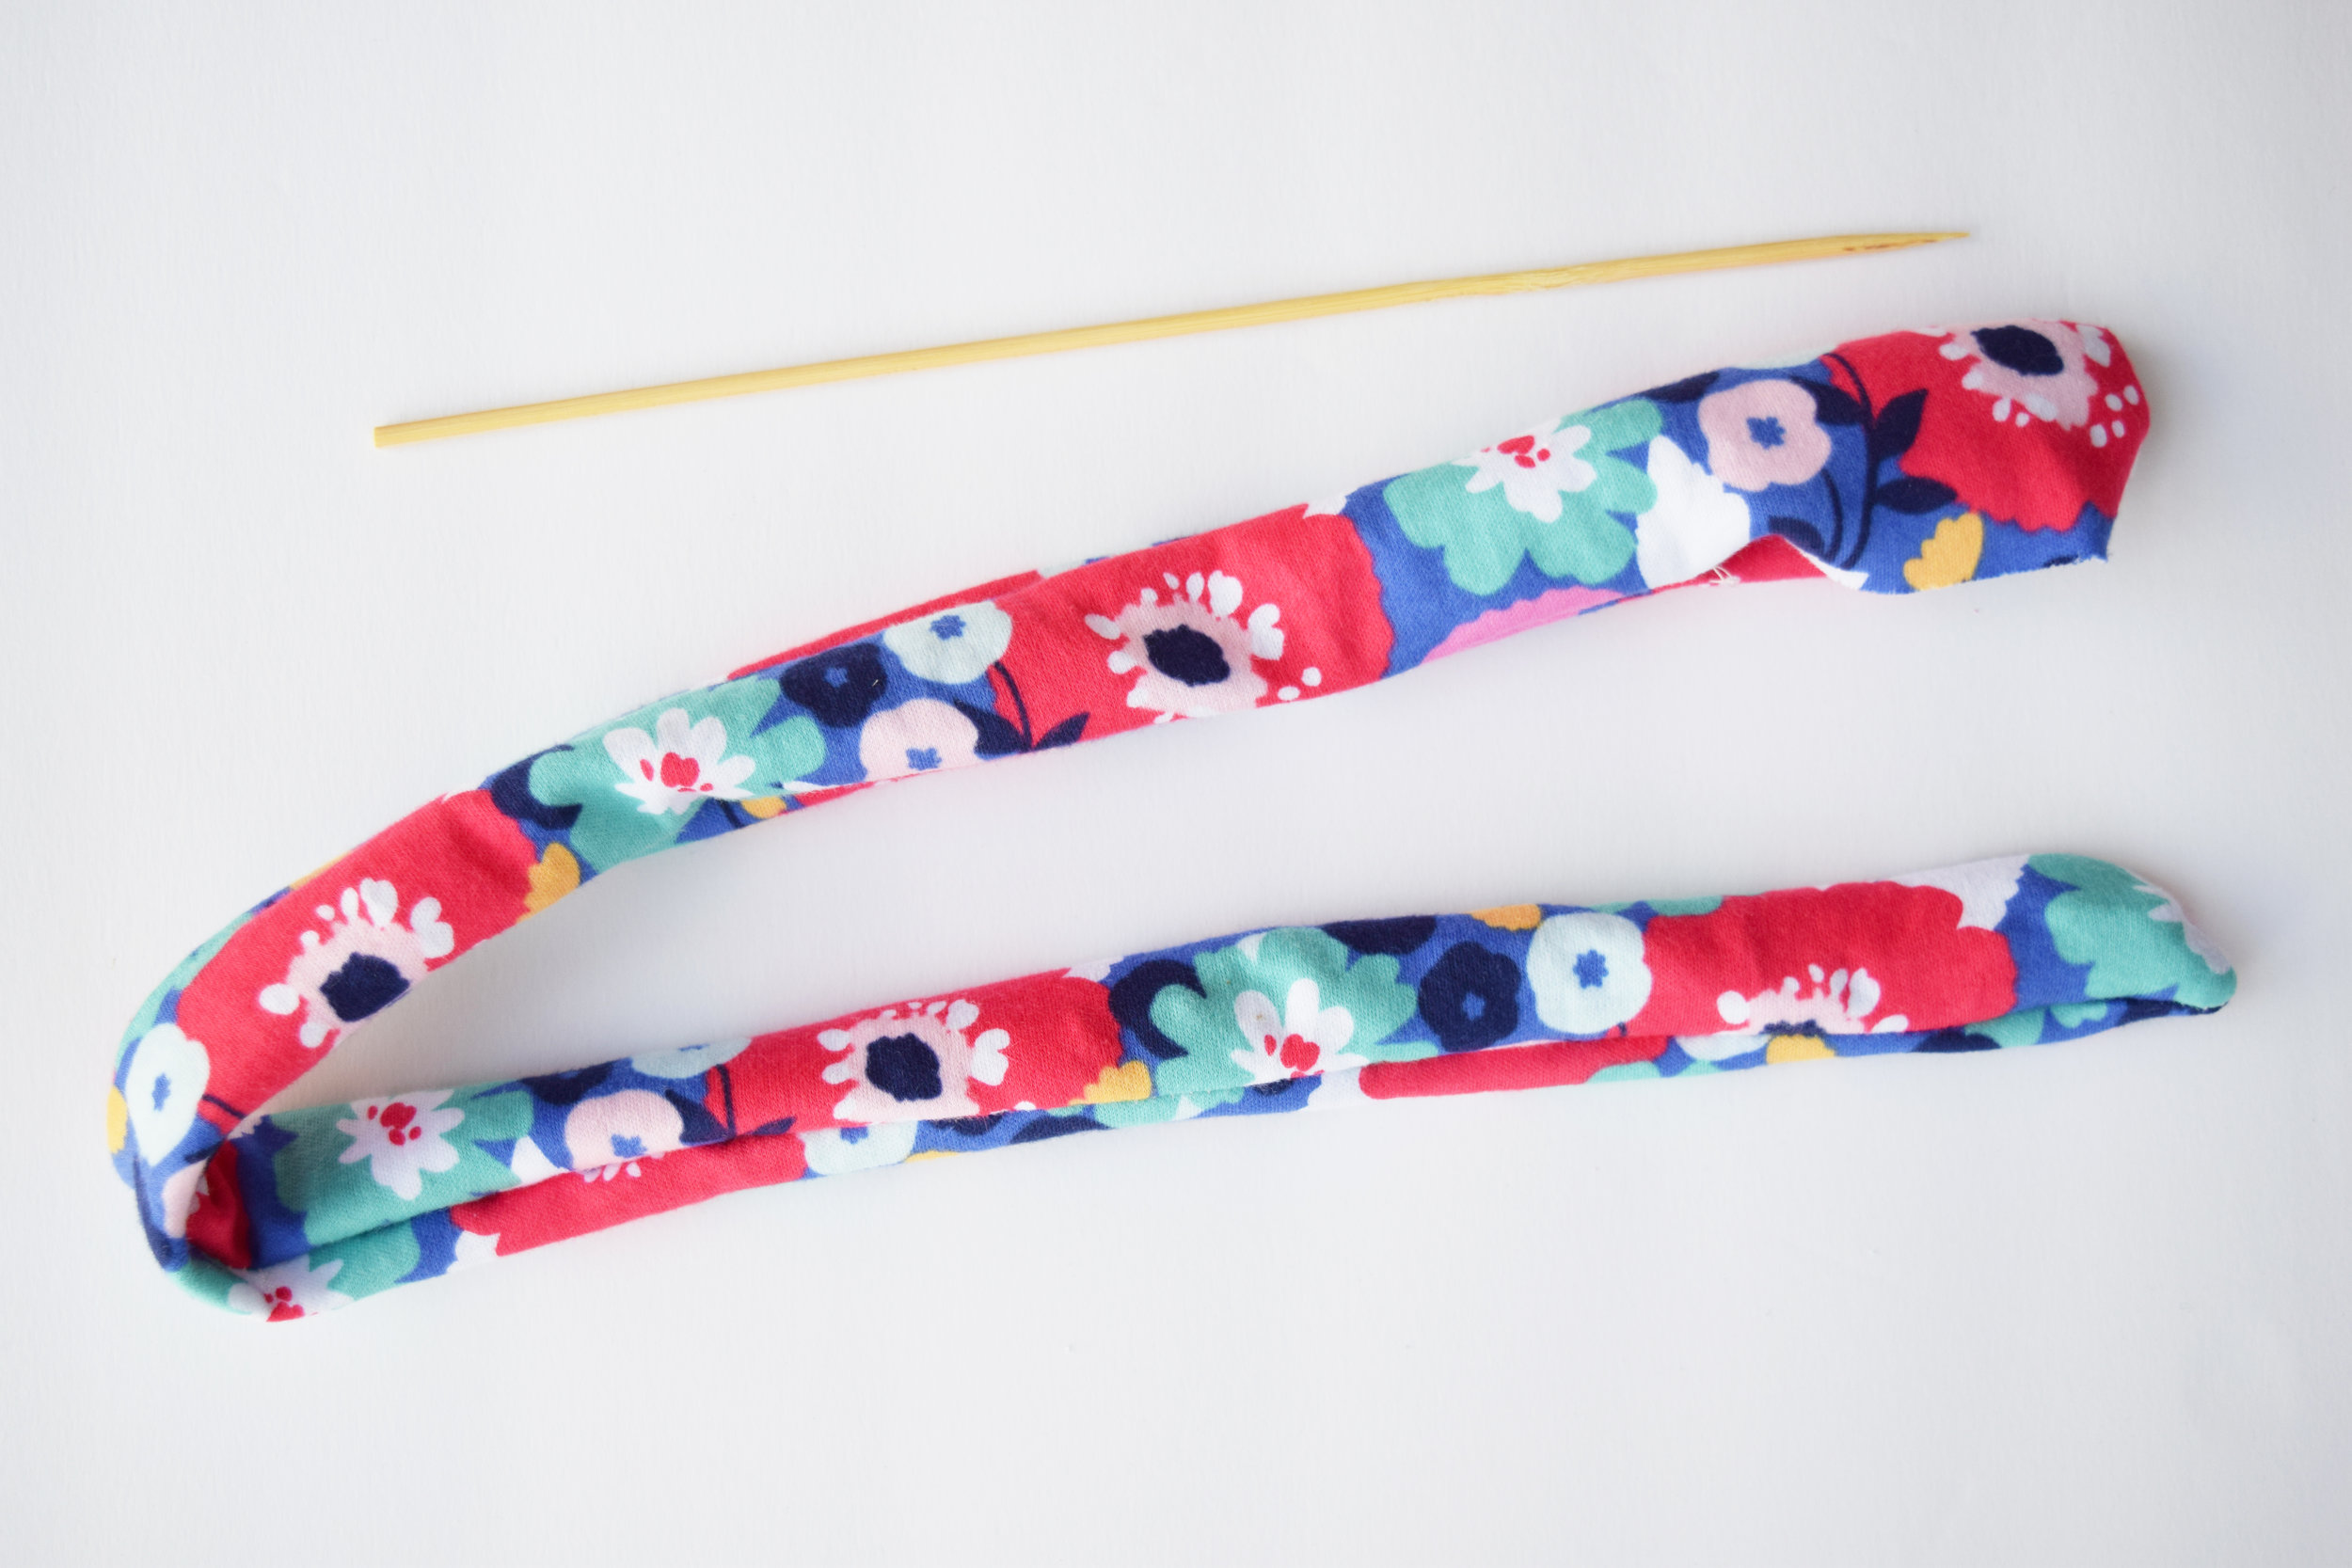
Step 7: With the sewing machine, start sewing at one of the points. Backstitch at the start of the sewing to ensure the stitches stay put. Leave a 2-inch opening on one side of the fabric.

Step 7: Use a kitchen skewer to turn the fabric right-side out.
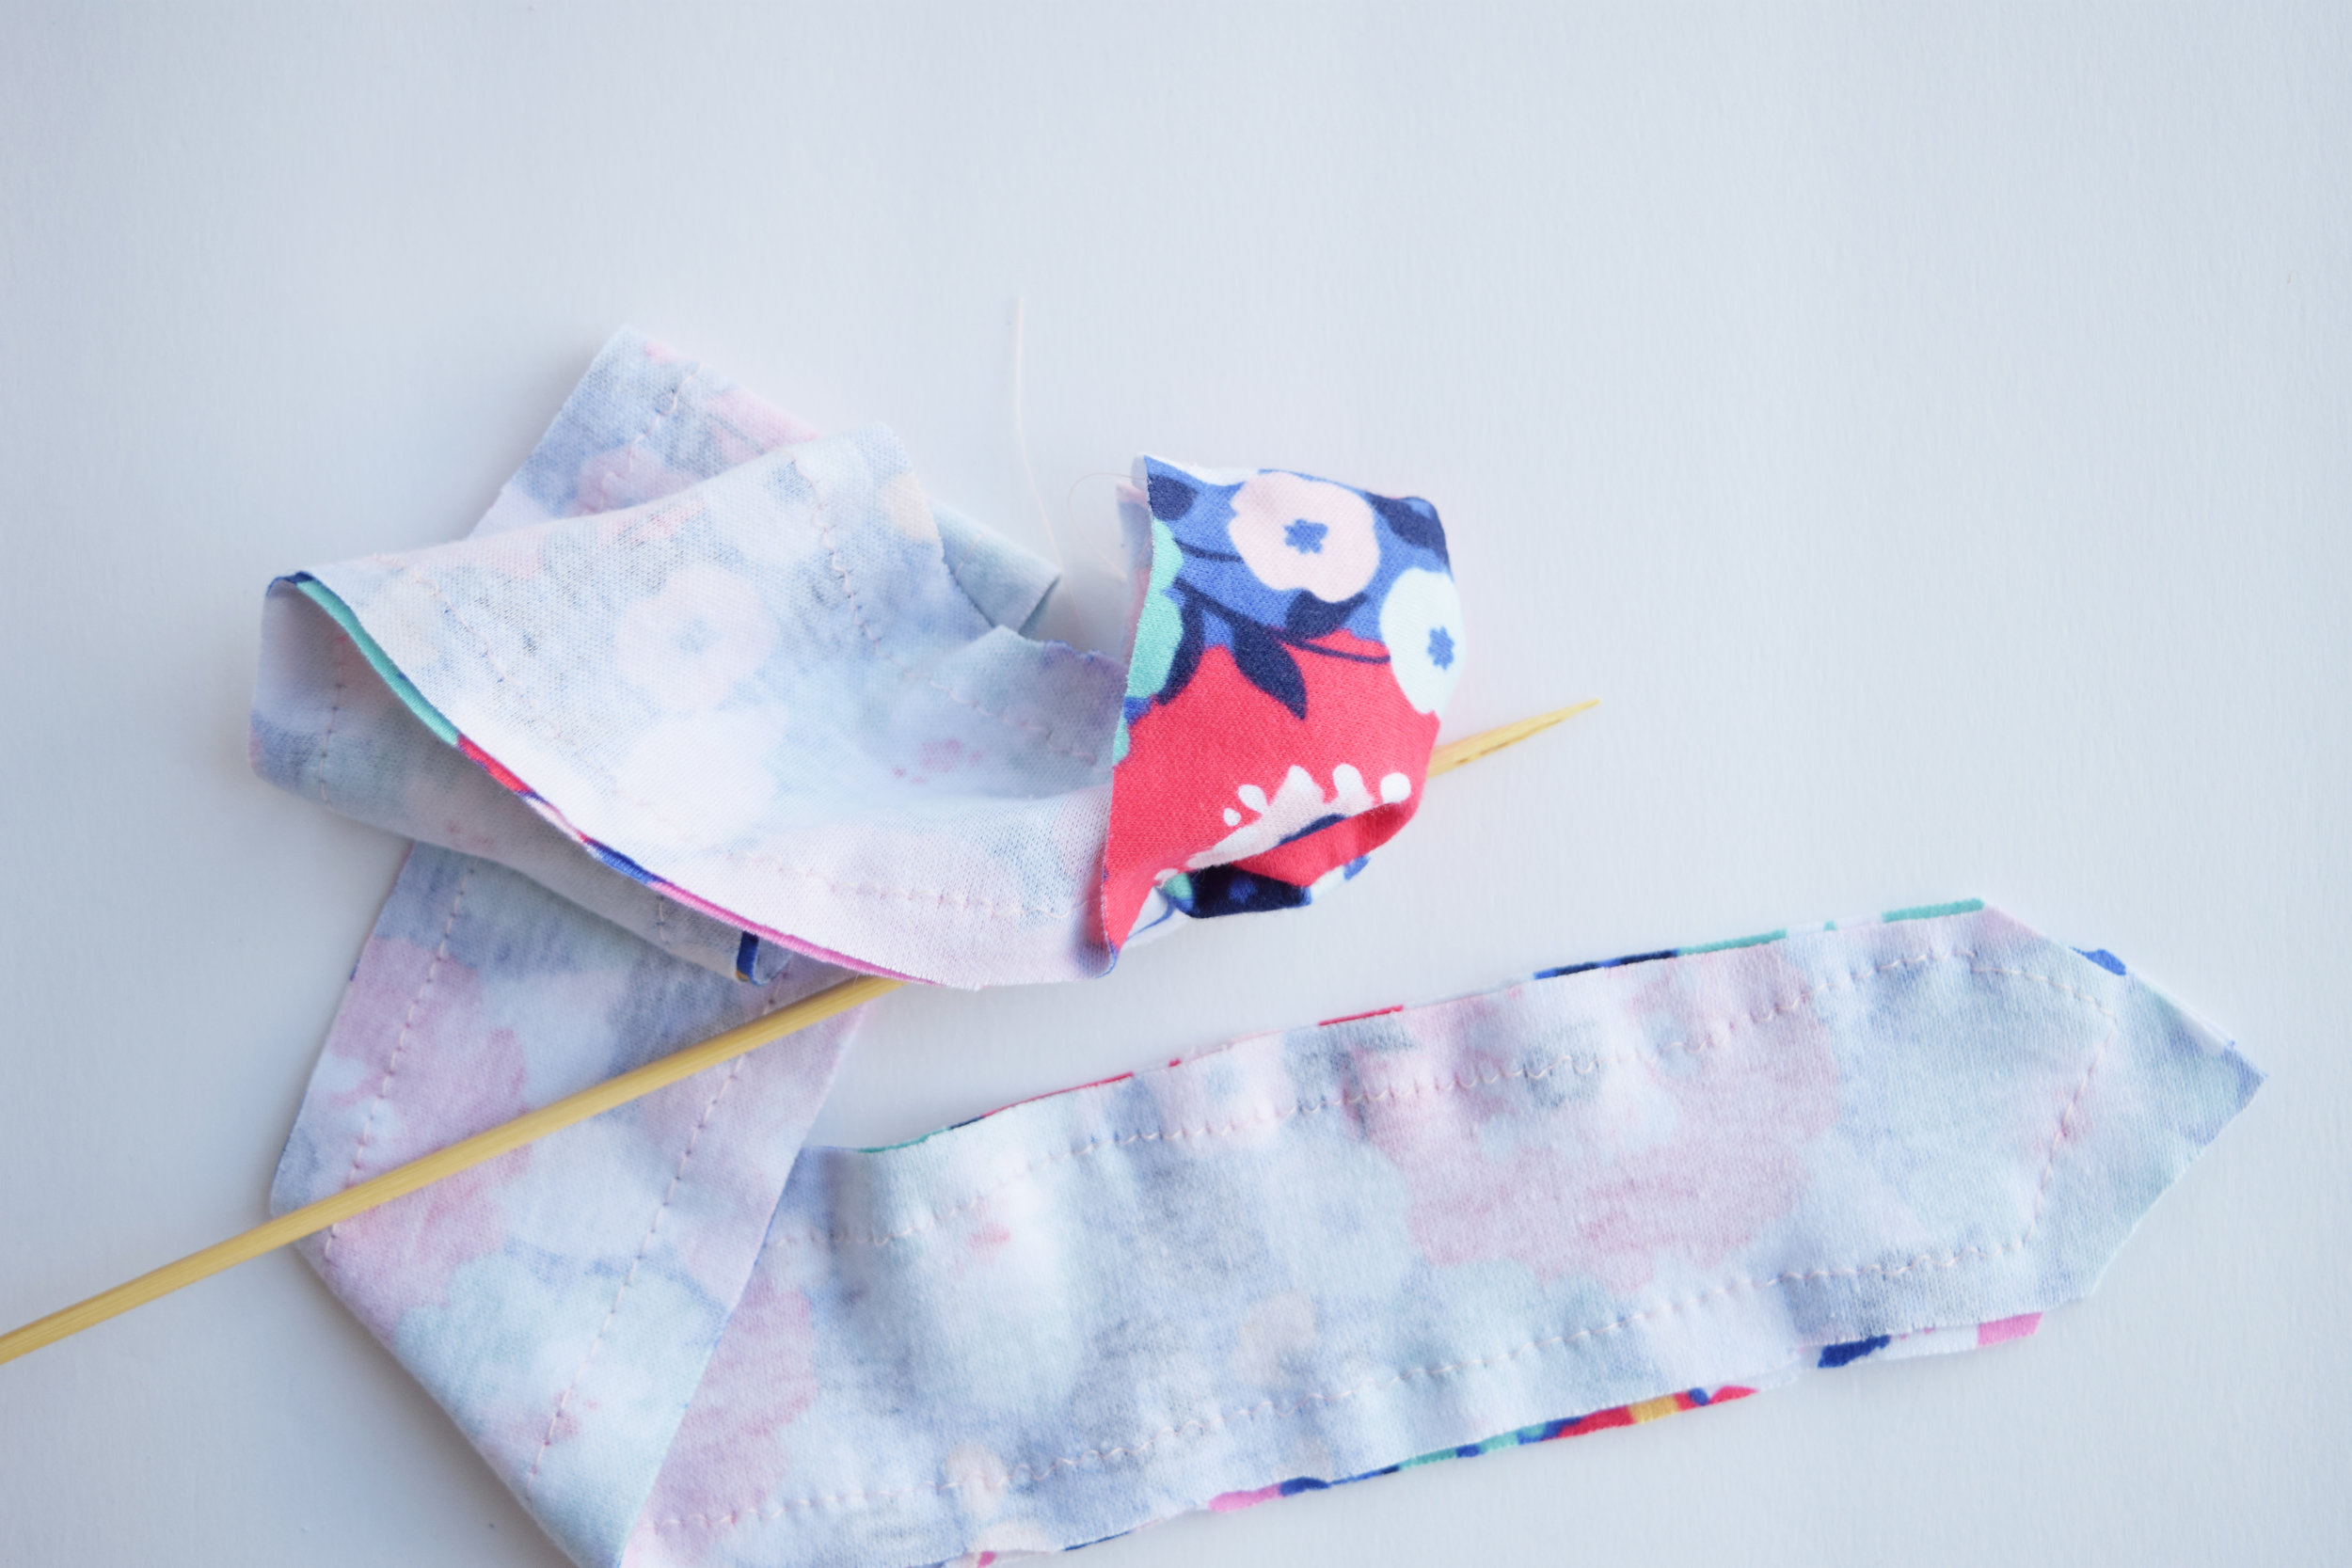
Step 8: Sew the 2-inch opening closed by folding under each edge of the fabric to make a seam. Tie the two ends together and the headband is now ready for your Valentine!


Your Valentine is going to be “sew amazed” at your creative work! Now let’s stitch our way to the next project.
Until soon “sew cool” friends! //


Here Are 3 Ideas To Make Winter A Little More Fun.