Design & Creative Development
awc_logo_2023_create_change.jpg

Create & Change

Posts in October
Day 301 - Rock Your Halloween Party Like A Hurricane.

Hey! The decorations are done, the food ideas are in place, the tricks are planned, fake blood is made, costumes are being hemmed and we are all set for the greatest Halloween party of all time right? Well, where would a party be without a soundtrack. Yes, today let's create the ultimate sound track for any Halloween Party using Amazon Prime Music. Log on to your account and make an ultimate Halloween playlist. Need inspiration? Here is one for review.

I need to go boogie but have fun making your spooky playlist and see you tomorrow Monster Mash!

OctoberAndra WeberHalloween, yet
Day 300 - Make Sure To Have Some Tricks This Halloween.

Hey Halloween goblins, the big day is less than a week away. Maybe some of us have purchased a few pounds of candy to hand out on Halloween night. I myself just picked up three and a half pounds of Smarties to dole out to all the spooks that ring my doorbell. However, I have never considered handing out a trick, until today.

Today's project is to think up a little trick for all those candy hungry trick-o-treaters. Maybe greet them with a bowl of fresh broccoli, give them a bill for the candy or whip up a batch of this ghost slime. Whatever you do create more trick than treat. Here is a recipe for the grossest slime ever.

You Have Been Slimed!

  • 1-4oz container of Elmer's school Glue  (white or clear)
  • 1/2 cup warm water
  • green food coloring
  • yellow food coloring
  • 1/8 cup warm water
  • 1/2 teaspoon Borax (in the laundry detergent aisle)

Step 1: Empty the entire contents of the glue in a bowl. Add the 1/2 cup warm water to the glue bottle. Close the lid tight and shake to remove any glue in the bottle. Pour the water in the bowl and mix the water and glue until combined.

Step 2: Add the green and yellow food coloring to the glue mixture and mix well.

Step 3: In a separate bowl, combine the Borax and 1/8 cup warm water. Mix well.

Step 4: Slowly mix the Borax into the glue mixture. It will be begin to become a solid. Once it becomes too hard to stir, mix with hands.

Gross right?

Enjoy the tricks and see you tomorrow Tricksters!

OctoberAndra WeberHalloween, yet
Day 299 - The 10 Greatest Halloween Movies Of All Time.

Hey you movie monsters. Who doesn't love the movies, especially a scary movie? Well, I don't. I hate scary movies. When I was eight or nine years old, my sister and mom talked me into going to see "Aliens" and I almost had a heart attack. It was a real blessing the power went out in the movie theater and we didn't get to see if Sigourney Weaver lived to fight another day against that slimy alien. If I did get to see the end, I think I would be dealing with a major case of insomnia twenty-seven year later.

However, it is Halloween and it's always great to get a little spooked out. Let's create a list of our top ten Halloween movies today. It will create a spooky mood and get us in the Halloween spirit. Here are a few of my favorites.

Enjoy firing up the Netflix and see you tomorrow Casper!

OctoberAndra WeberHalloween, yet
Day 298 - Make It An Alien Invasion On Halloween.

Greetings Earthlings! It's Sunday and this project is a quick one. Halloween is a week away and who still doesn't have their Halloween costume ready? Yep, me too. Here is a project that is cool, costs pennies and just down right fun. Imagine answering the door in bopping alien invasion headband! The trick-o-treaters are going to love you forever and the fact you are going to hand out full sized candy bars. You are going to hand out full sized candy bars, right?

Alien Invasion Headband

  • 1 adult sized headband
  • 1 black Sharpie marker
  • 1 color Sharpie marker
  • 1 pkg silver pipe cleaners
  • 2 ping pong balls
  • a drill and a small drill bit

Step 1: Draw the eyes on the ping pong balls. Draw a color circle first and then overlay the black pupil on top of the color.

Step 2: Drill a small hole in the bottom of the ping pong ball. Use a vice to hold the ball in place and safety goggles to protect your eyes. Safety first even with aliens.

No. This isn't safe. Use something to hold the ball in place!

No. This isn't safe. Use something to hold the ball in place!

Step 3: Bend two pipe cleaners so the ends make a "V" shape. Push the pipe cleaner "V" into the hole on the ping pong ball.

Step 4: Wrap the headband in the pipe cleaners and attach the eyes to the headband.

Alien Invasion ready! See you tomorrow at Area 51.


Day 297 - No One Wants to Be Buried Alive, Even Cupcakes.

Hello Halloween party goers. The ghoulish festivities are a little more than a week away. Some of us might be attending or throwing a Halloween party soon. If you are anything like me, I never know what to bring to a party. I always want it to be over-the-top fabulous but I usually end up in the kitchen hating myself for volunteer to bring an 7 course dessert menu complete with hand rolled pirouette cookies. In short, I get a little over zealous with perfection.

Being perfect can feel like burring yourself alive. One can just keep digging into expectations so grand the only way to dig out is to succumb to defeat. Today's project is to create something imperfect and creepy in the kitchen. Go ahead and buy the grocery store cupcakes or cake mix and just jazz them up with some cookie crumbs. Pick up a package of hot dogs and make them look like gross bloody fingers. Dump a bottle of juice in a punch bowl and call it a party. Create perfection from less expectations.

In the spirit of being buried alive, I bought some cupcakes, frosted them, thew on cookie crumbs and dropped on a gummy eyeball. Creepy and easy. Nothing buried alive over here and no tears in the kitchen when the witch cauldron soufflé didn't rise in the oven.

In short, just enjoy the Halloween party and see you tomorrow party zombies!

Day 296 - When to Bring On The Fear.

Boo! Why does the thought of seeing a ghost make our hearts race? How many of us have jumped at the sight of an eight legged friend crawling down the wall? Who here fears balancing high on a ladder? How about being alone, at home, in the dark? Does getting on a crowded elevator produce tiny droplets of perspiration on our temples?

What is it about these things that turns our nervous system on it's head and sends us into a deep dark panic? Since we have been talking about Halloween the last few weeks, let's talk about fear and why we fear stuff like spiders, dogs and public speaking. Here is a great article from How Stuff Works "How Fear Works." The short of the article is fear helps us stay alive. It gives our bodies the message that we should move and shake our way right out of that snakes path or stay in the cave durning a lightening storm. Fear is primal and it is unavoidable but we can dance with and perhaps create something from it.

Today, let's create some Halloween fear. Pick someone you know (very well) and scare or gross them out just a bit. Bring on the fear! Maybe a good friend is a bit shy of spiders? Perhaps a big, fake hairy spider at the store will give them a healthy shriek. How about switching out yellow mustard for frosting on top of cupcakes? The kids will never want a cupcake again! How about an airhorn taped behind a door? Get the measuring tape ready to see how far your friends feet levitate from the ground. Whatever you do, make it more of a trick than a treat and remember to tell them Happy Halloween.

Until tomorrow tricksters.


OctoberAndra Weberhalloween, yet
Day 295 - Hey Pumpkin! Sparkle Your Way to Halloween.

Oh hey pumpkin. Is it me or is there something so enchanting about those little multicolored gourds that litter porches and windows this time of year? Maybe it's because a pumpkin is like a canvas. It's a blank slate waiting for a touch of paint, a little carving or a few sprinkles of glitter. It can become a work of art instantly. A pumpkin is biodegradable, edible and magical. In short, pumpkins have it all.

When I think of pumpkins, I think of Cinderella. These days I hear a lot of people squashing the story of Cinderella. They feel the story is outdated and it sends the wrong message. However, if the reader listens closely to the story, it's simply about kindness. No matter how awful Cinderella was abused, she treated everyone with kindness, even the smallest of creatures. In the story, kindness is the magic that brings the fairy godmother, makes the little mice molt into horses, and turns a pumpkin into a carriage. We are going to use that same kind of enchantment today to create something to make the others feel good.

Today's project is to create a bit of magic in someone's life. Take someone out to lunch just because. Pick up groceries for that mom who has a cold. Open the door for a stranger. Tell a co-worker they are doing great work. Offer to pay for a strangers coffee. Pass it along the magic of kindness to someone around you. In short, create a little magic to remind the others they are magical too. That way, everyone can sparkle their way to Halloween.

Until tomorrow fairy godmothers and fathers!

Day 294 - Waste No Time And Be Sly As A Fox.

Hello foxy loxy. This post is going to be like candy corn today, short and sweet. Halloween costumes can be a stressful item to create. However, it doesn't mean we need to make them from scratch. Sometimes we need to be sly like a fox and gussy up a store costume or pull something from the back of our closet to get us through the Halloween hustle. Some of my favorite costumes were ones I threw together from stuff that was lying around the house.

As I stated in a previous post, our family had a hard time this year agreeing on a theme for this years Halloween. My son in particular kept changing his mind. When we spotted these fox accessories he thew them in the cart and we both said "done!"

However, we both agreed they needed a little extra fluff and fuss to make the sly fox in him come alive. We picked up a few inches of faux fur and fired up the glue gun to make his sweet little costume complete. Today, create easy for yourself and pick up a pre-made costume or dig through stuff in the back of your dresser drawer. Pull together a Halloween attire with stuff that doesn't need a ton of time or effort.

Enjoy creating an easy Halloween costume for yourself or friend. I'm off to scare up some pumpkins for tomorrow's post. Until then.

Day 293 - Who Needs A Monster Donut in Their Life?
monster_donuts_sq.jpg

This post contains an affiliate link.

Hello Monsters. We are back together for another monster mash today. Getting together always calls for a little treat. When I think of a treat I think of donuts of course. Nothing can beat a ball of fried goodness. When i think of fall, I think about the crisp autumn air and cloudy days. As a kid, they always made for a great trip to the apple orchard. There was crunching around in leaves, picking apples and munching apple cider donuts. The apple cider donuts were a real treat for any fall day.

Today, let's try to recreate that delicious apple cider flavor. Let's whip up these monster treats to help celebrate fall and Halloween. First, I mixed up a batch of quick donut holes. You can find the recipe here on Cooking Classy: 15 Minute Donut Holes From Scratch. If you are short on time, use plain unglazed donut holes bought at the store. They will work too.

Now for the glaze that adds the apple and the monster to this anytime fall Halloween snack. You will need:

  • 1/2 cup apple cider
  • 2 cups powdered sugar
  • green food coloring
  • 1-2 tablespoons melted butter
  • a pinch of salt
  • Wilton Large Candy Eyes {affiliate link}

Step 1: Place the cider in a small sauce pan. Turn the heat on high and let the liquid boil for 8-10 min or until the cider reduces down to 1/4 cup.

Step 2: While the cider is cooking, sift the powdered sugar. Add the green food coloring, melted butter and salt to the powdered sugar. Mix well.

Step 3: Add the reduced apple cider to the powdered sugar mixture and combine until smooth. If the mixture is still too thick to spread, add a tablespoon of cider until the glaze is thin enough to coat the donut but thick enough to cover the outside.

Step 4: Drop the donuts into the glaze, and coat the entire donut. Place the donuts on a cookie rack and place one candy eye on each donut.

Now warm up a cup of apple cider, invite a few ghouls over and enjoy a snack fit for any monster.

Well, I'm off to cut out some faux fur and fire up the glue gun for tomorrow's post. Until then, eat up Cyclops!


OctoberAndra Weberhalloween, yet
Day 292 - A Costume That Will Make You Hungry.

Hello to all you trick-o-treaters to be. Isn't it hard to come up with a costume for Halloween and make it extra special? Every year I ask my kids what they want to be. We usually brainstorm as a family and throw out ideas to one another. One year our entire family was a pack of wolves. Another year 3 of us were vampires and one member was an excavator. We have been witches, a shark and a zombie surfer and little bunny foo foo. By this time each year, we usually have nailed down the theme and our costumes are done.

Not this year. For some reason this year, we can't seem to agree on any theme. We talked about being breakfast but no one wanted to be the sausage. Who does? We talked about going as fighter pilots but the little girl wouldn't have it. There were astronauts on the list, dinosaurs and a box of donuts. The list just kept going.

However, one of our family members put a stake in the ground. Out of the blue my 5 year old daughter said she wanted to be no not a princess, or a cheerleader or a head of state. No my 5 year old stated she wanted to be sushi this year. Yes, sushi. Look, I tried to talk her into being a big pink donut or Rapunzel but she wouldn't have it. She insisted on being a sushi roll. A salmon avocado to be exact. 

Her persistence lead me to do a Google search. It turns out there others who have dressed up in some pretty awesome sushi costumes. Challenge accepted little one. Today we made her a sushi costume and today's project to start to create a handmade costume for yourself. That is to say today, pick a theme or a character and get to work on a homemade costume that is original, handmade and will be the talk of any party. Don't be shy about digging through your closet to locate some props or clothing from a bygone era. Or using the shipping boxes stored in the garage. Usually, we have materials all around us that can get our creative juices flowing.

As for the sushi costume, it still needs a little refinement but here is the material list and steps to inspire your own sushi costume or other frilly frock.

Salmon Avocado Sushi Roll Costume Supply List

  • a paint brush
  • green and white acrylic paint
  • 1/8 yard green fabric (I used polar fleece)
  • 1/8 orange fabric (I used polar fleece)
  • a measuring tape 
  • 1" foam material
  • 2 yards imitation leather fabric with texture
  • 1 roll of quilt batting
  • A hot glue gun and glue sticks
  • safety pins
  • sewing pins
  • green ribbon {optional}
  • ginger colored ribbon or trim {optional}
  • 2 barrettes or a headband {optional}
  • a set of chopsticks

Step 1: Cut the green and orange fabric in half so there are 4 pieces. With the white paint and a small paint brush, make salmon stripes on the orange fabric. Mix the green and white paint together and paint a lighter shade of green on the green fabric to look like avocado. Let dry overnight.

Step 2: Measure yourself or the person who needs the costume. Think about proportion and how the person will wear the costume. Cut the foam accordingly to the proportions. Trim the fabric leaving an extra 3" on each side. Lay the fabric face down on the floor. Place the foam on top. Fold 3" of the fabric over on to the foam and secure with sewing pins all the way around the foam.

Step 3: Warm up the hot glue gun and glue the fabric to the foam on the edge. Remove the sewing pins as the hot glue cools in place. Place the quilt batting inside the foam fabric roll and cut a hole the slightly smaller than the costume wearers torso in the fabric, foam and batting. Flipping over the foam, fabric and batting secure the two ends of the foam and fabric together. You now should have a roll.

Step 4: Pin the orange and green fabric to each end of the sushi roll. Using the hot glue gun, glue the green ribbon and ginger trim to the barrettes or headband.{optional}

Wiggle feet first into the costume and done! Sushi roll costume complete. A word about construction, if you are finding the safety pins are not holding the roll together, stitch the two ends of the foam and fabric together using a big stitch.

Well, this 5 year old is ready for trick-o-treating. Are you? See you tomorrow kids!


Day 291 - An Easy Way To Make Fake Blood For Halloween.

Hey Zombies. I bet some of us must feel like zombies this Sunday morning. It's been a long week. Actually, zombies really give me the shakes. There is just something about brain eating humans that I don't care to think about. Let's not get started on the blood that always seems to come along with zombies. The sight of blood makes me weak in the knees and swim in the head. Every Halloween, I just turn away from the gore. It's not my cup of tea but there is someone in my life that LOVES to dress up like a zombie and sport good old fashioned fake blood.

Every year just before Halloween my husband wrestles with what he is going to be for Halloween. We go down the list of usual suspects: a Chicago super fan, Bob Ross, a surfer and the list goes on. As we talk over his options, he inevitably says "Well if I was Bob Ross, I could be a zombie Bob Ross." It happens every Halloween. He turns any costume into a zombie costume. He also loves to pop his head in the bathroom the day of Halloween and gingerly ask me if and I quote "Have any fake blood?" As if I keep something so creepy in my house! The answer is always "NO!" He ends up slogging down to the Walgreens to pick up his fake blood for his Chicago Super Fan zombie costume. Well, and find a Chicago bears sweatband and koozie beer holder.

This year I decided to mix up batch of the this gross blood stuff and keep it on hand. Today's project is creepy and weird and I admit slightly uncomfortable for me. However, I have researched fake blood and it has come to my attention that most store bought blood is entirely the wrong color. It's way too bright red. You will find the recipe below to be based on what they use in the hollywood movies which includes cocoa powder and blue food coloring. Let's whip up a batch of this creepy stuff and check fake blood off the Halloween to-do list. Here is quick video and a recipe to get you started.

Fake Blood Recipe

  • 1/2 tablespoon powered cocoa
  • 1/4 cup warm water
  • 4 tablespoons corn syrup
  • 1 teaspoon red food coloring
  • 1 drop blue food coloring
  • a clean paint brush

Step 1: Mix the coco and water together throughly.

Step 2: Mix the corn syrup and red and blue food coloring together.

Step 3: Mix the coco and syrup mixtures together and let set for 5 min.

The fake blood is ready to use. Just keep the mixture away from everyone's eyes and me. Have zombie ghoulish fun and see you tomorrow creepies!


OctoberAndra Weberhalloween
Day 290 - How To Make A $7 Glamorous Witch Hat.

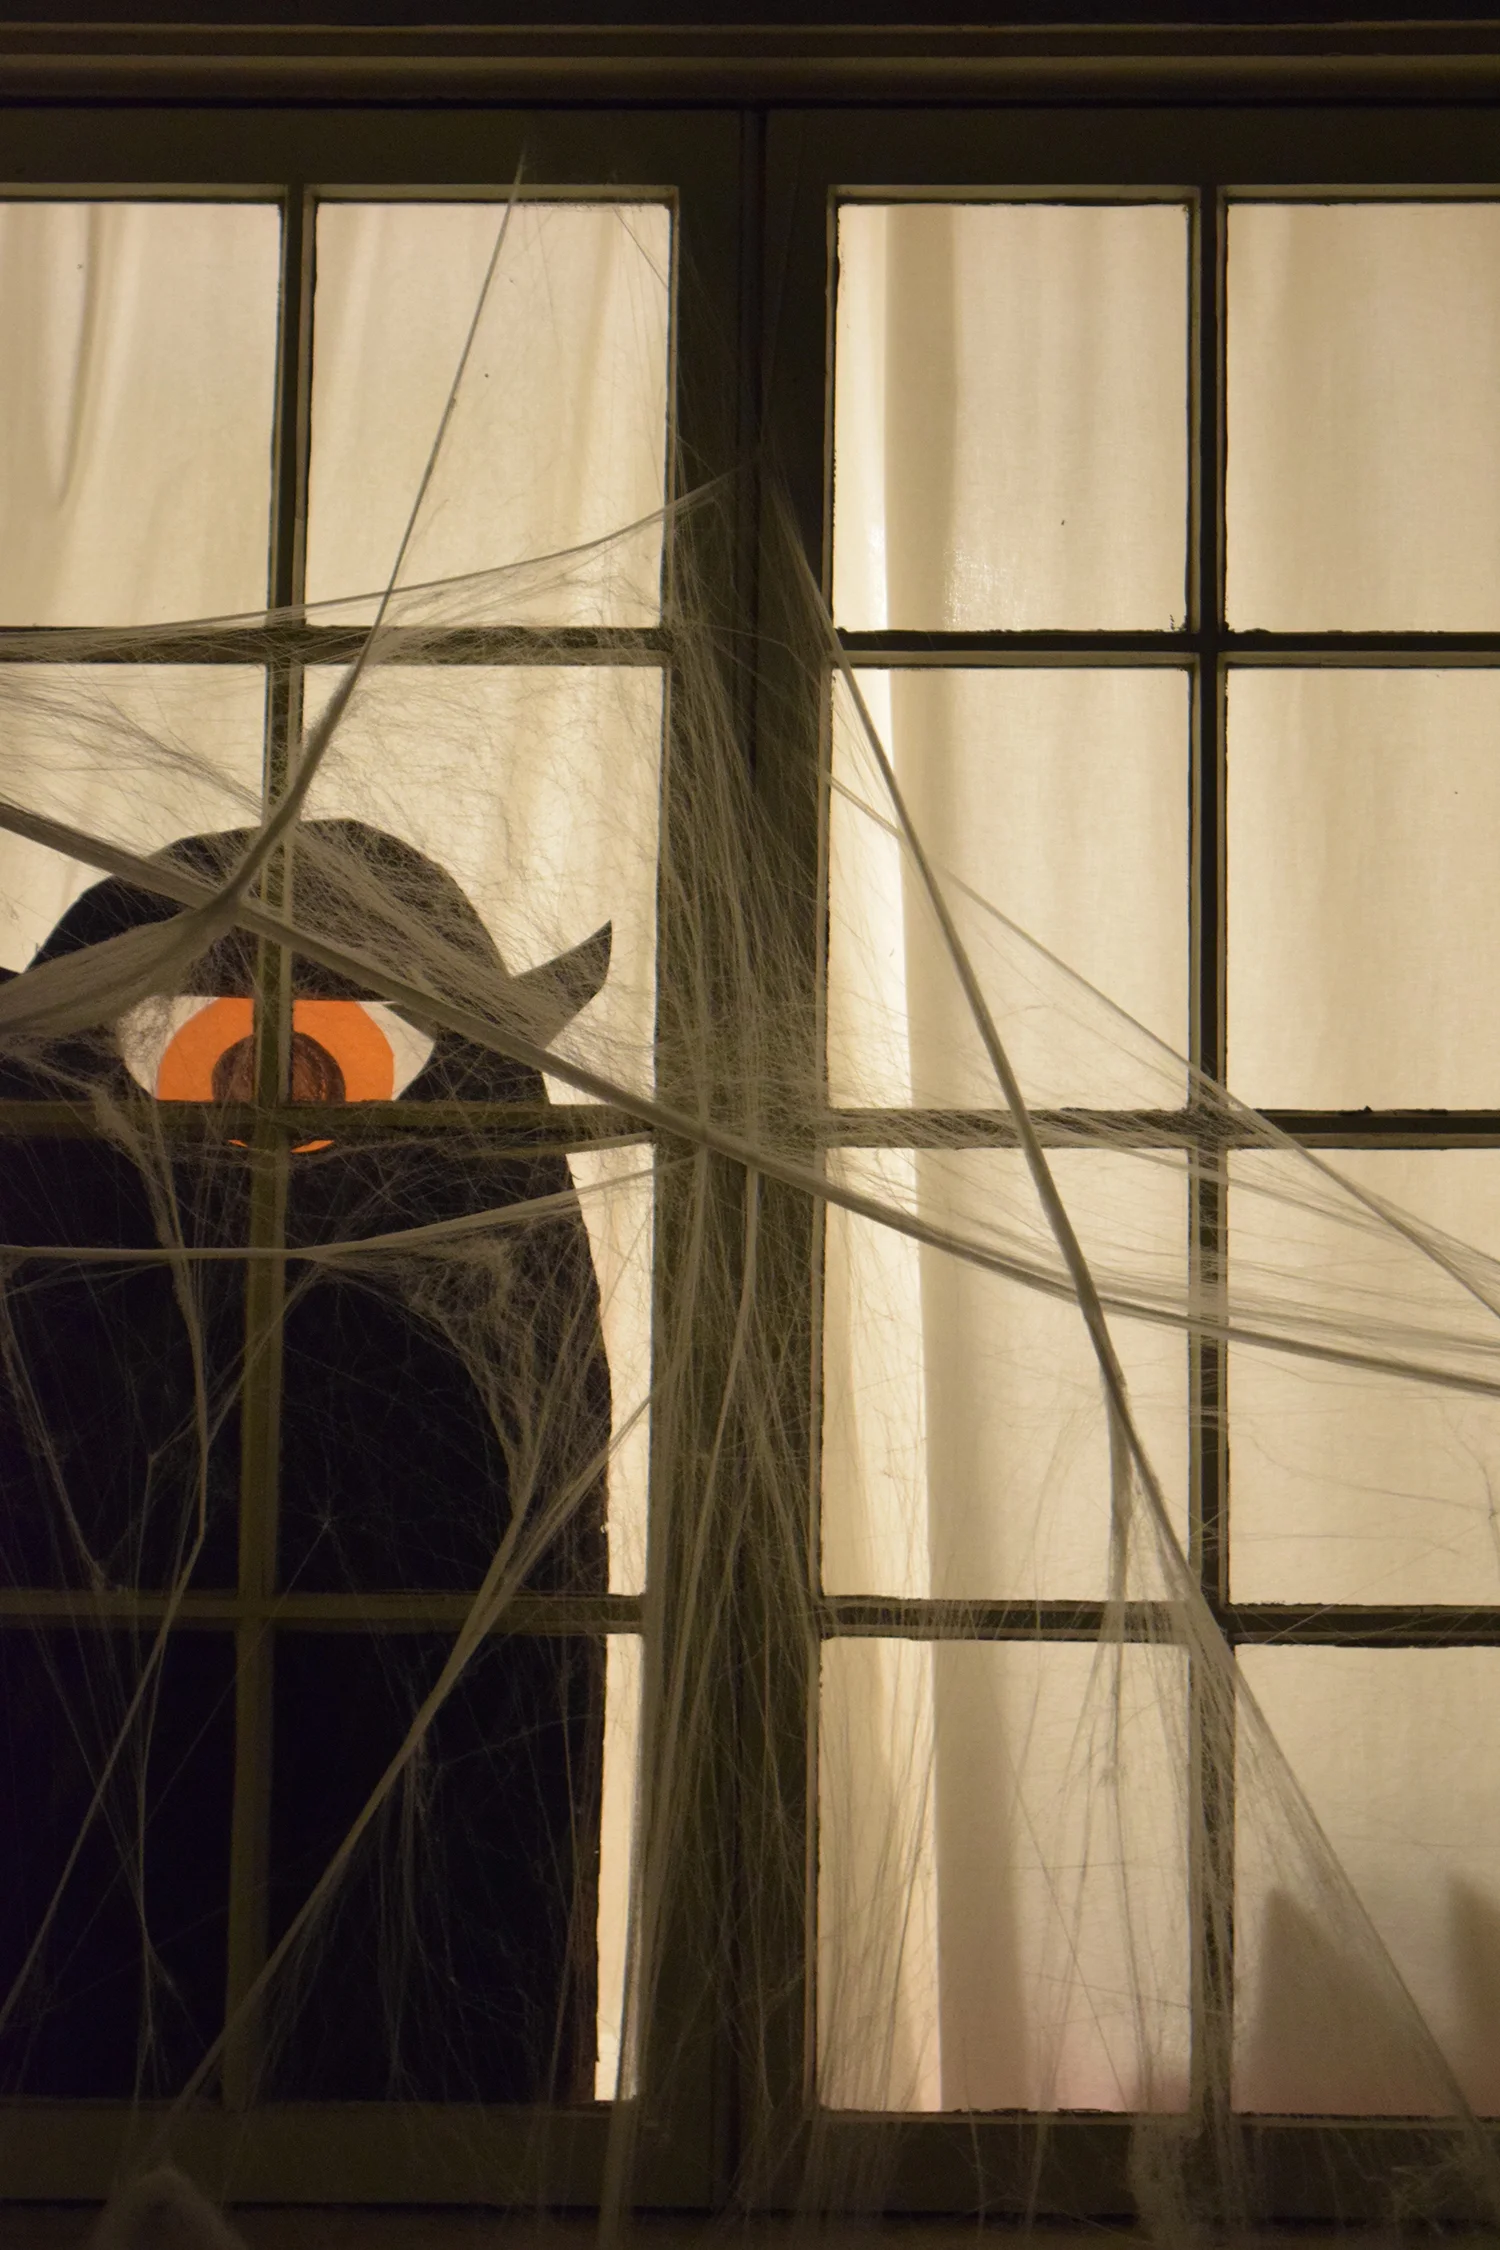
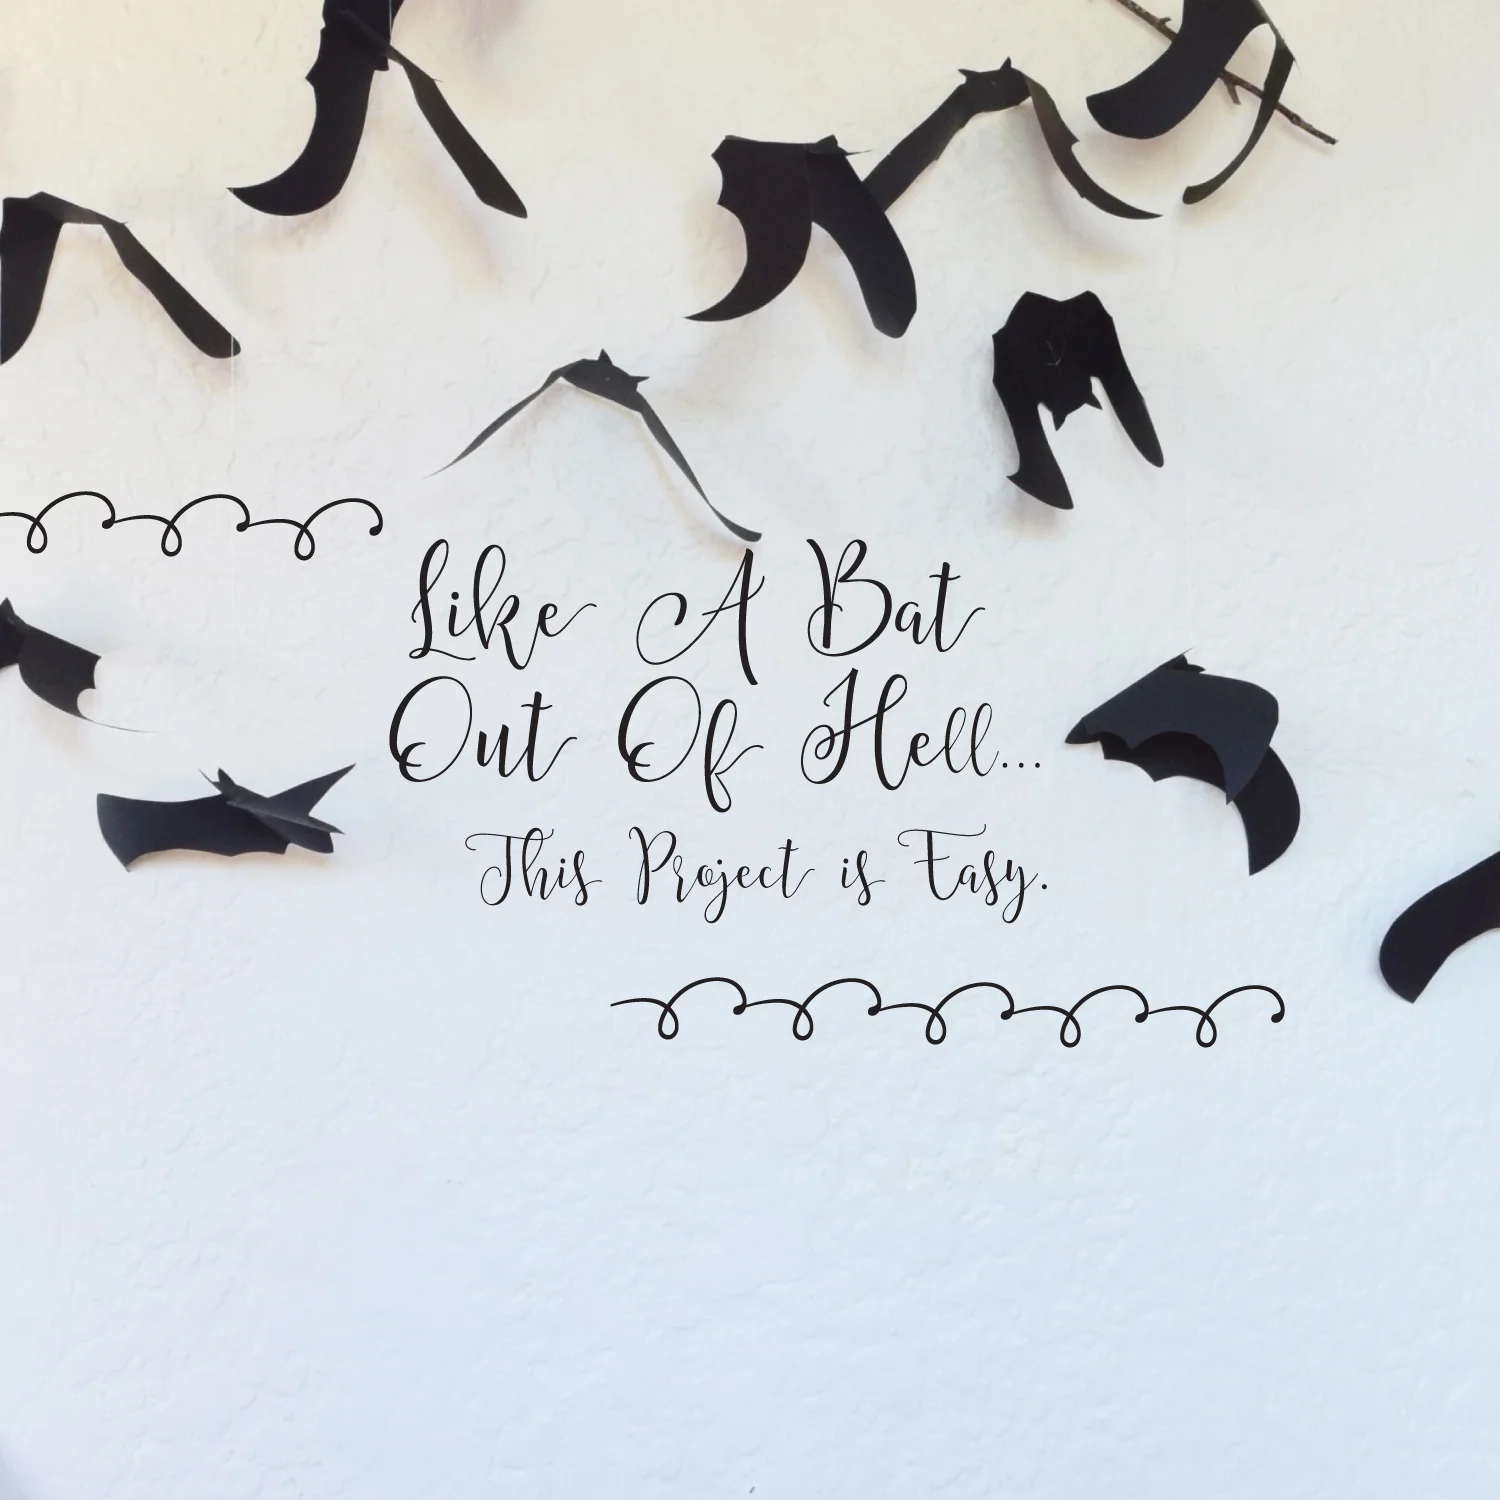
Well hello witches-to-be. The last few weeks we have been talking a lot about Halloween decorations. There have been monsters in the window, ghost in the lawn and bats in the entry way. Now it's officially time to start planning, talking and creating the one item that is a must for Halloween, the costume. Now, if you are the type of person who doesn't really get into Halloween but still wants to hand out candy and a spread a little Halloween spirit, than today's project is for you.

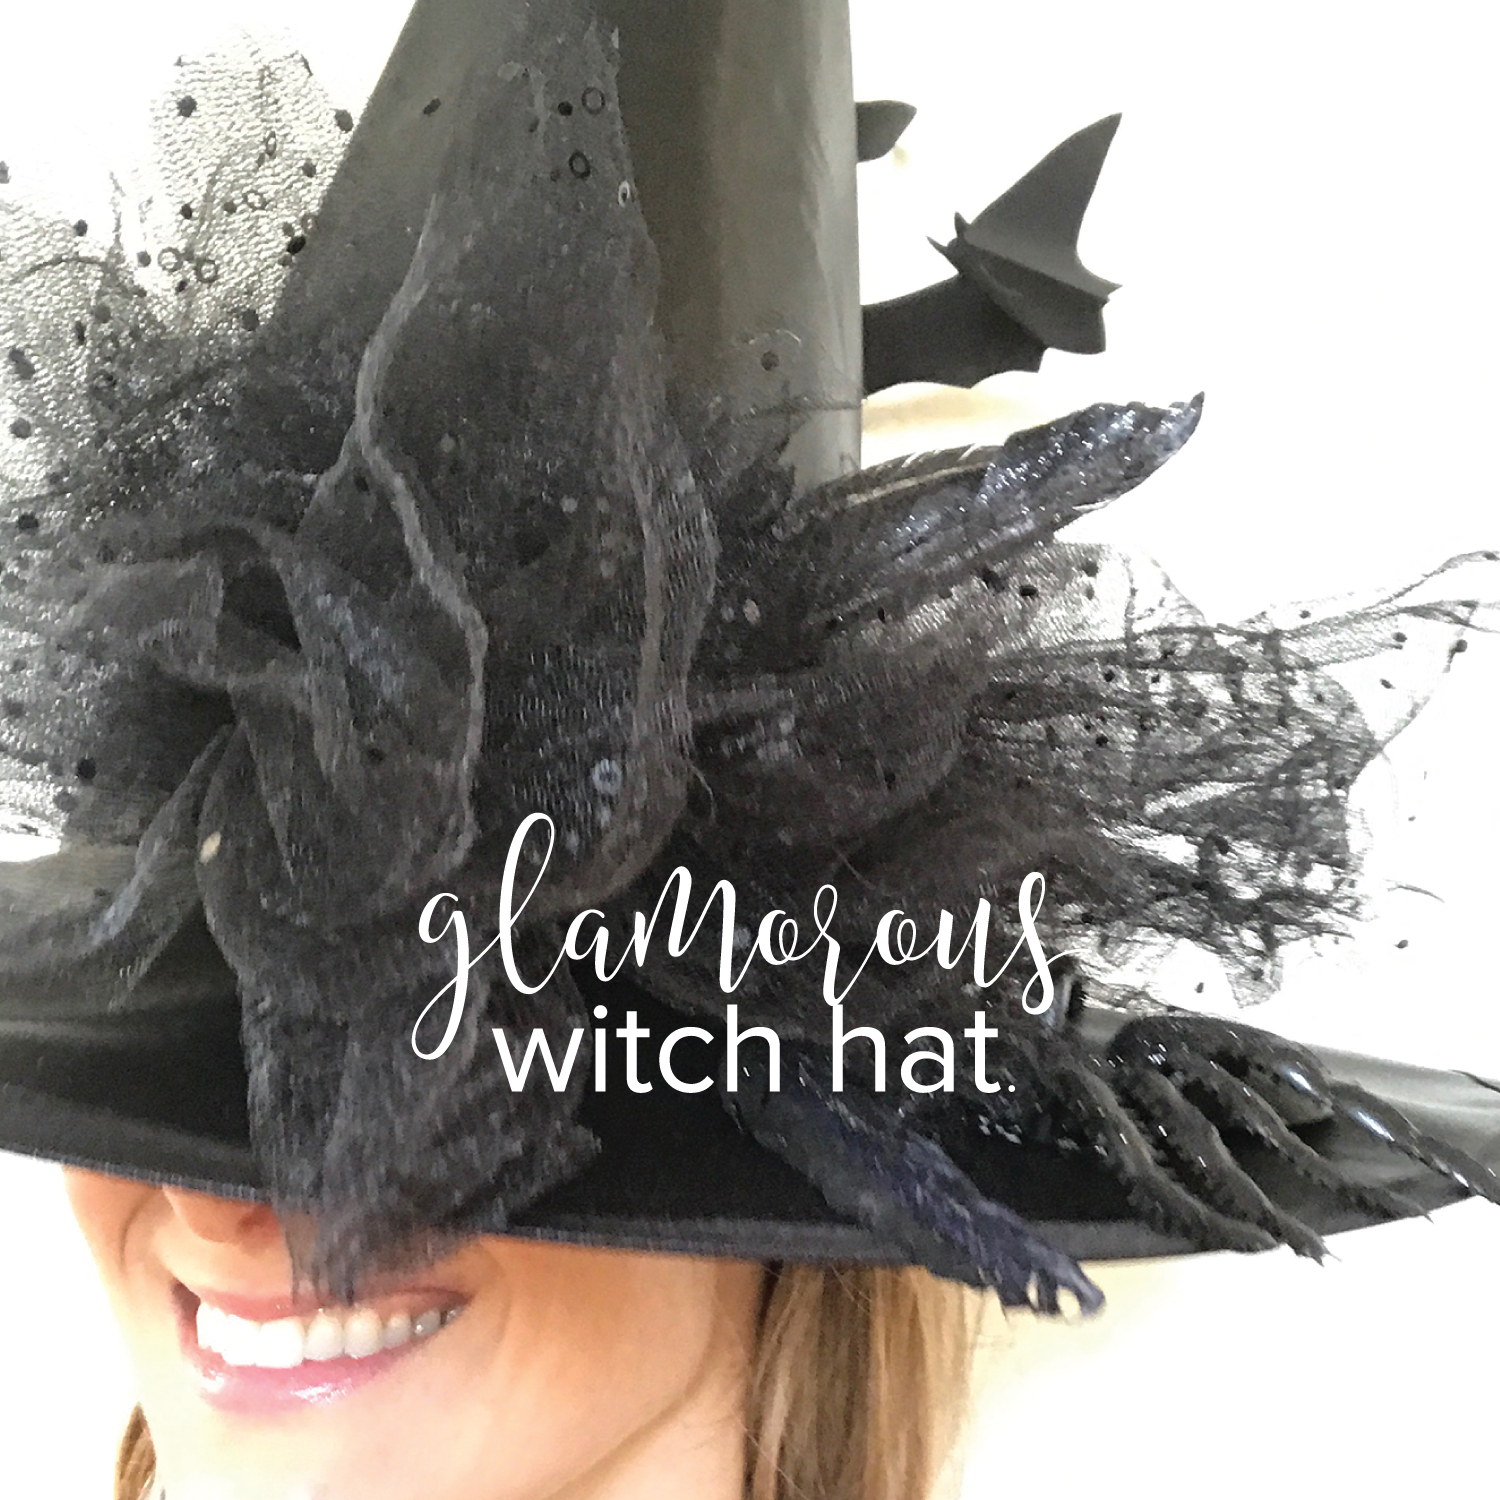
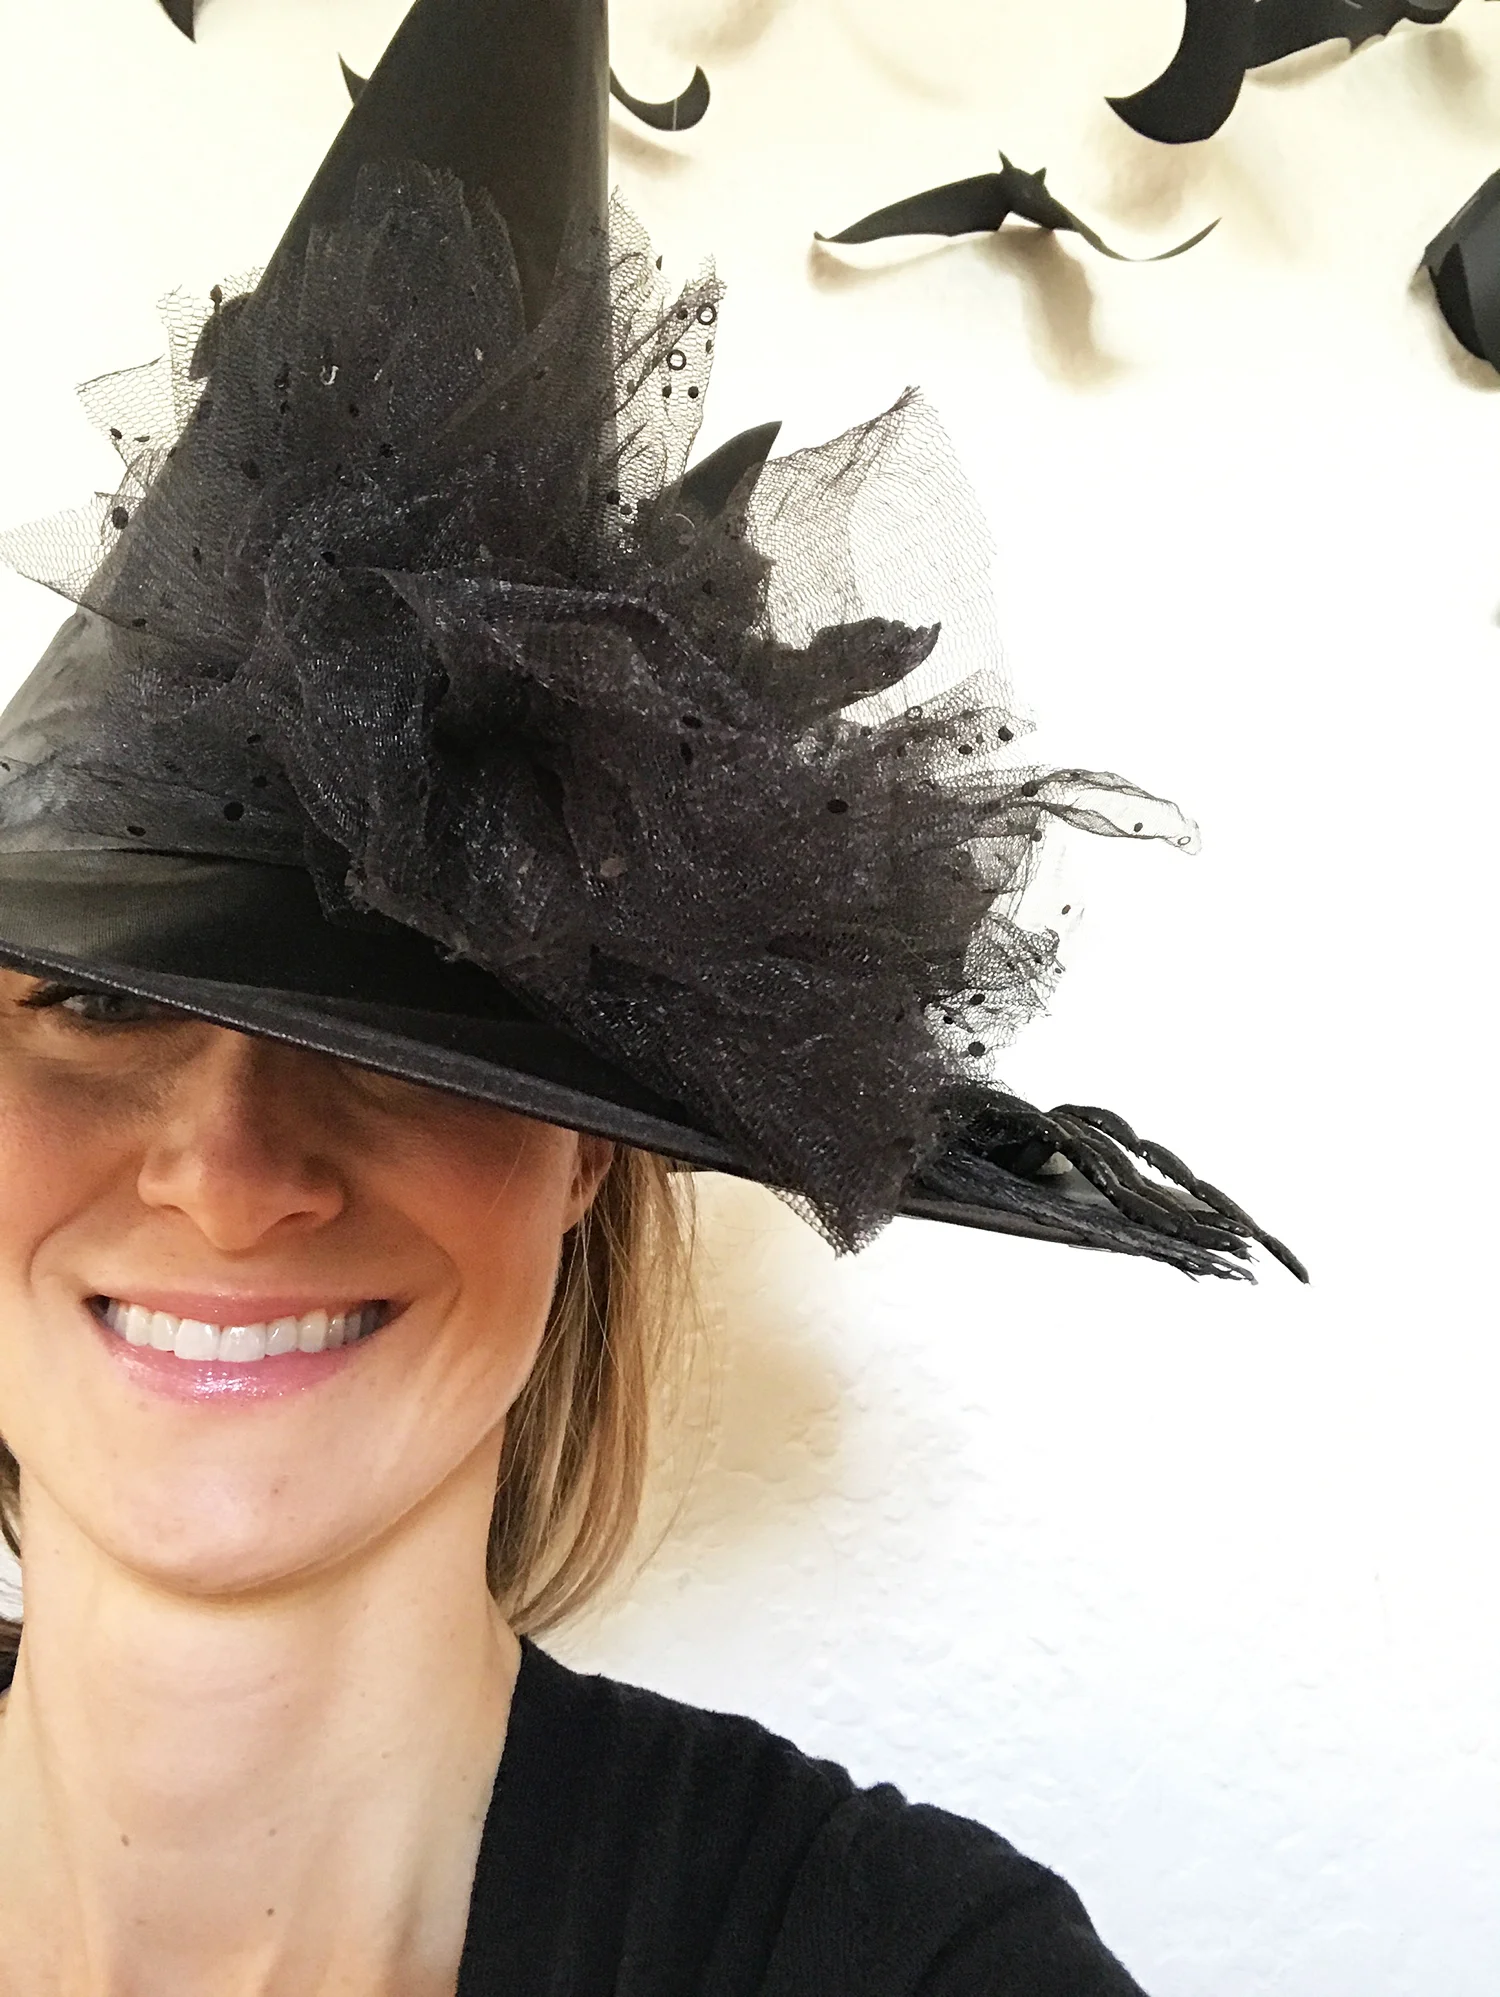
In my book, witches get a bad wrap. Why are witches always illustrated as ugly old hags? As I think about witches, they are anything but hags. Witches have a great work ethic since they are always brewing up trouble. They wear black. So chic! And hello stylish, classic, black witch hat? In short, witches are glamorous and today we are going to create something that says Ooo La La not shriek, shriek shriek!

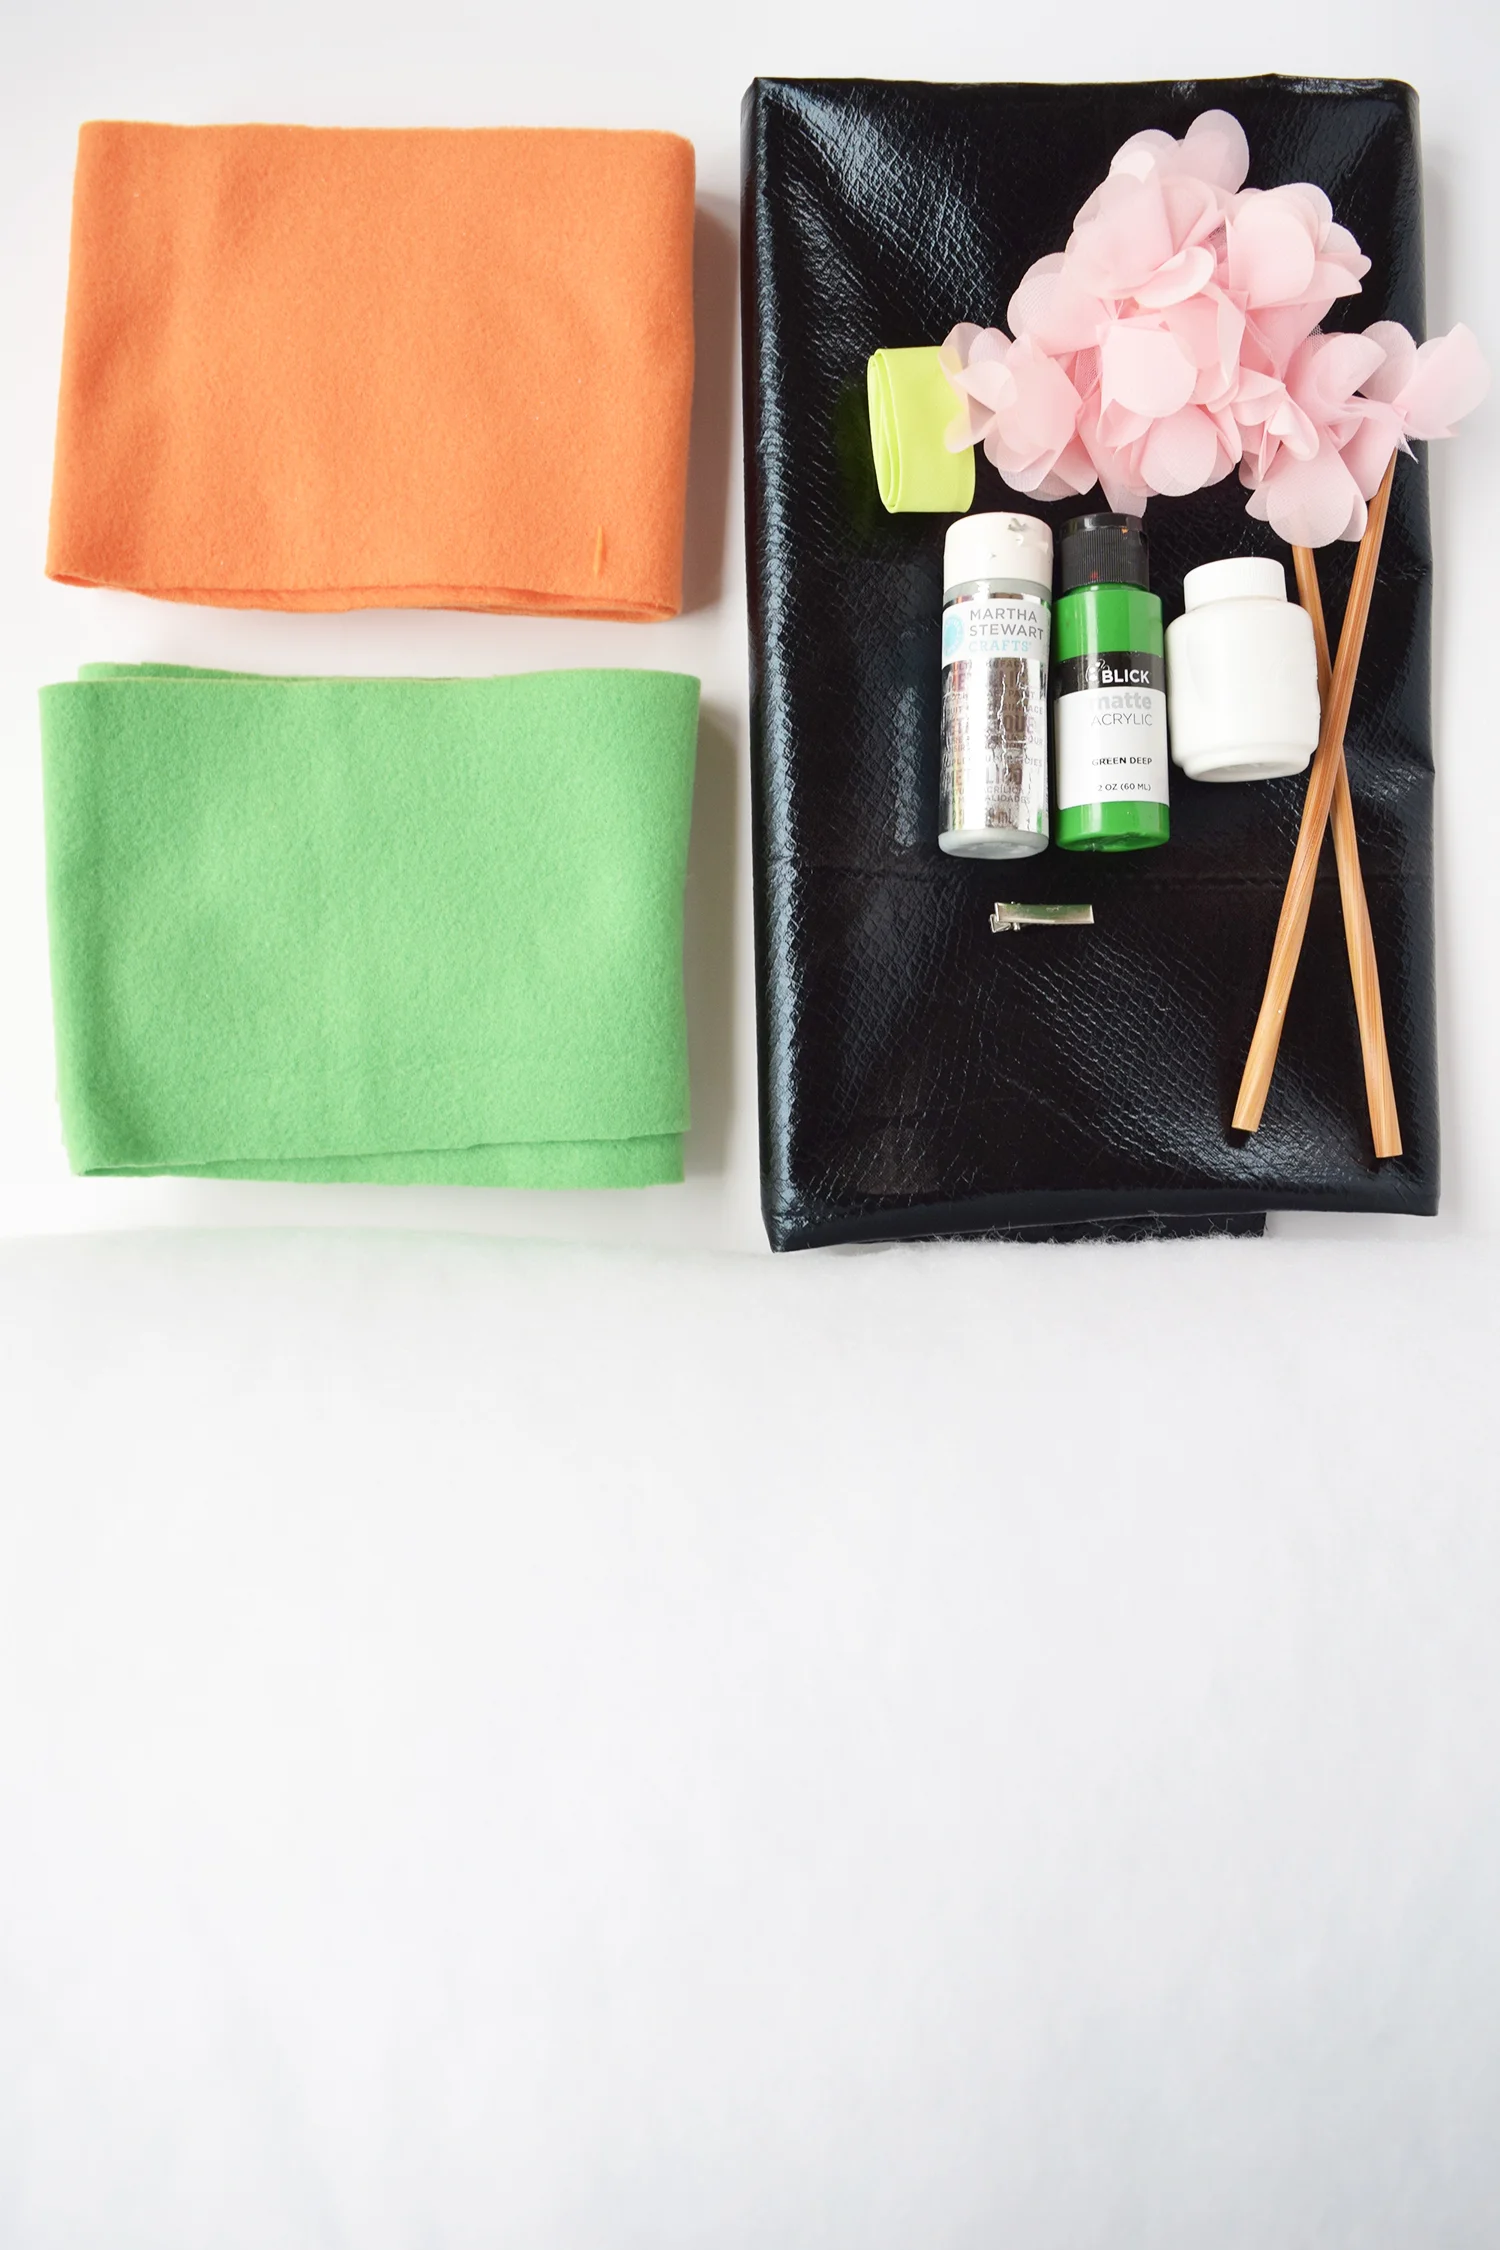
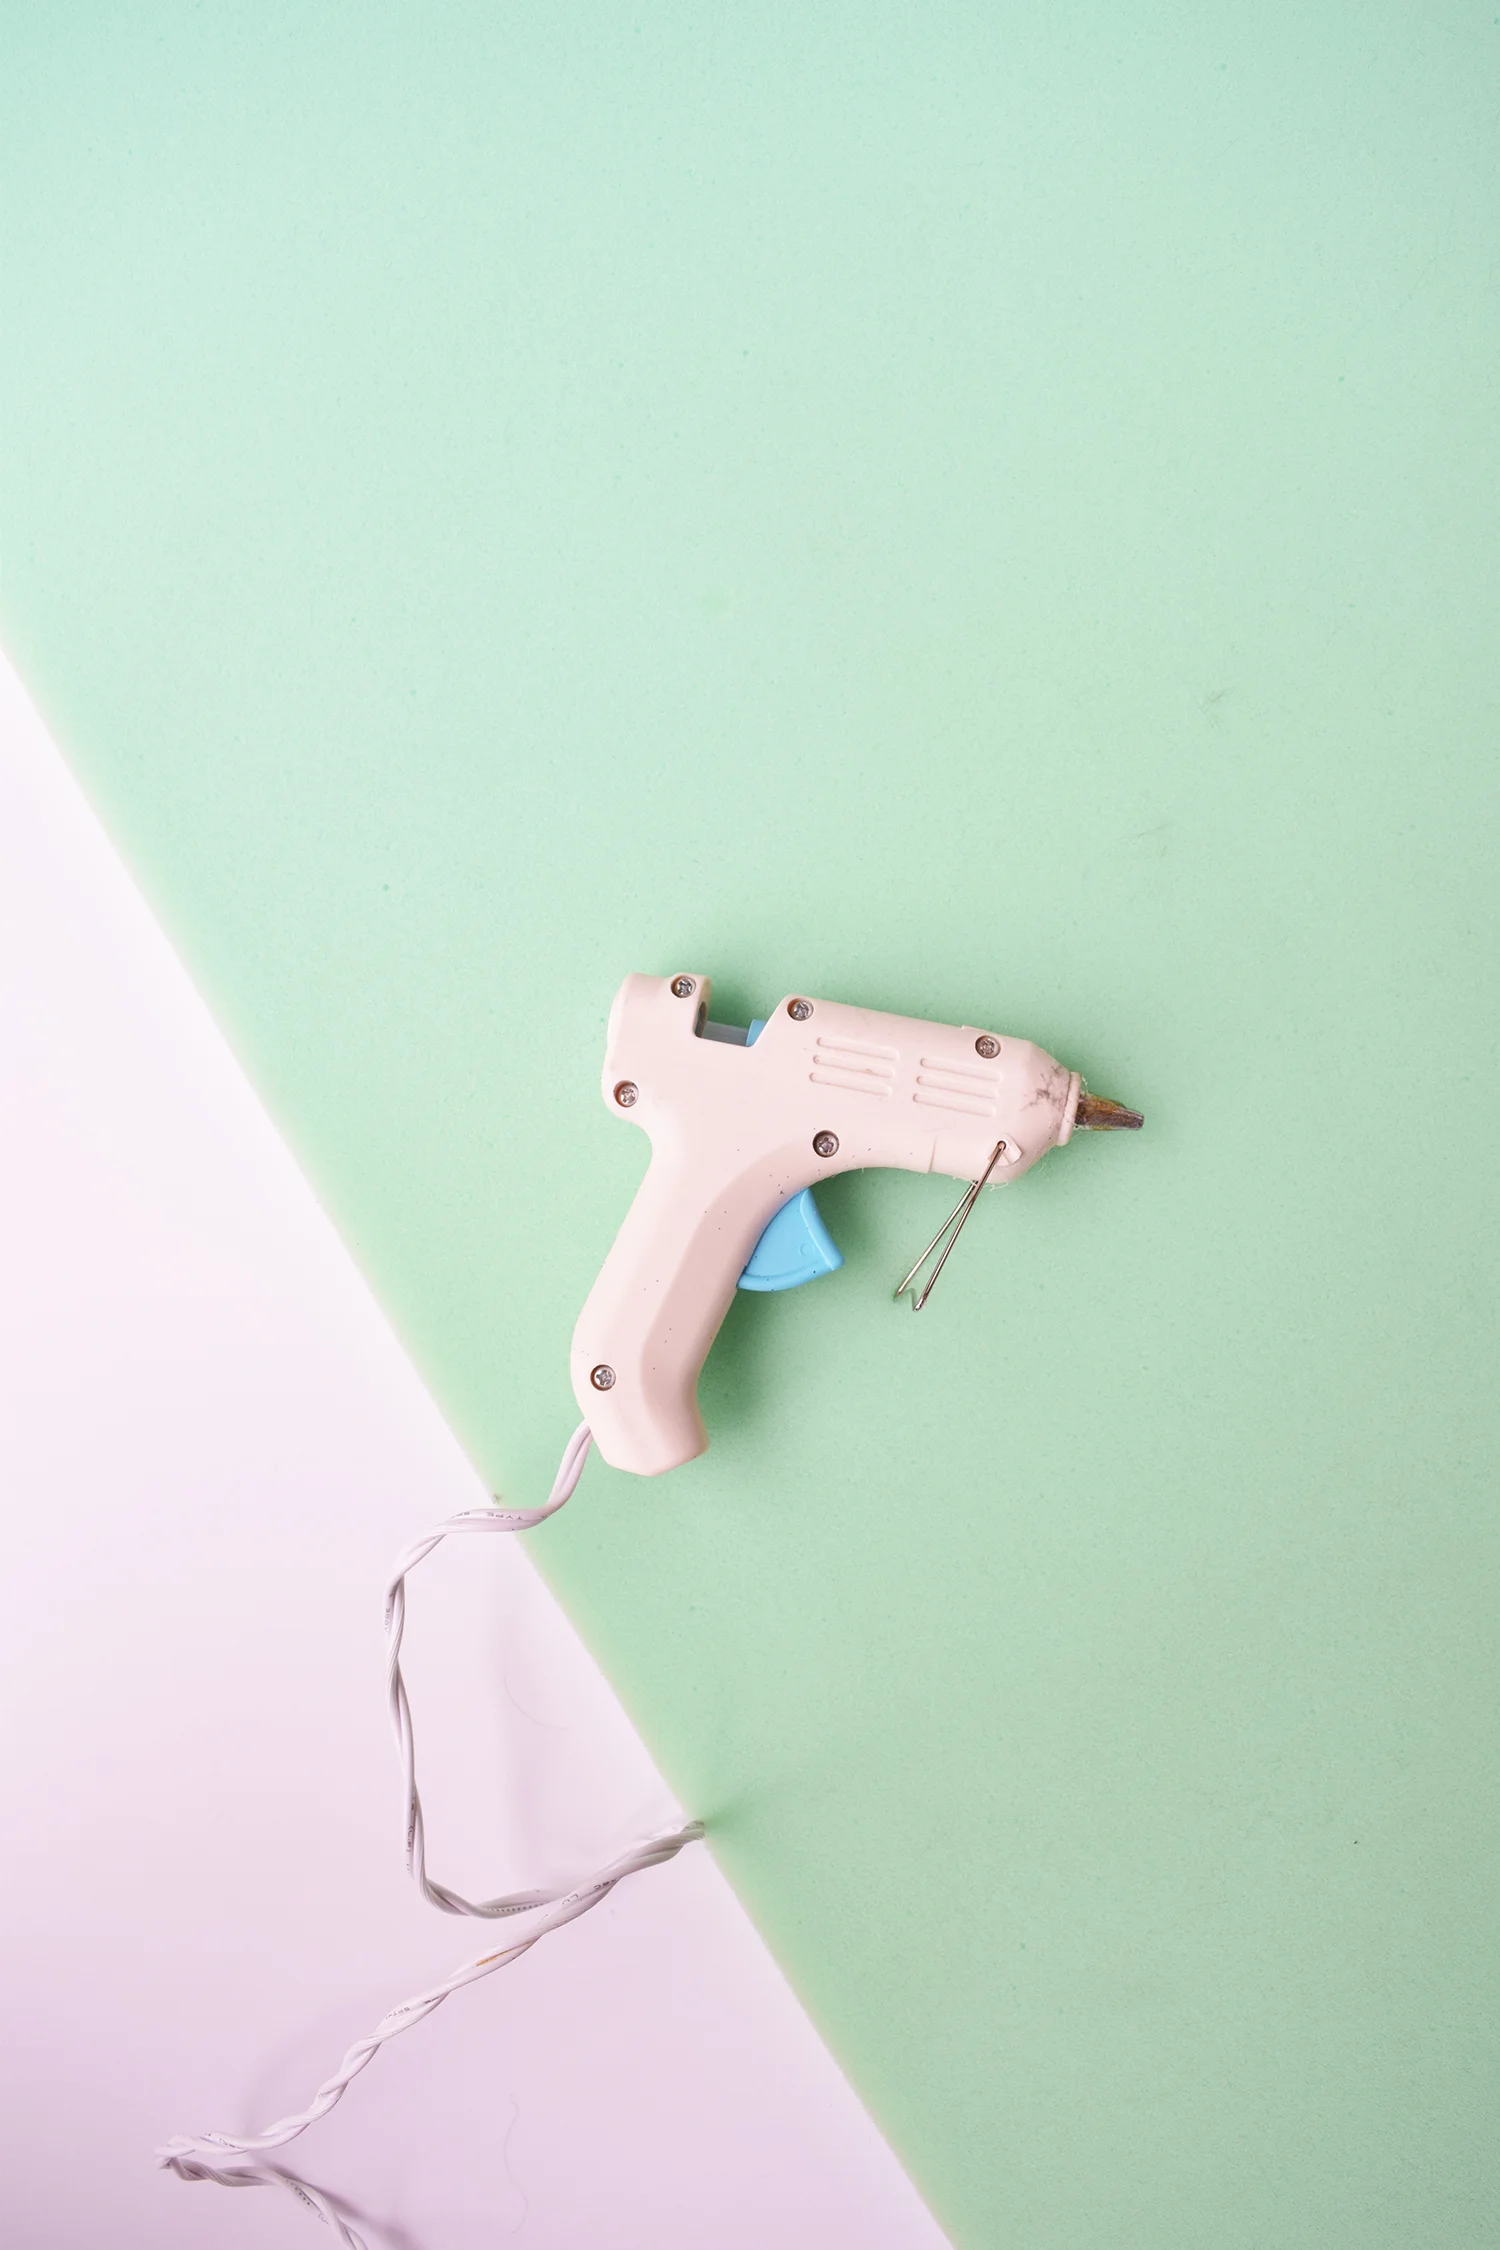
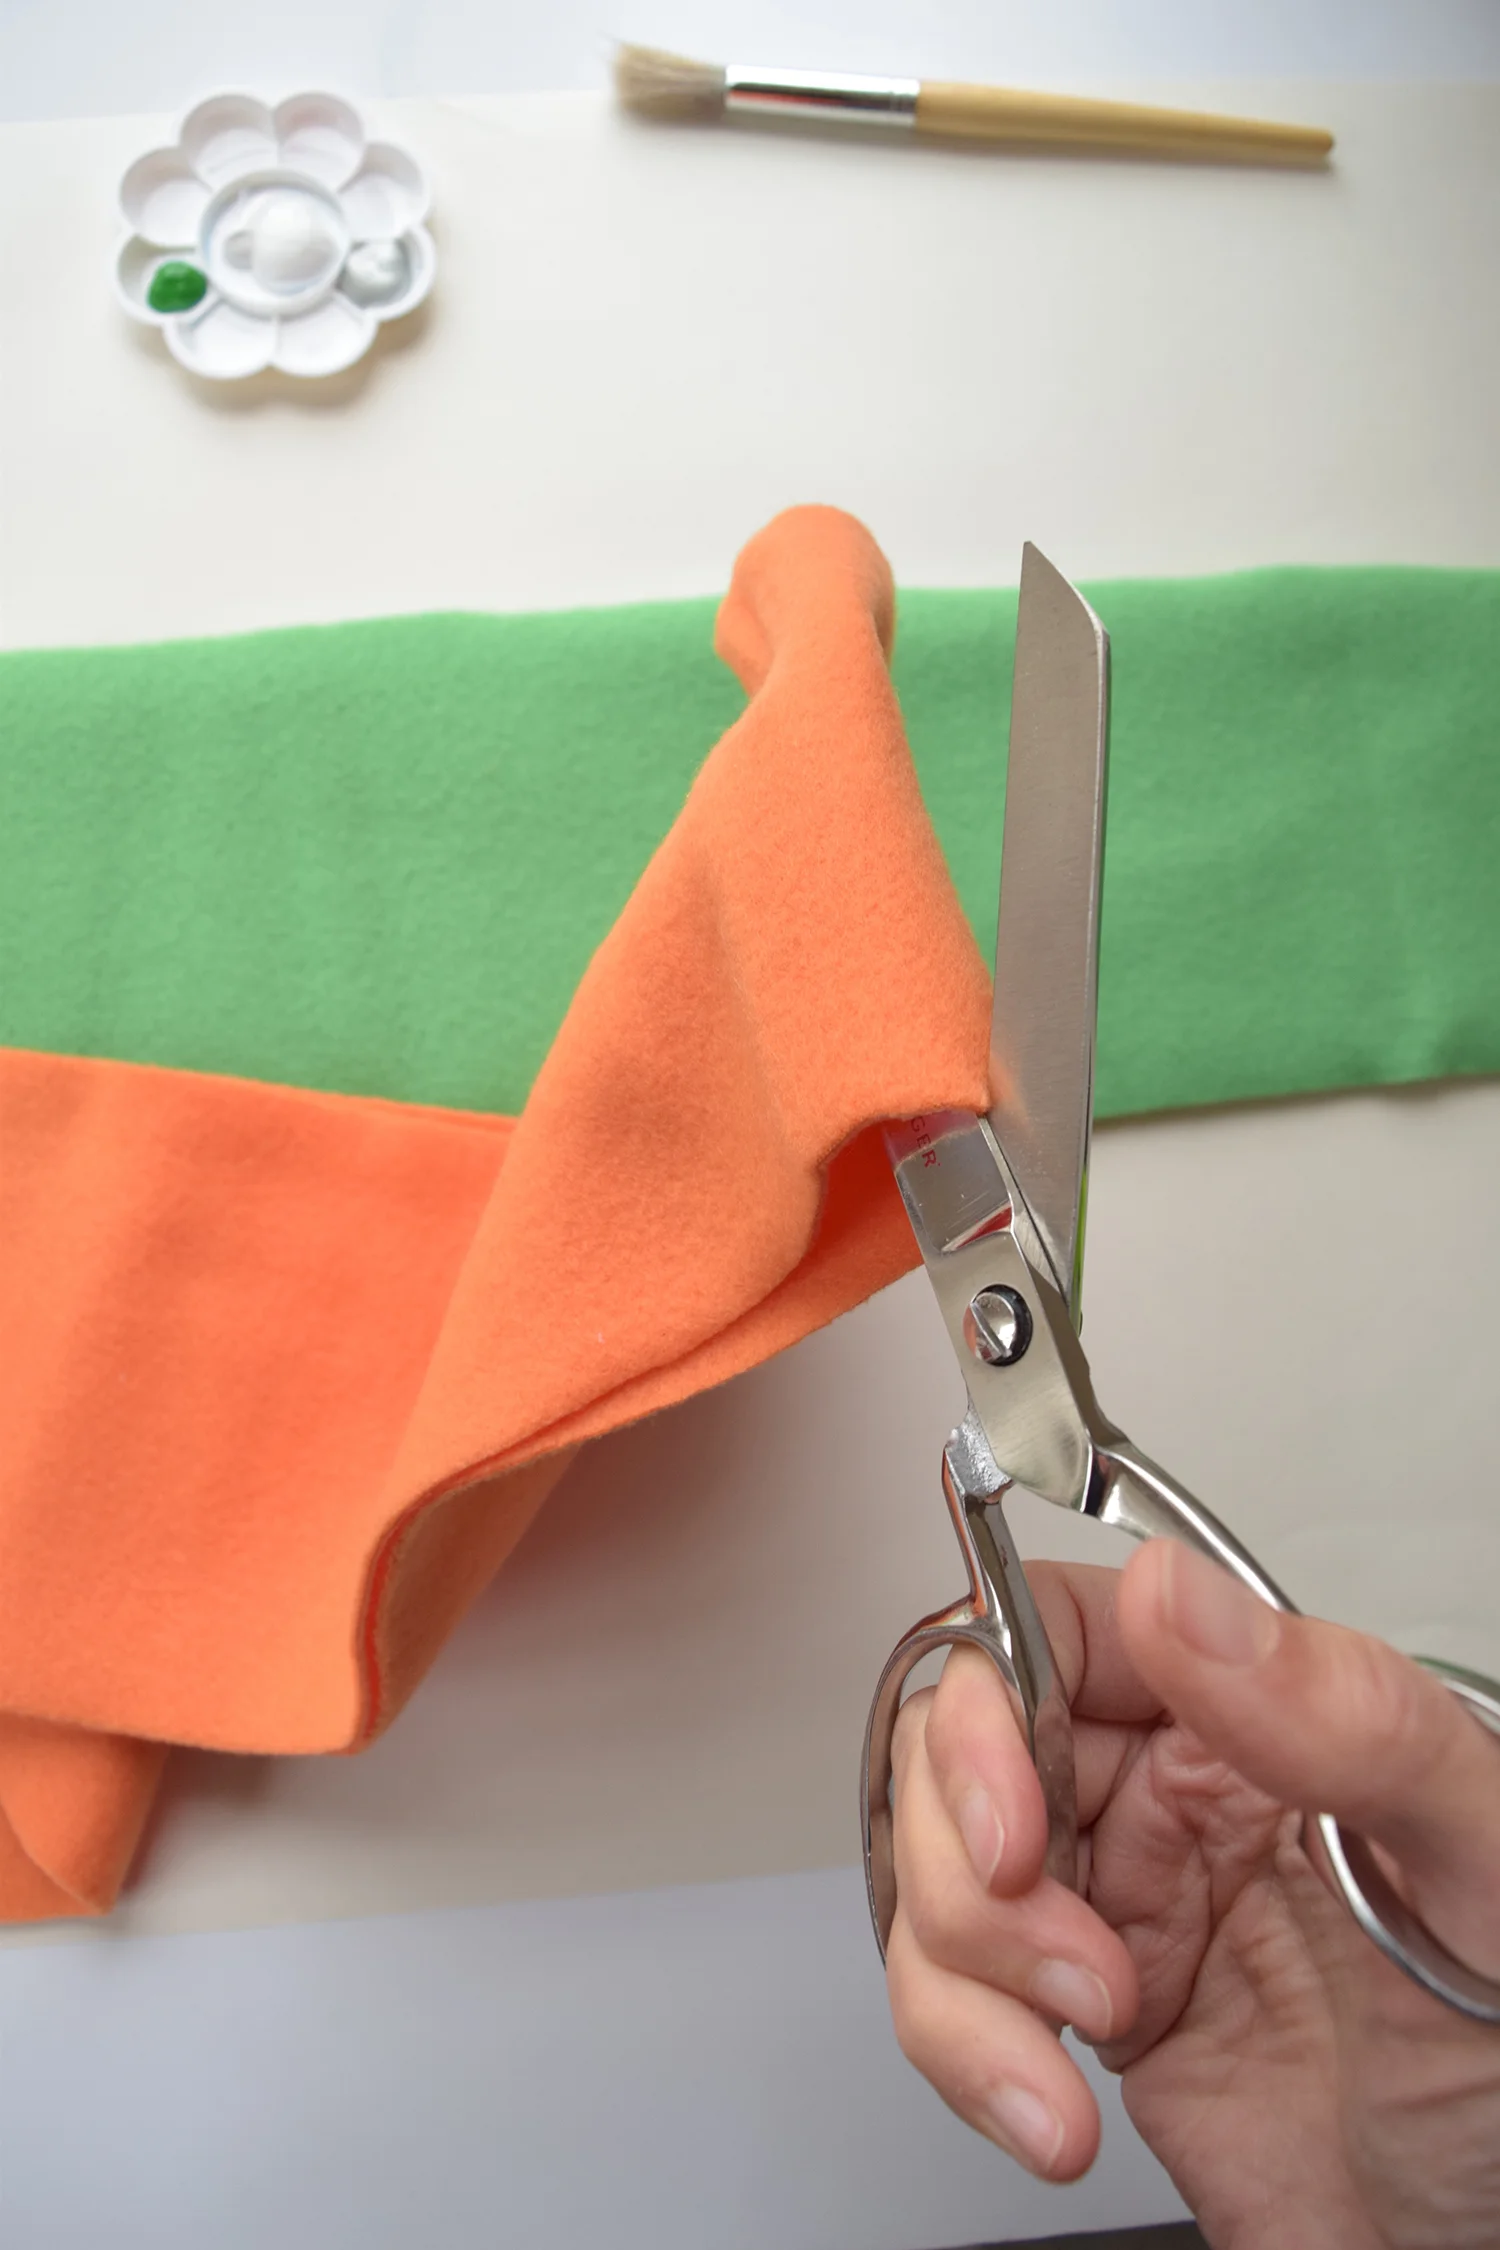
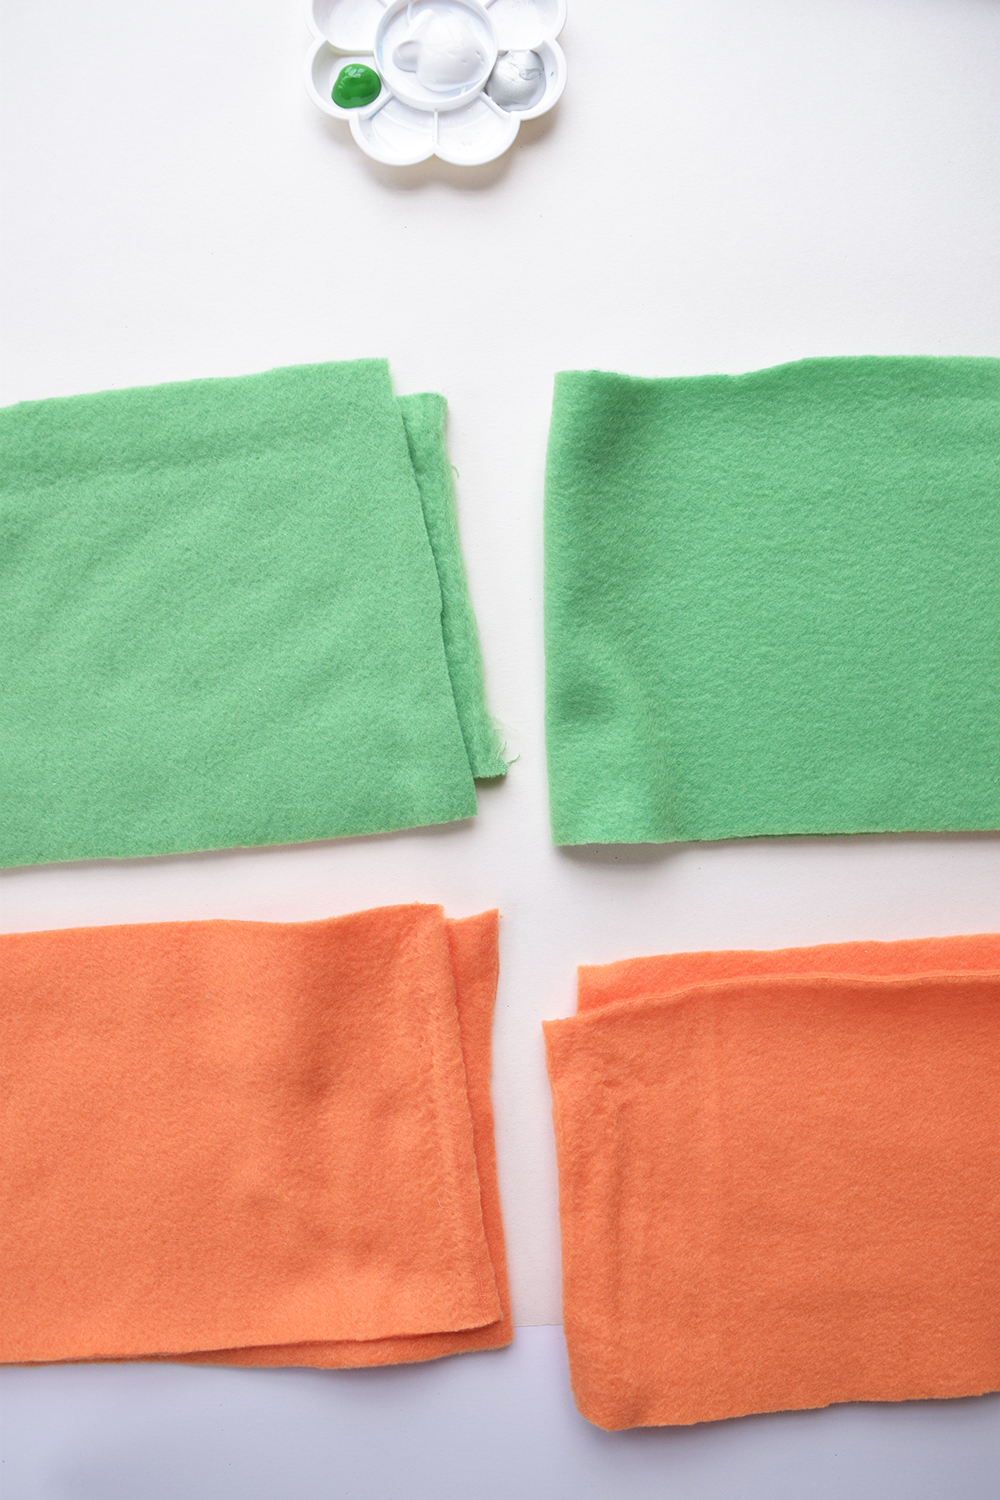
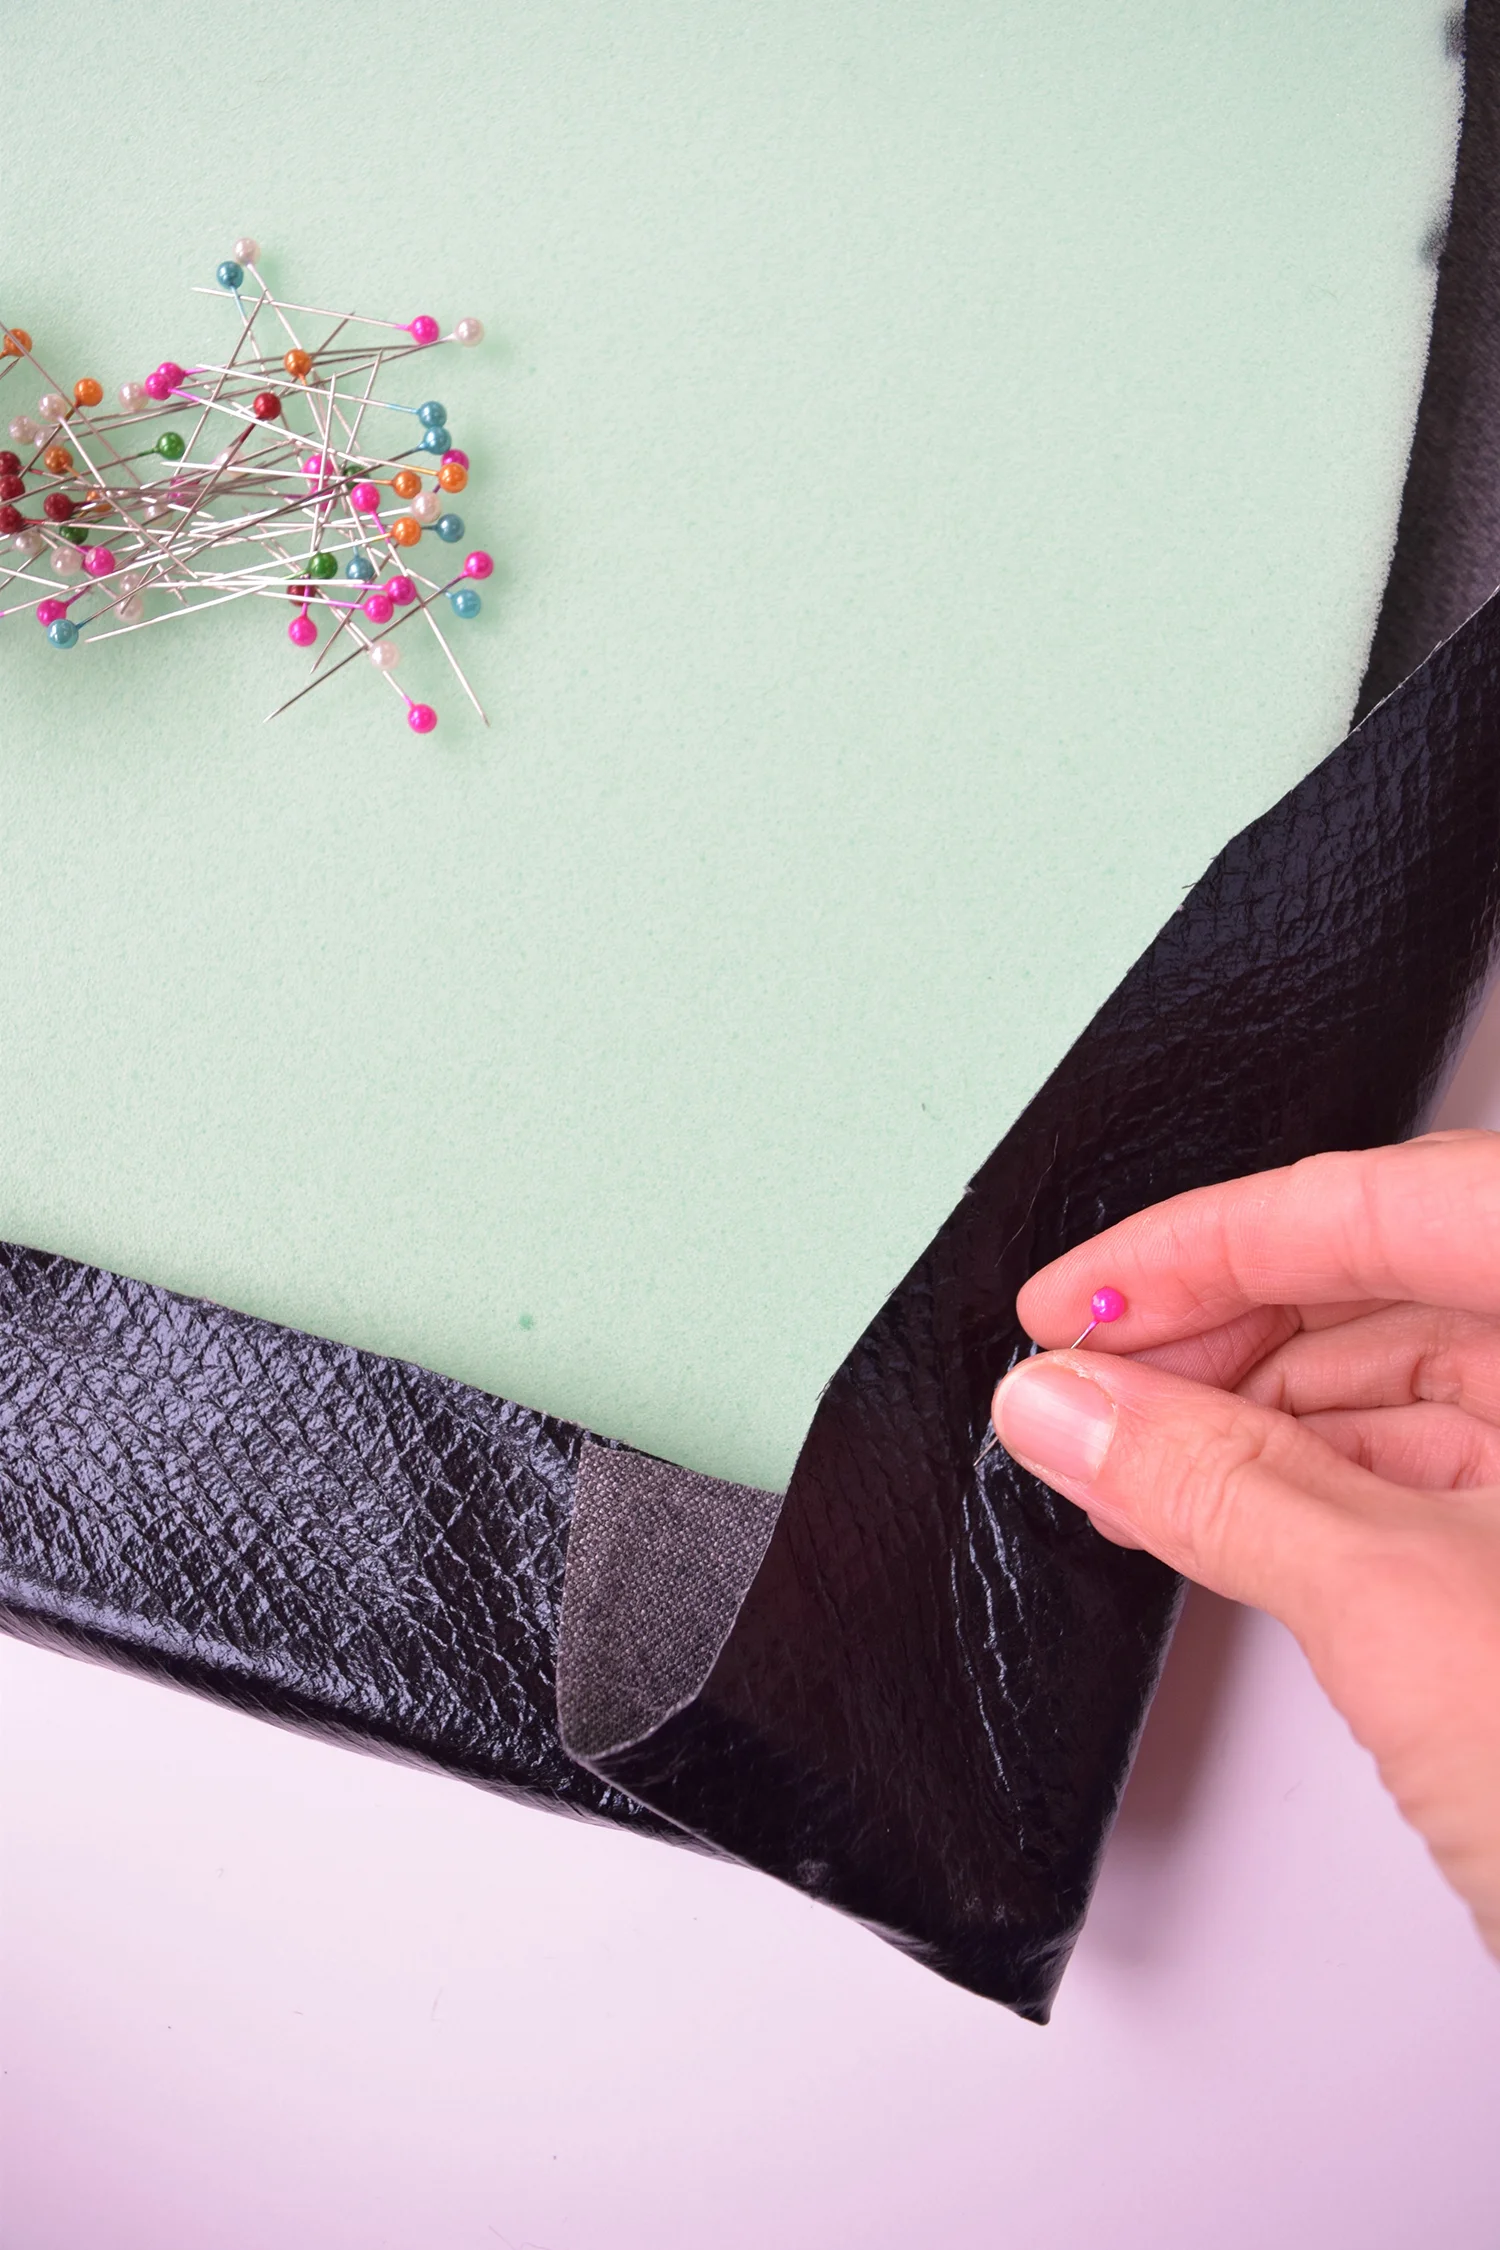
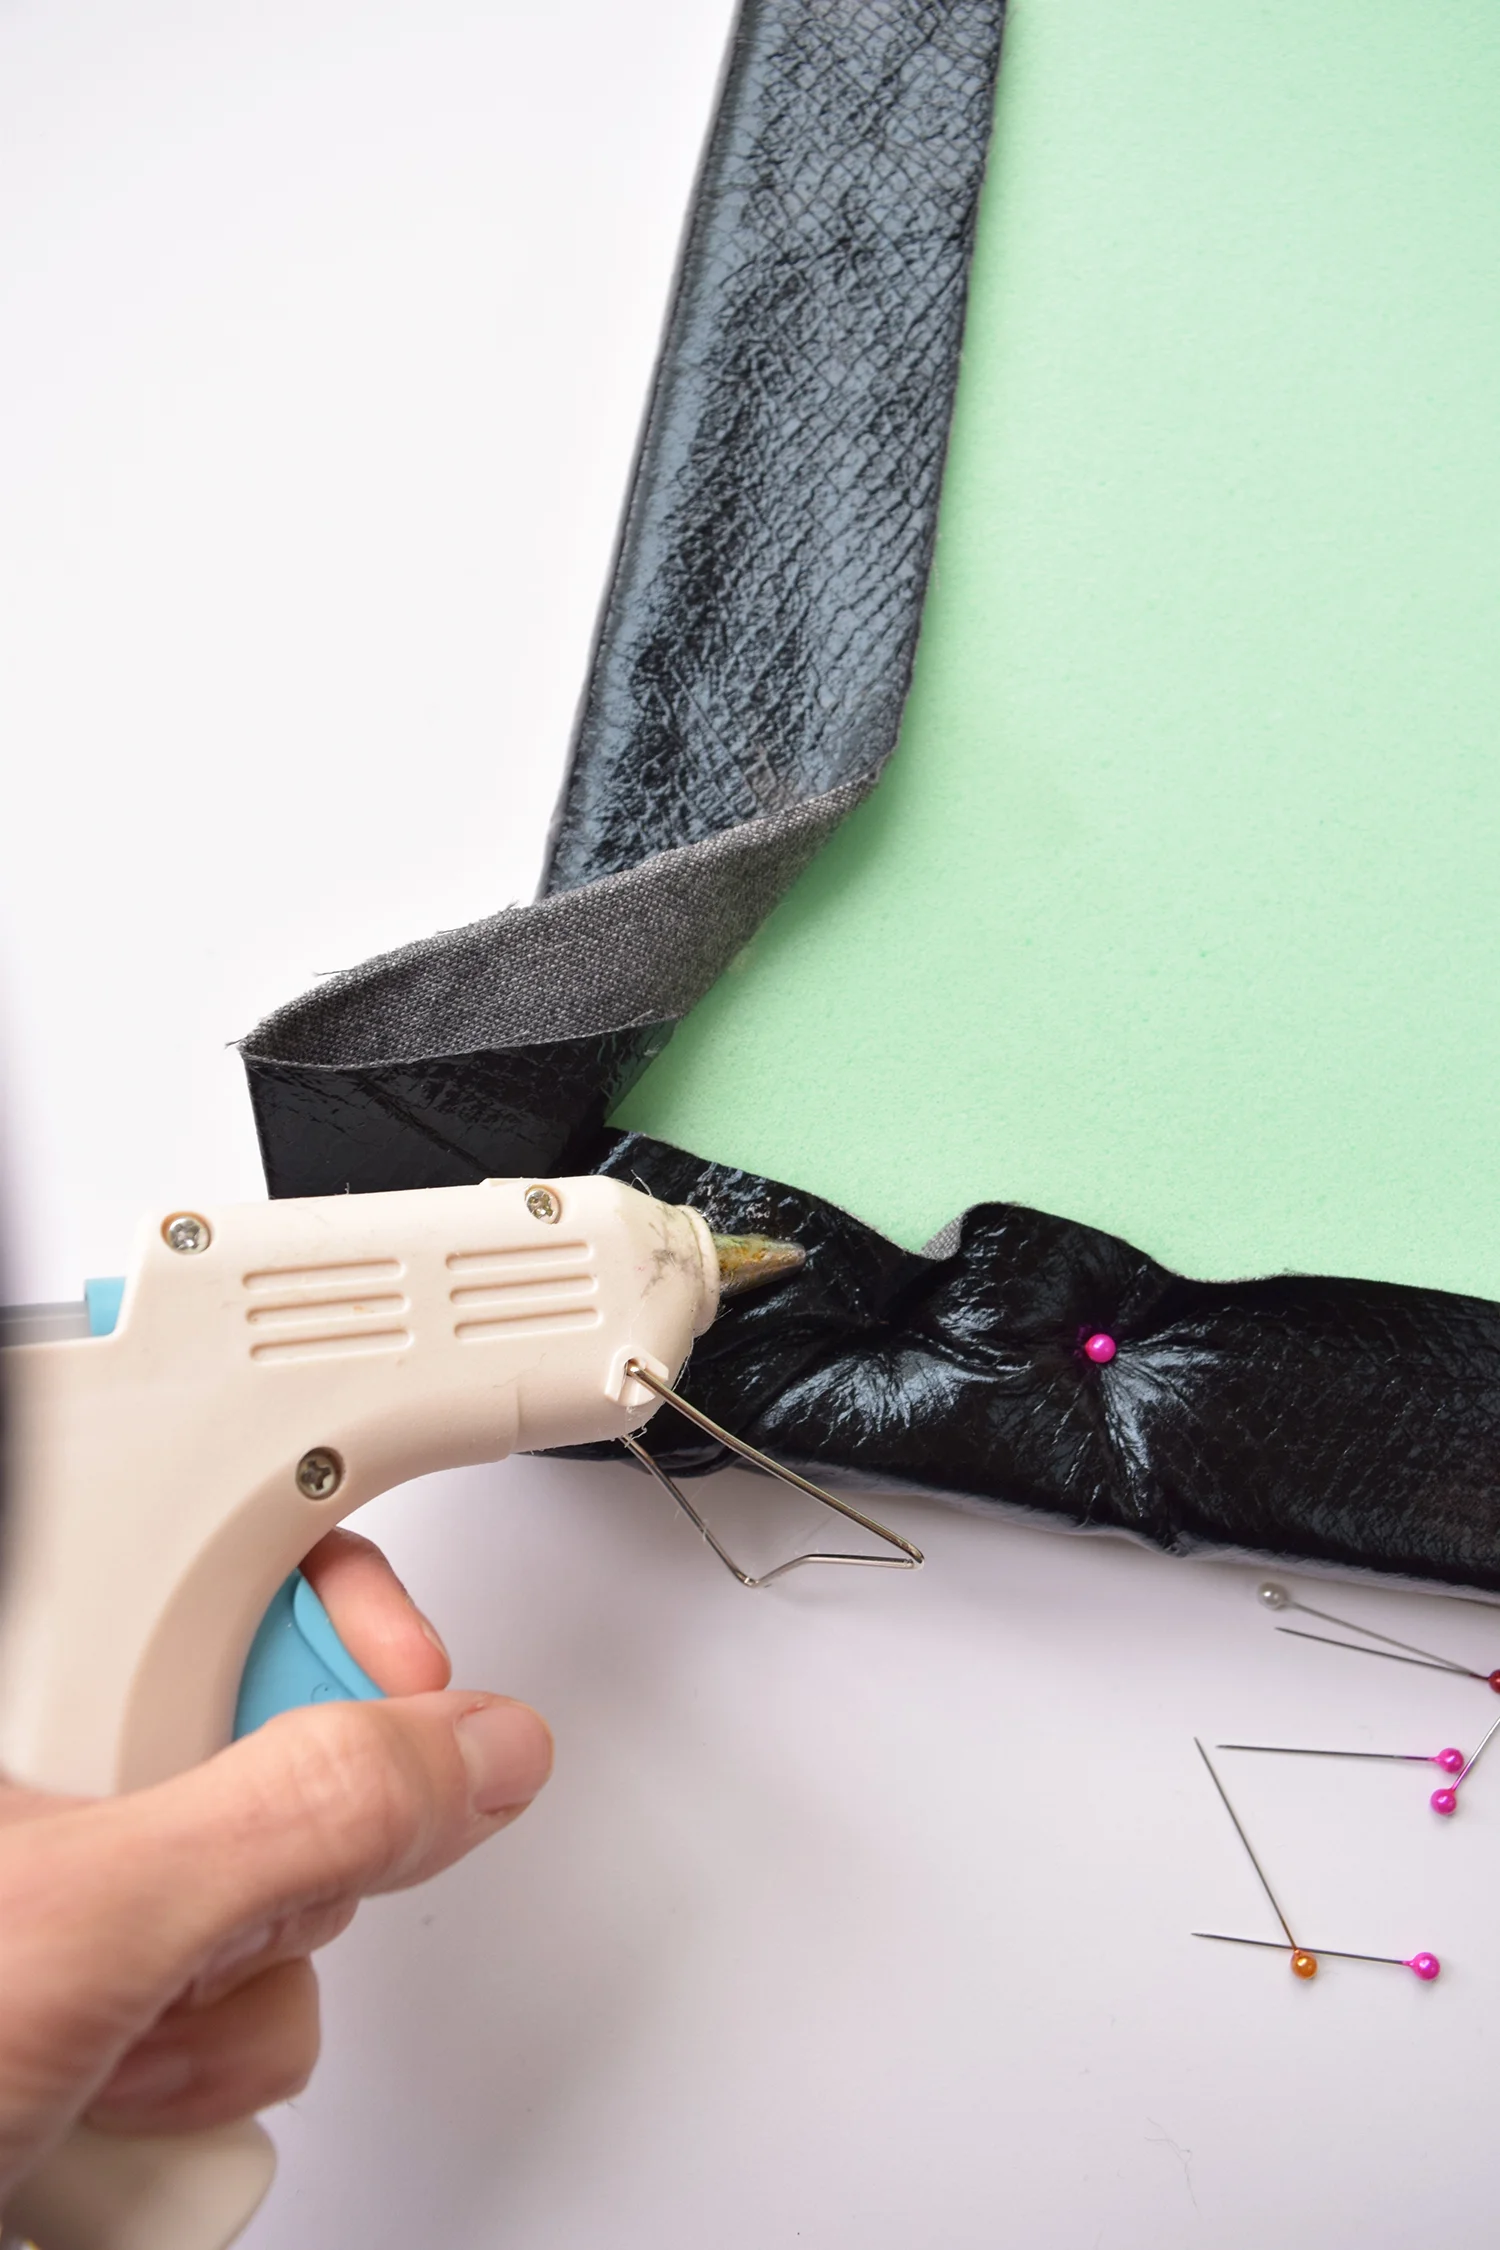
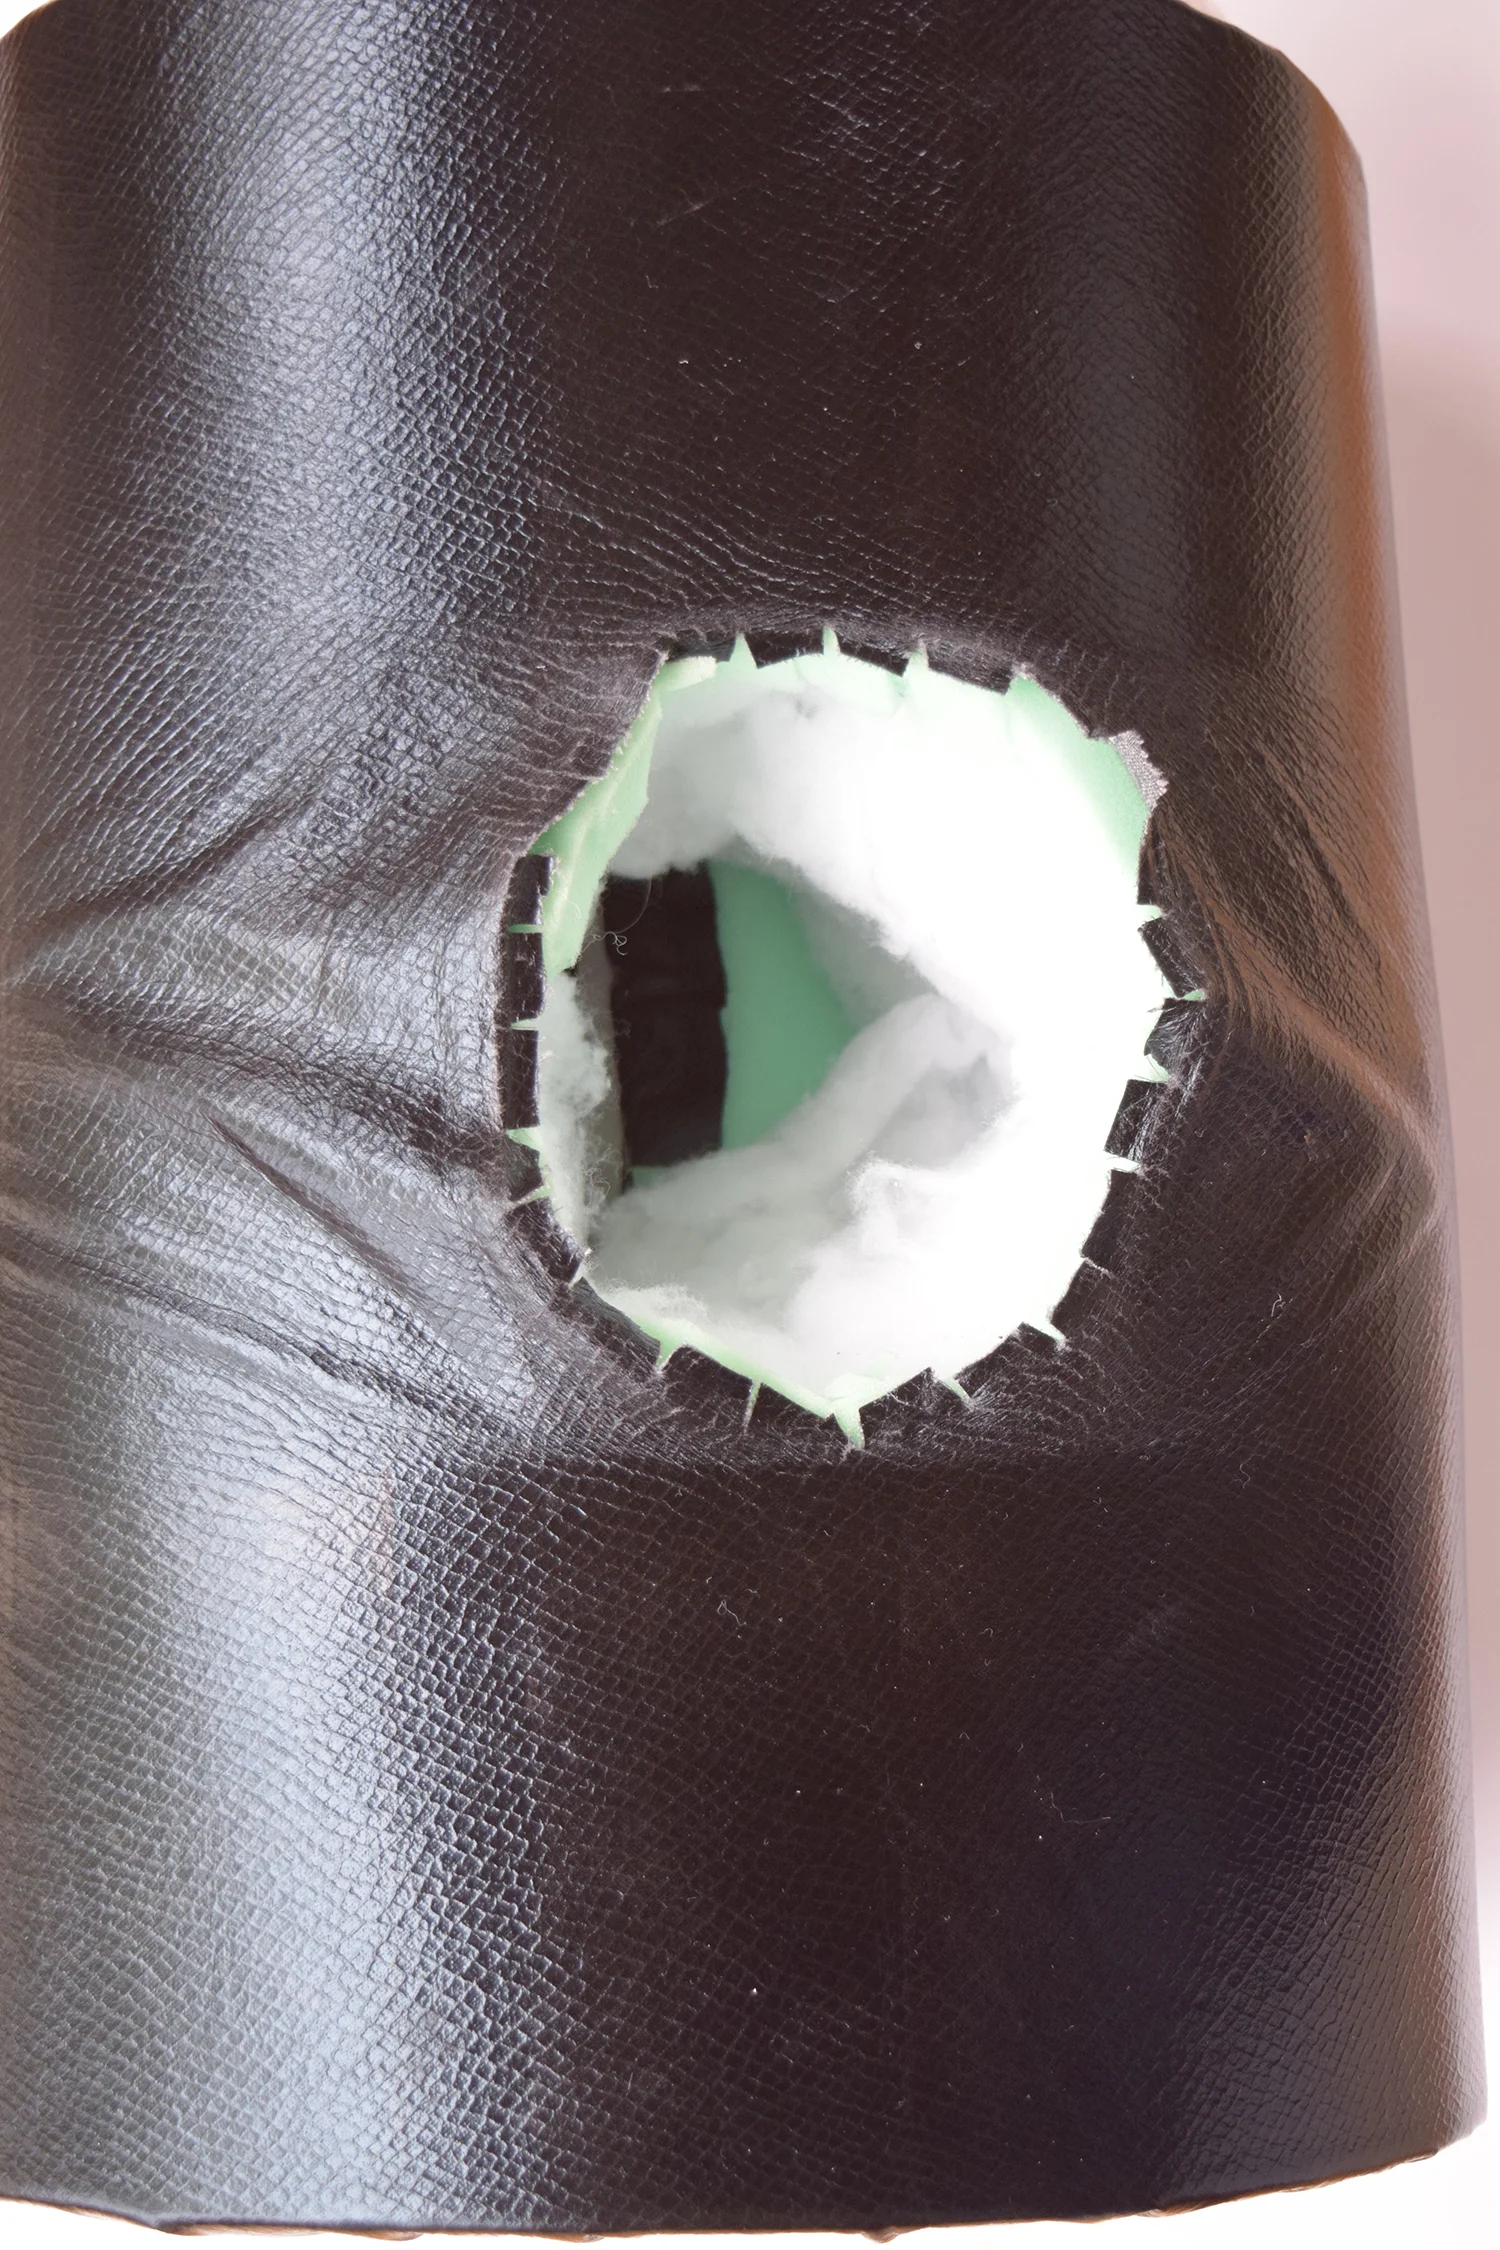
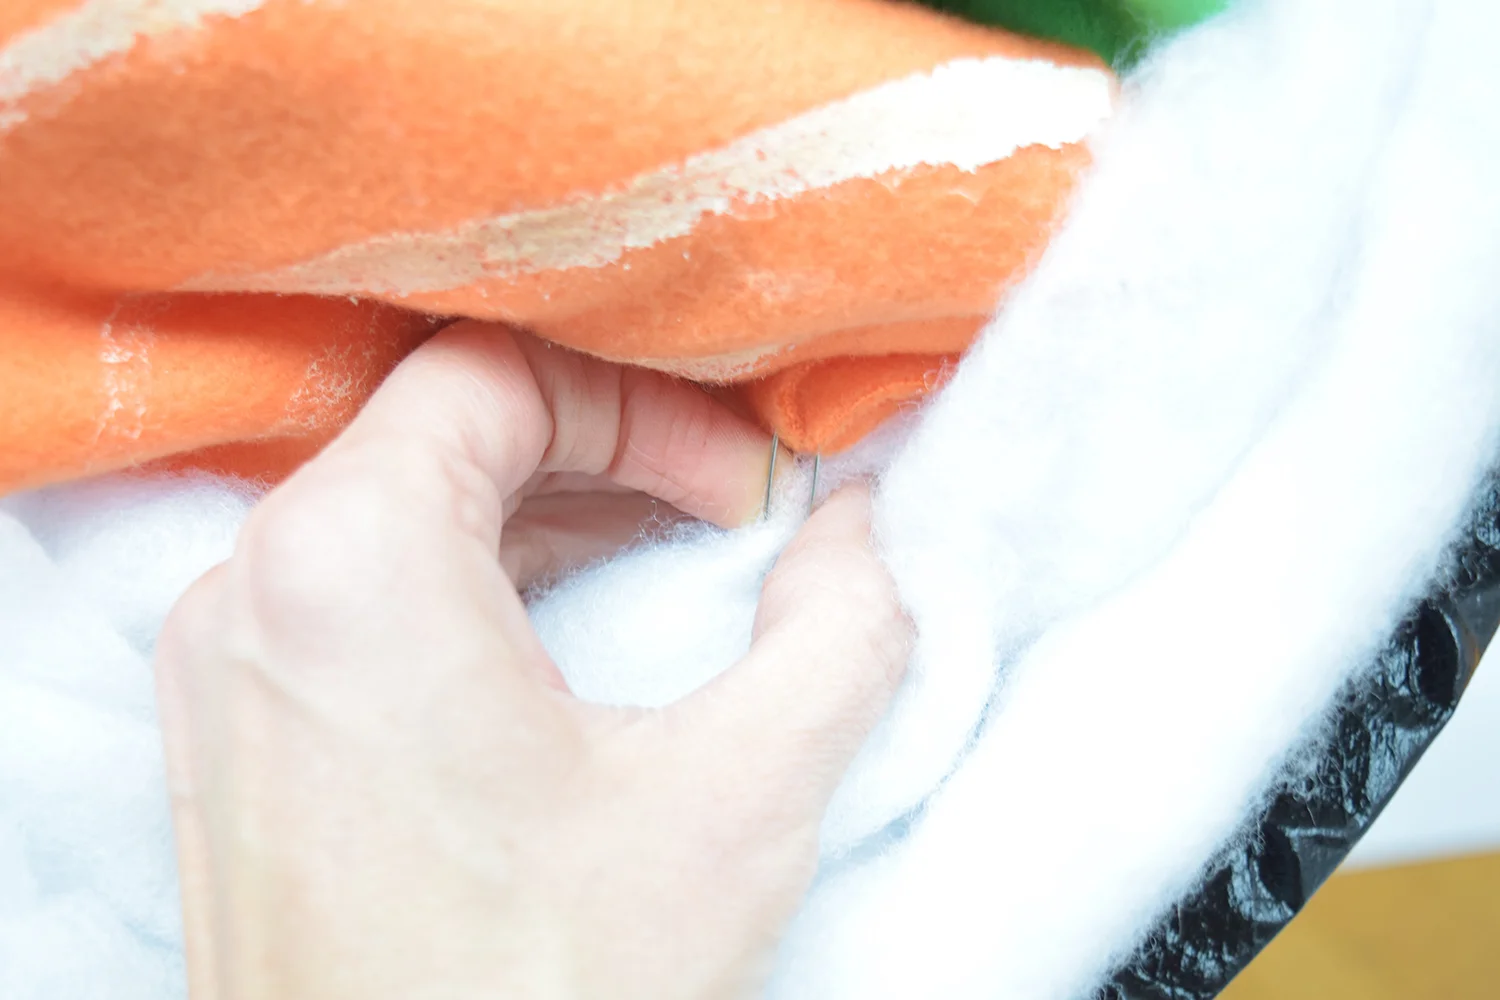
Often times witch hats found in stores lack any kind of sparkle or pizzaz. In short, they end up looking not so glamorous. Watch this video to see how you can create a chic, simple witch hat that will bring cackles to all those cute little trick-o-treaters that ring your spooky doorbell.
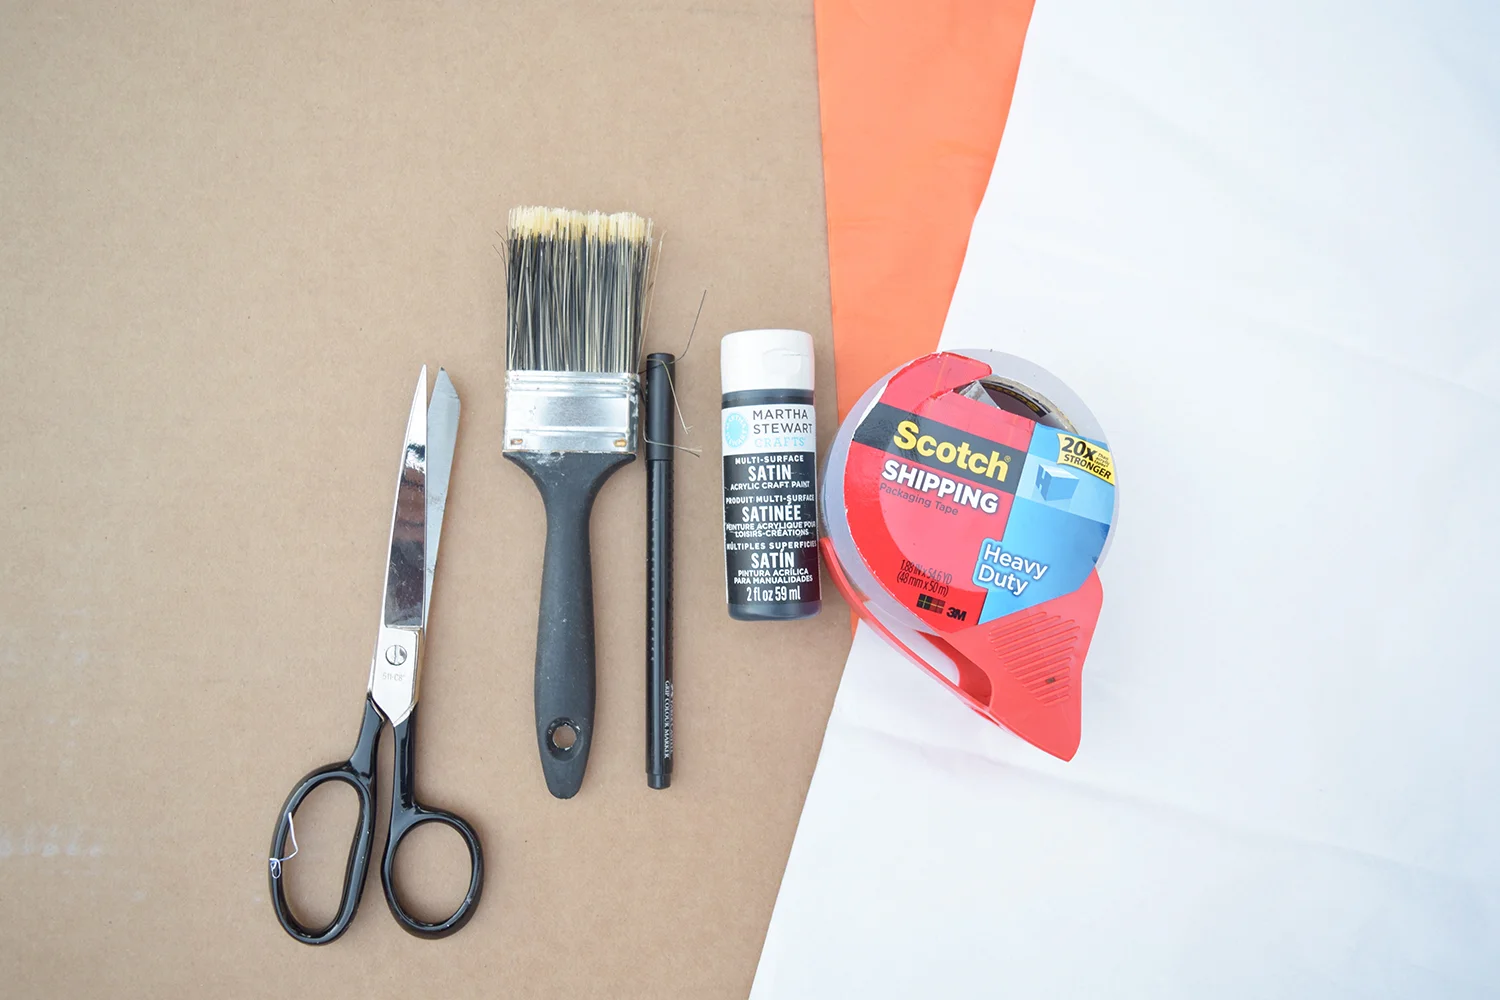
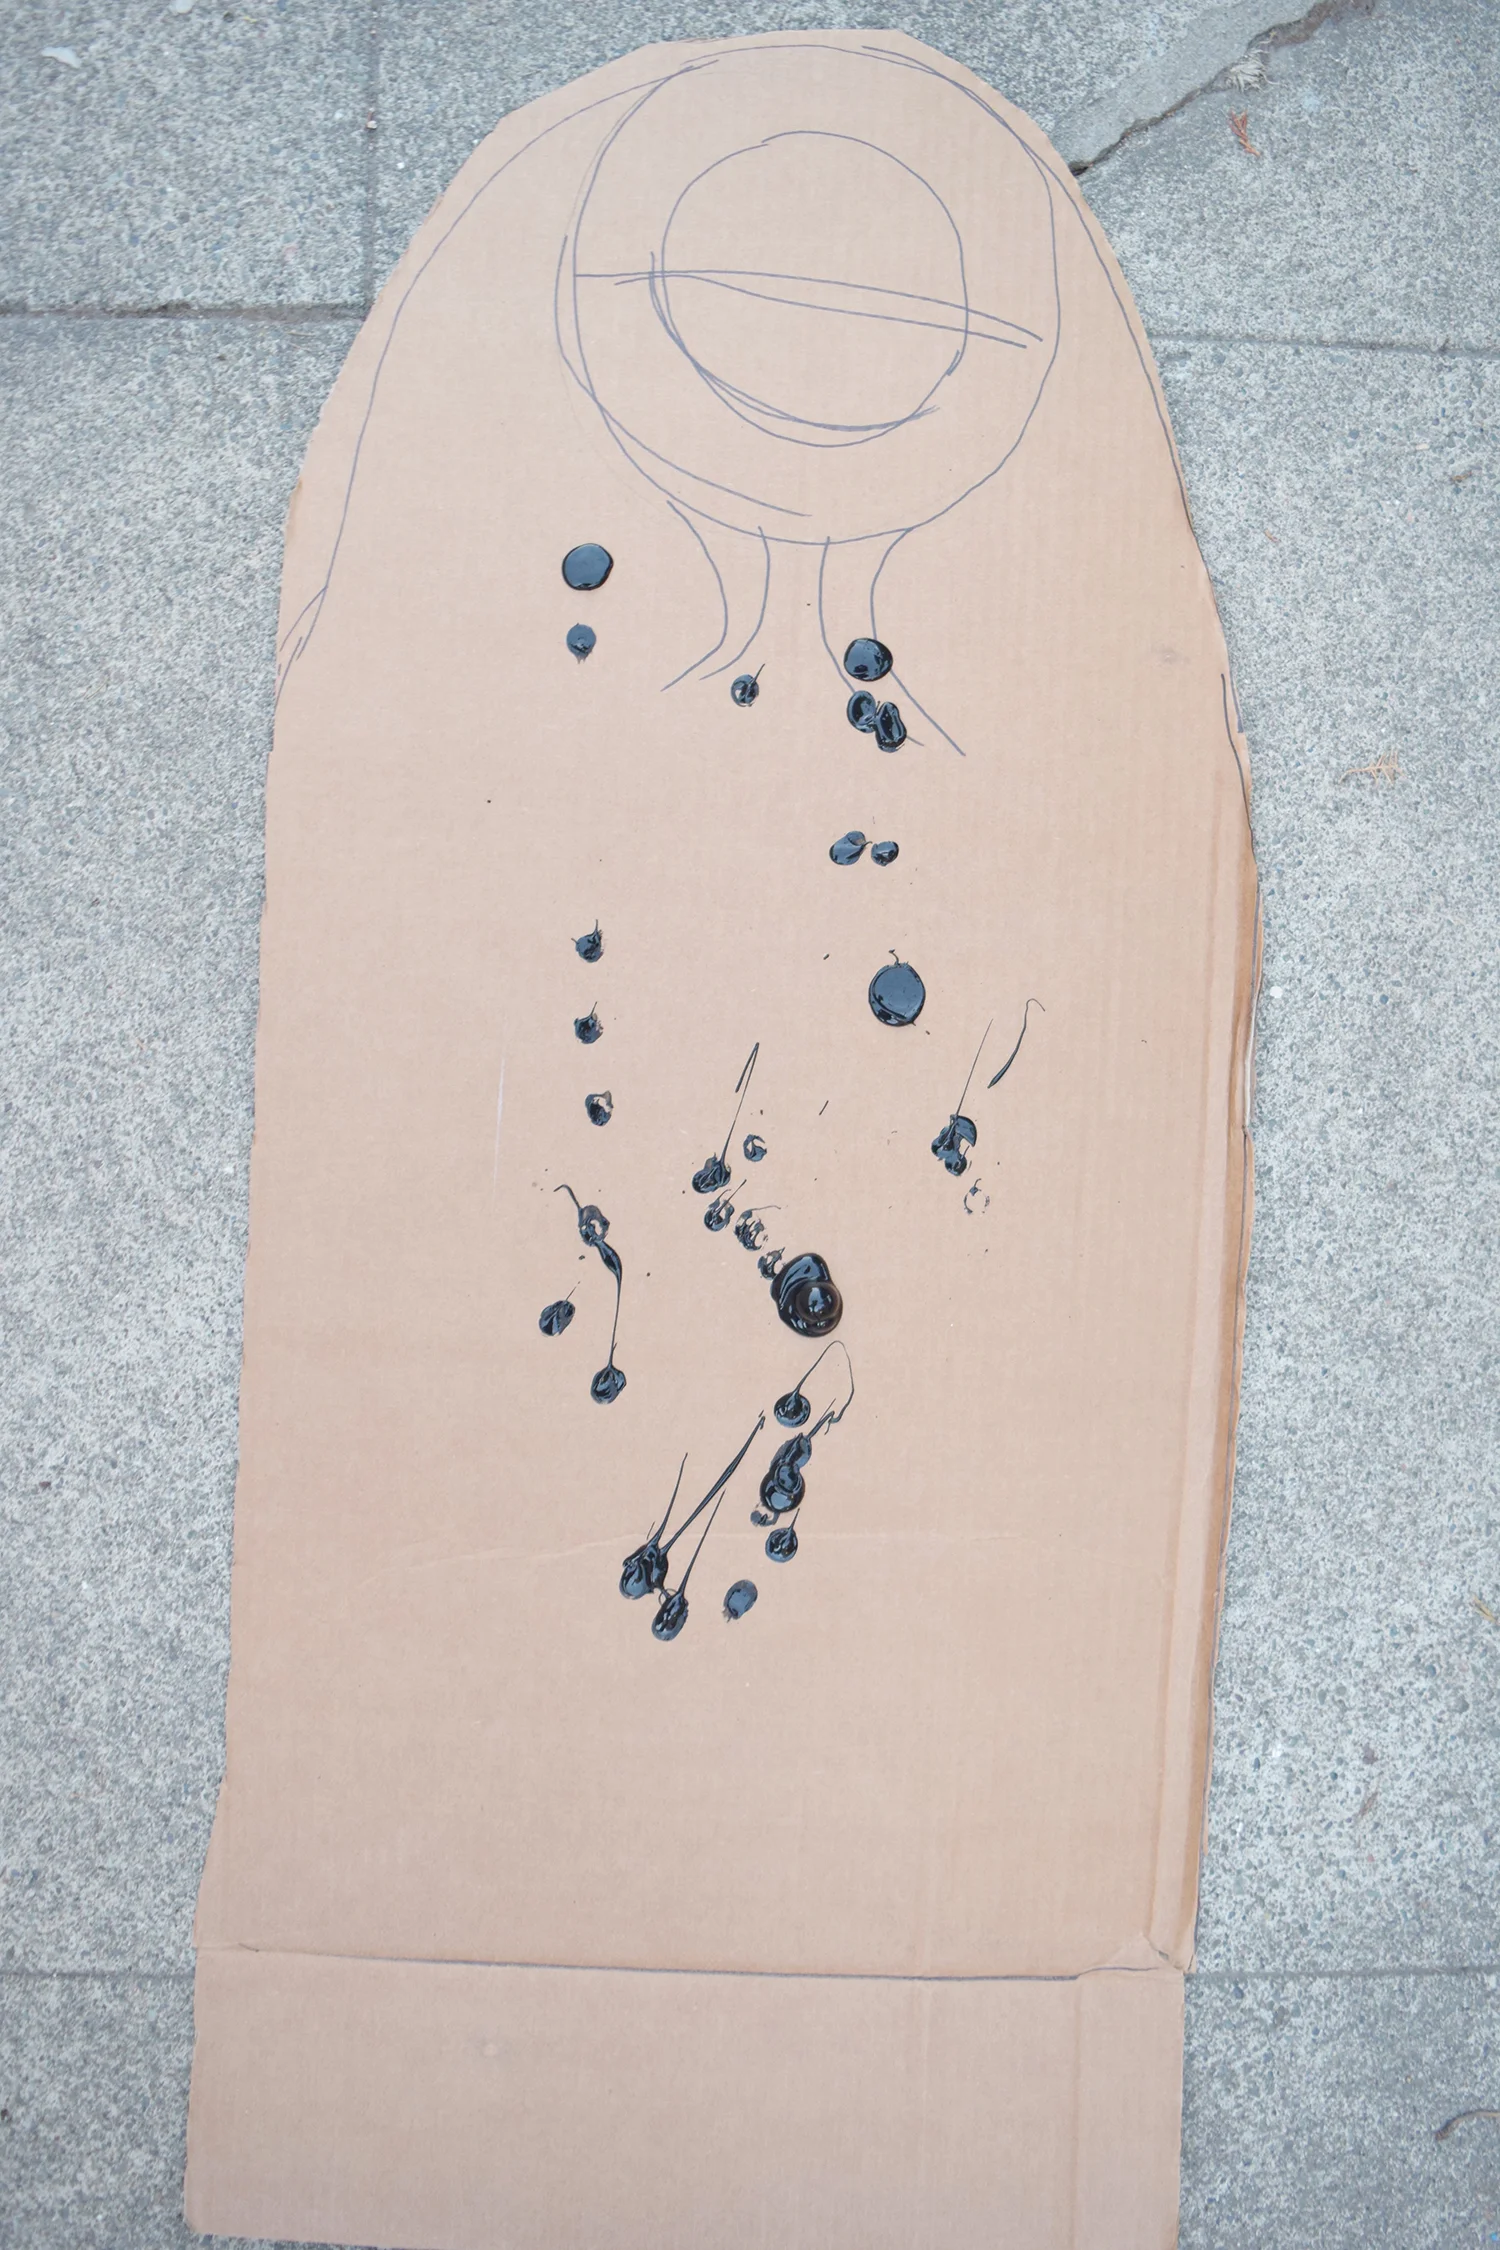
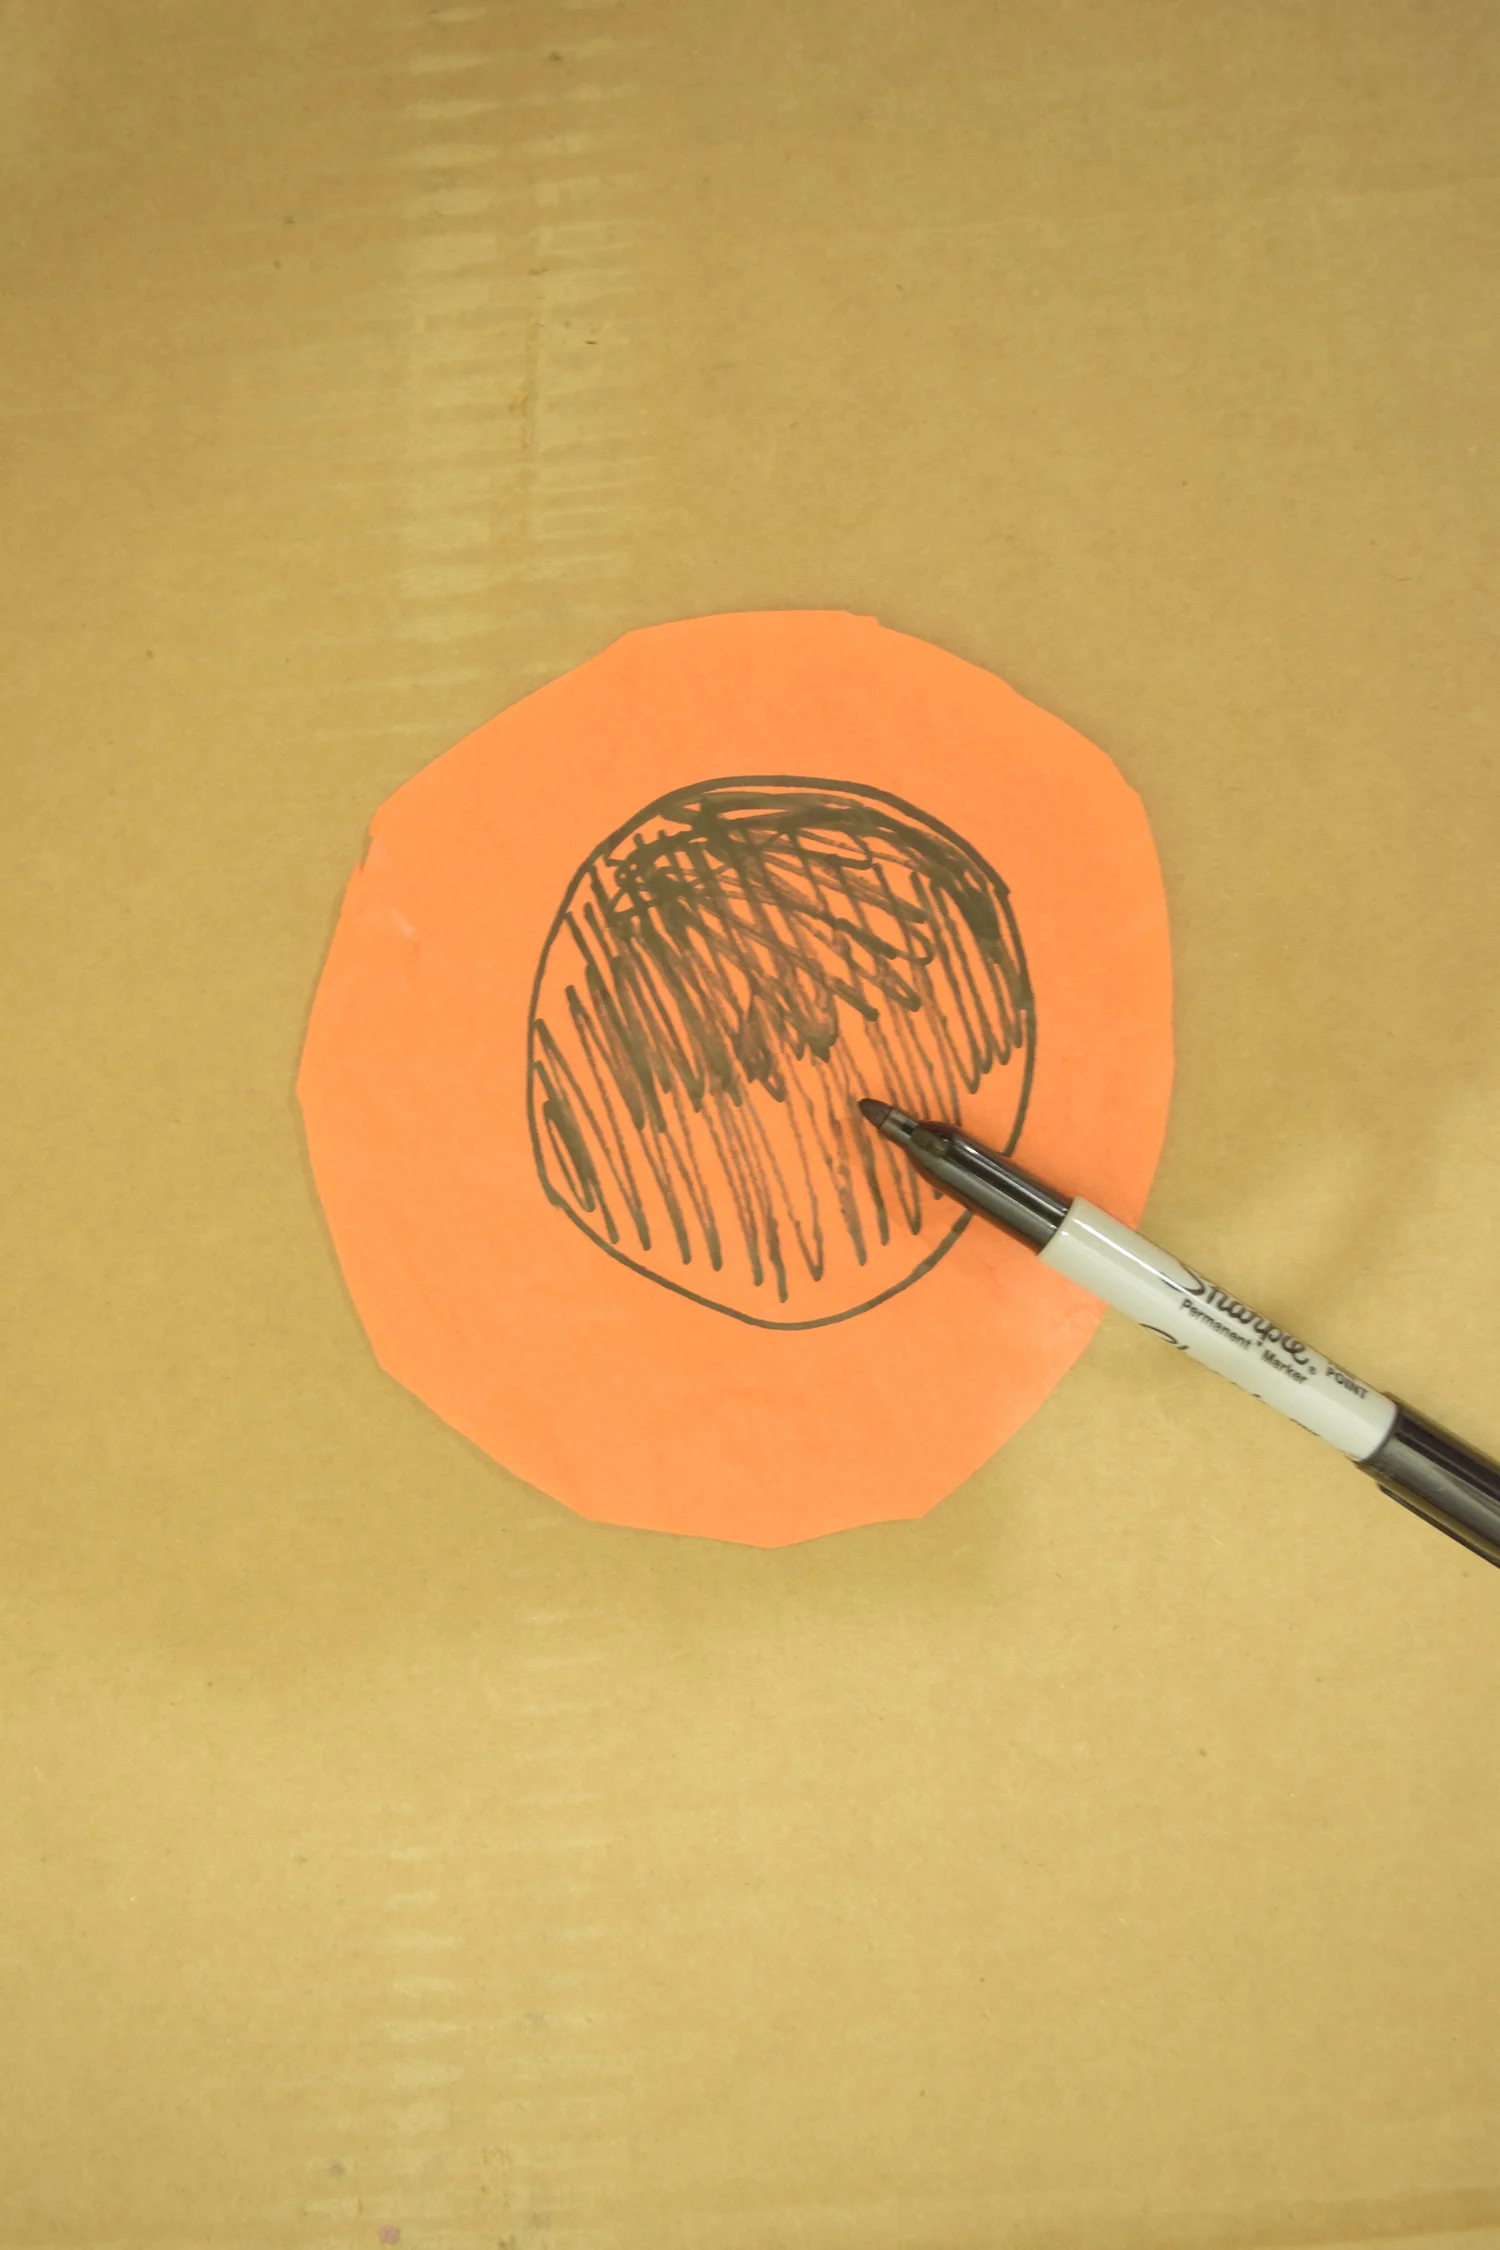
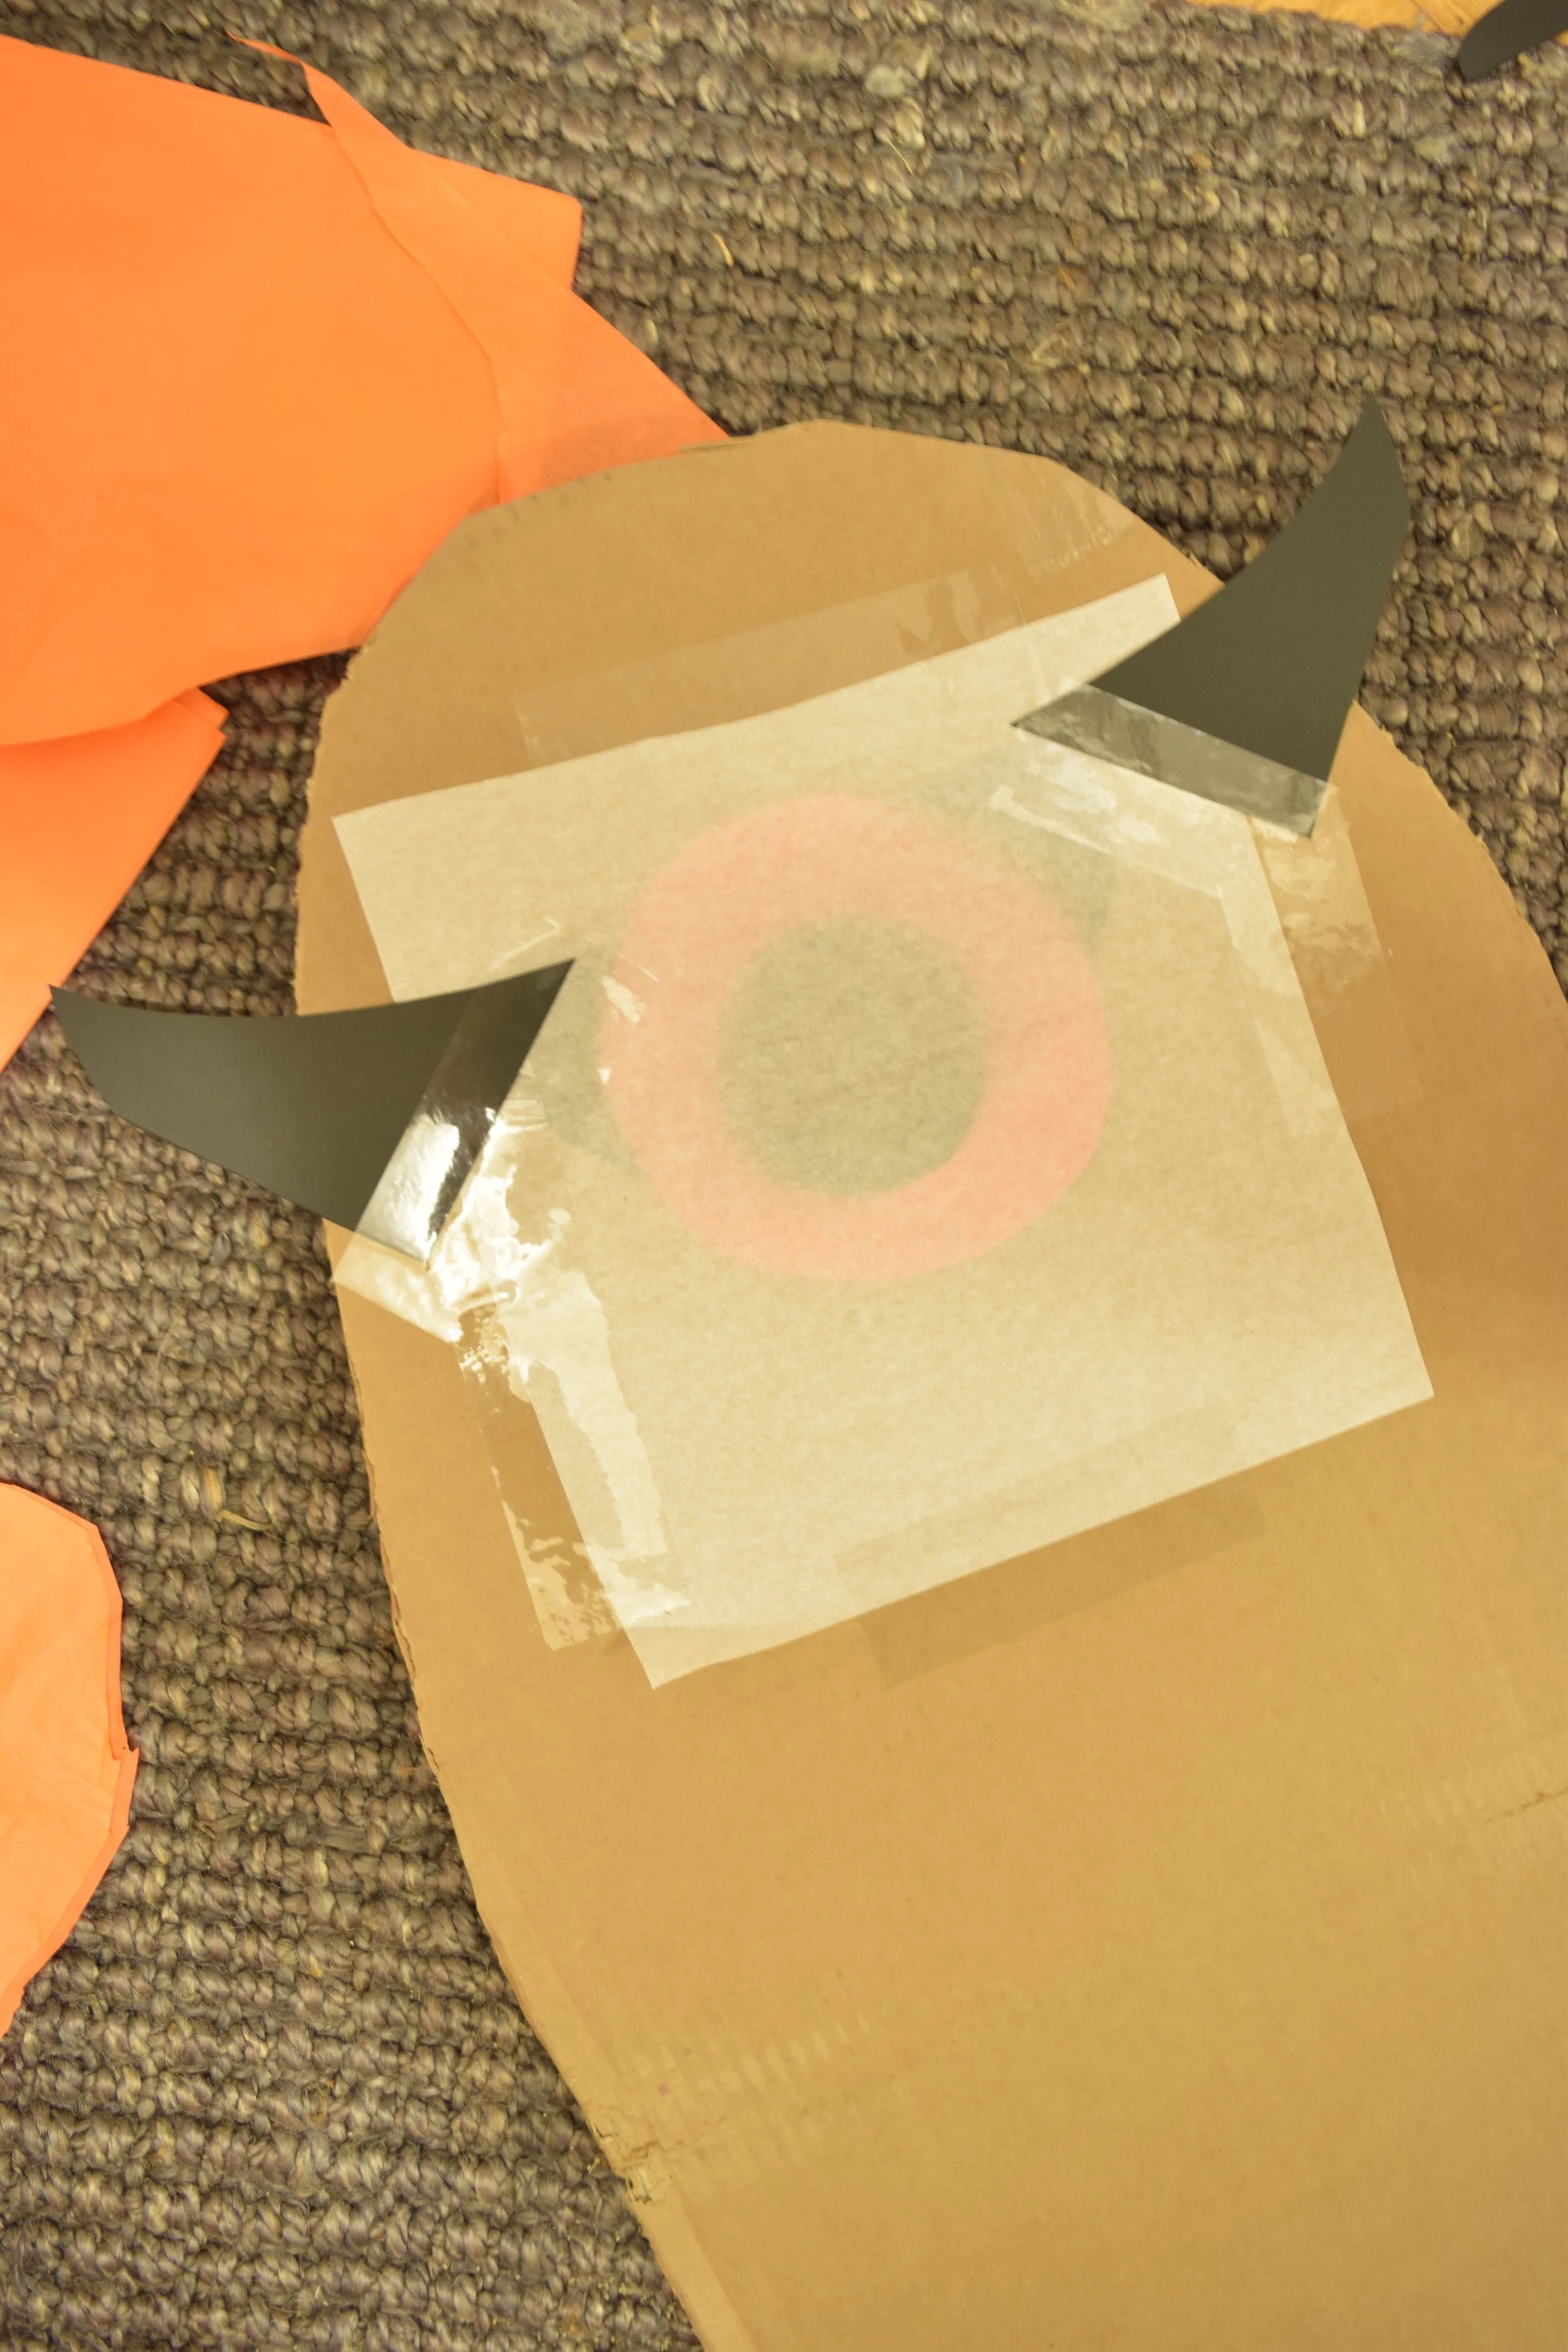
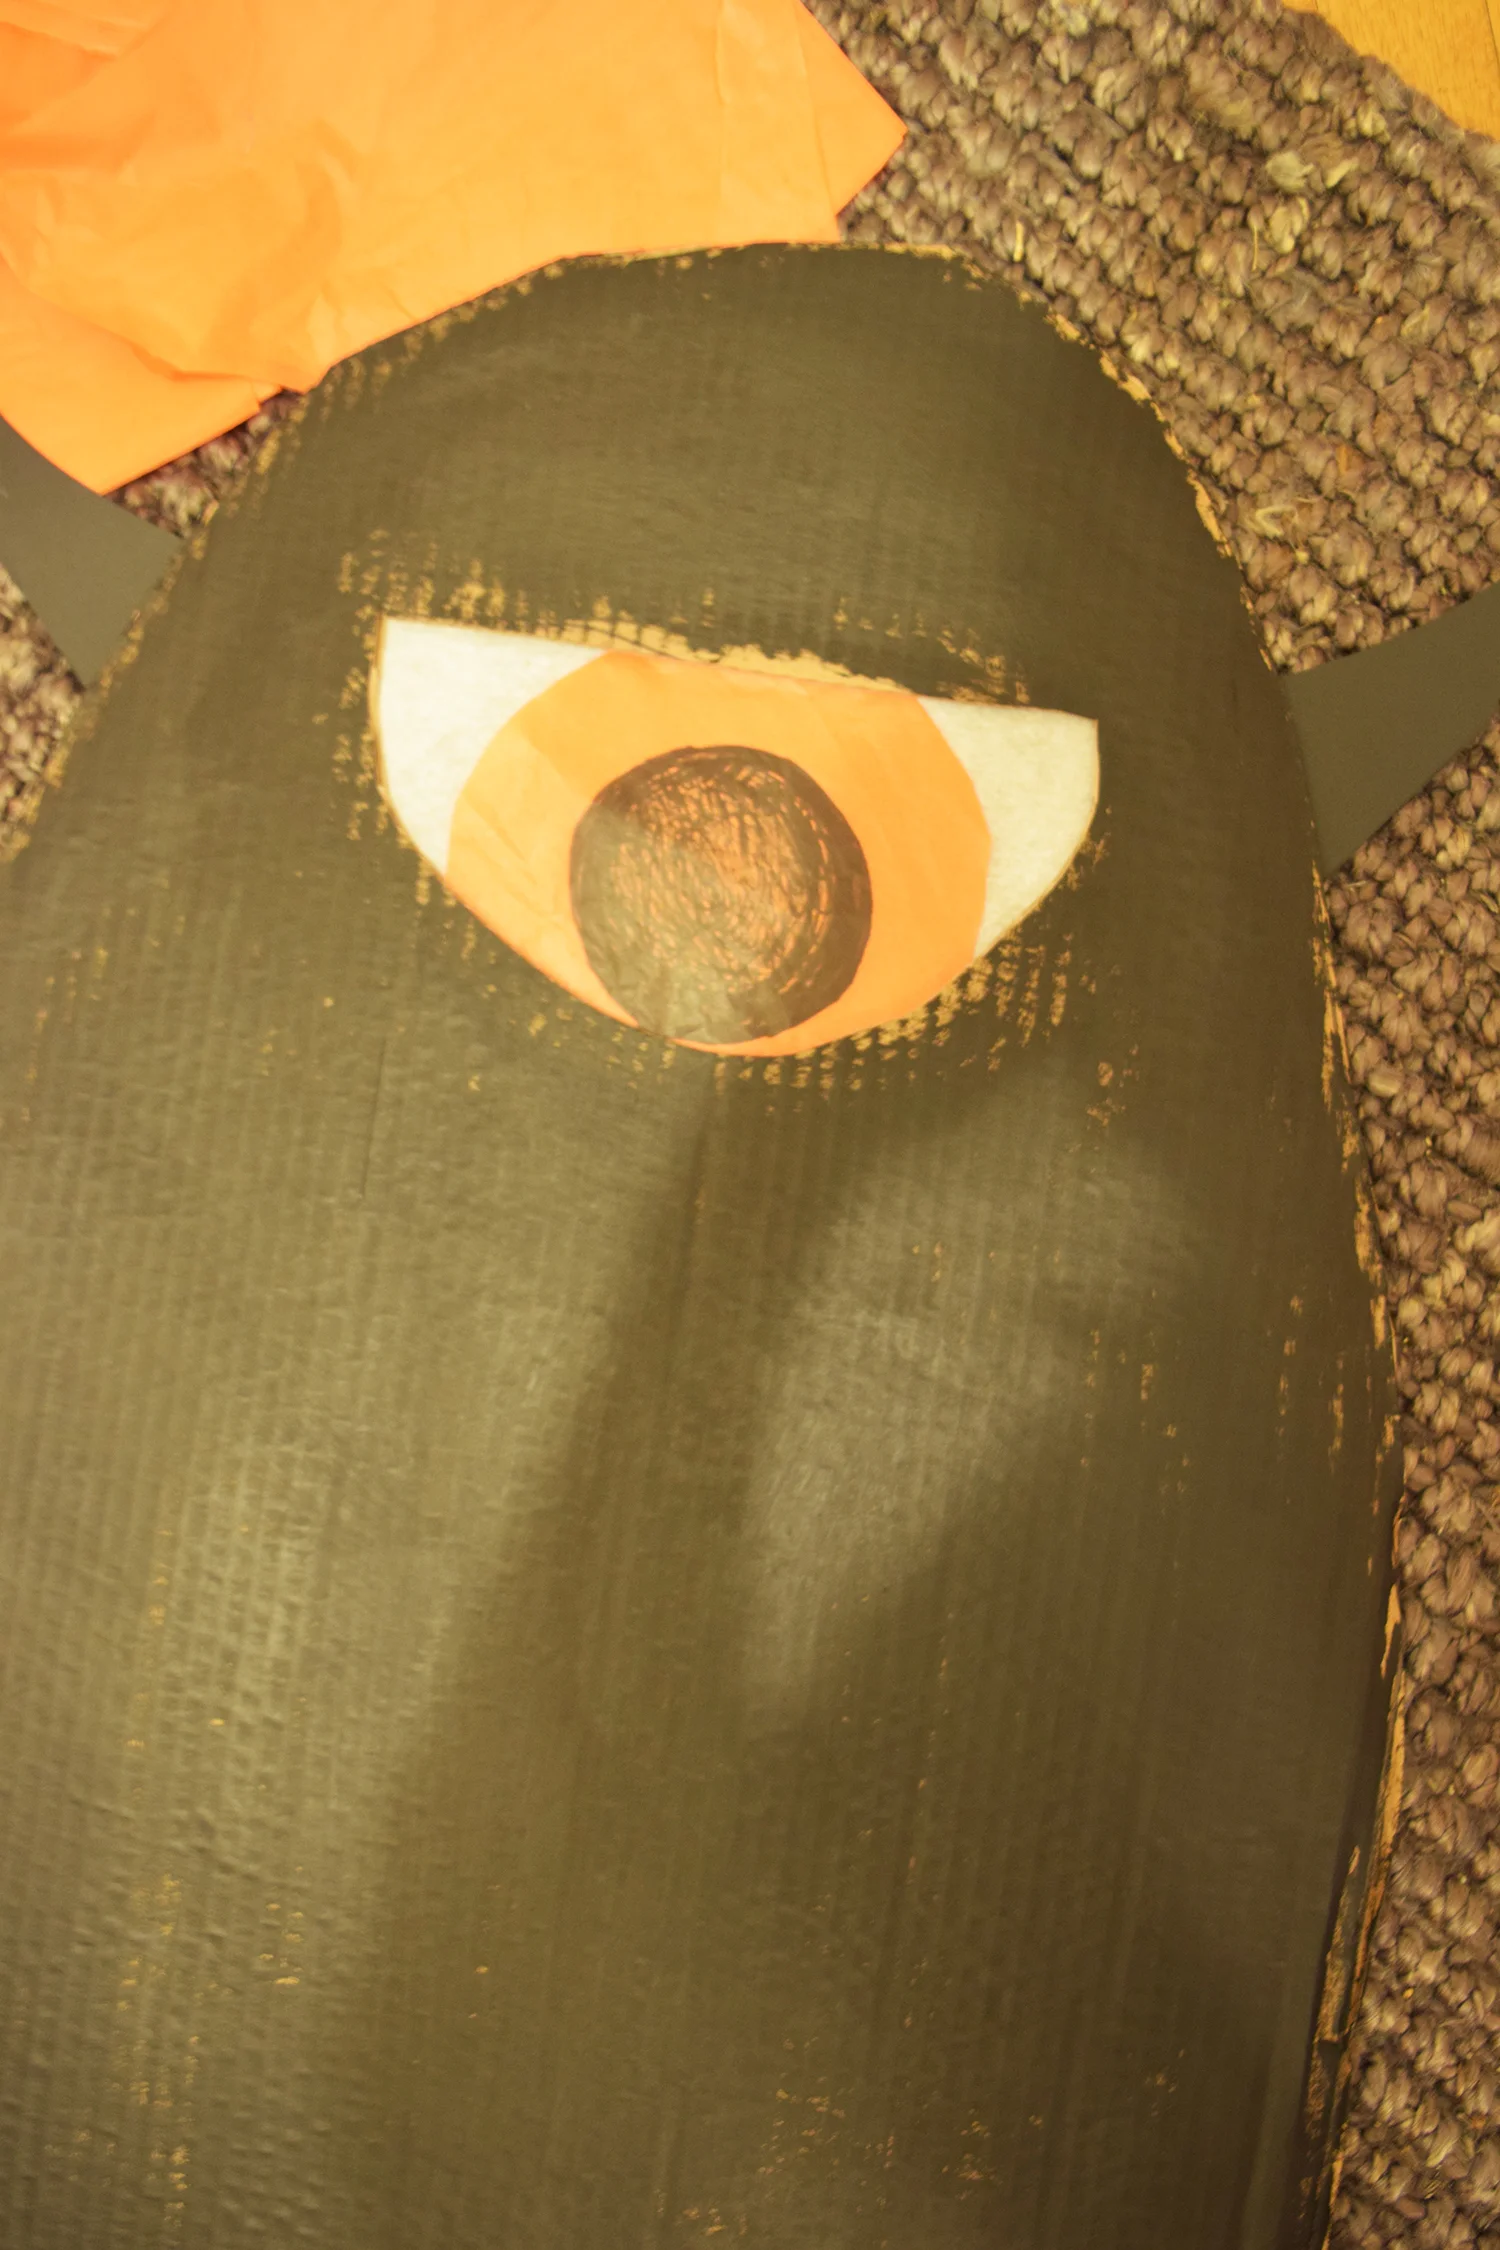
Here is the supply list:

  • an inexpensive witch hat - ($3 at Target)
  • black paint
  • 3 white feathers
  • 1/8 inch of black glitter tulle
  • 1 large black plastic spider 
  • a paint brush
  • fast drying adhesive (I used Aleene's Fast Grab Tacky Glue to glue on the glitter and a hot glue gun to attach the items to the hat)

Well, I'm off on my broomstick to keep that cauldron brewing up costume ideas. See you tomorrow glam witches!

OctoberAndra Weberhalloween, yet
Day 289 - The Ghost In The Camera.

Boo! It's Friday and for some reason ghost are at top of mind today. I started thinking about ghost hunters, people who look for paranormal activity. It seems like they are always trying to get a photo of elusive spirits. As far as I know, no one has capture a ghost on film. Today, I thought it would be interesting to play around with the techniques learned in the night photography post. Let's fire up the Slow Shutter app on our smart phones and dig up a small flashlight. Let's try our hand at some spooky photography and create some creepy images.

You will need this.

You will need this.

Here is how to get the same terrifying effect as the photos below. 

  • Fire up the Slow Shutter app.
  • Take a small piece of red tissue paper and place it over the flashlight with a rubber band.
  • Turn the "Capture Mode" to "Low Light."
  • Slide the "Exposure Boost" to High.
  • Slide the "Shutter Speed" to 30 or 60 seconds.
  • Now find a super dark room and make some ghastly photos. Move the flashlight around at different angles. Hold your face for a few seconds and then change your expression. 

Creepy right?

Well, enjoy experimenting with the Slow Shutter. I am off to work on a costume for tomorrow's post. Stay tuned ghouls and goblins.

OctoberAndra Weberhalloween, yet
Day 288 - Words Can Haunt You For A Lifetime.

Oh hey. Who thinks words can hurt deeper than wounds? Why do physical wounds heal but when someone verbally hurts us we can carry pain around for a lifetime. When I was in the second grade, a bully told me the only person I would ever marry is the Phillsbury Dough boy. At the time this hurt my feelings but was also very confusing. Did she mean to say I would only marry a pastry? Or the iconic cartoon dough man? Today, this sounds like more of a compliment than a threat. At the time, however, this hurt me deeply. 

In short, words are powerful but also very scary. Let's channel that scary into creating a spooky quote today. Pull out a piece of paper or a notebook and write down the top 5 things that scare you. Now pick one and develop a spooky phrase. 

Here is an example.

Well, off to dig up some more spooky stuff. Until tomorrow witches of words!


OctoberAndra Weberhalloween, yet
Day 287 - Monsters In the Closet & At The Window.

Well, hello monsters. Let's jump right into today's project. When little, who was terrified of monsters? Who had nightmares of monsters living under your bed or hiding behind a closet door? When I was little, I hated to open the basement closet in fear there would be a big, ugly, bad breathed monster lurking behind the door. In short, monsters give me the willies.

Let's try to recreate that spooky feeling. Today we are going to use an old cardboard shipping box to create one creepy window monster. Here are all the supplies needed:

  • 1 old large shipping box
  • black craft paint
  • a black marker
  • scissors
  • a big paint brush
  • white and one other color of tissue paper
  • masking tape or shipping tape

Step 1: Cut the box down at the side and bottom so as to create a flat piece of cardboard. Using the black marker, sketch the monster on the cardboard.

Step 2: Using the scissors, cut out the monster shape. Now use the black paint to paint one side of the cardboard. Leave the area for the eyes or eye unpainted. Let dry an hour or until paint is no longer tacky.

Step 3: Take the cardboard and cut out the eye hole. Roughly measure the hole. Using the colored tissue paper, cut out a circle for the eyeball that is slightly bigger than the hole. In the middle of the tissue paper, draw a circle with the black marker and fill it in for the pupil.  Flip over the cardboard to the brown unpainted side and tape the eye ball to the top and bottom of the eye hole. Place a piece of white tissue paper over the eyeball and tape as well. I also added horns to this monster. Consider adding any other elements needed to make the monster extra scary.

Step 4: Place the monster in the window and pull the curtains closed. Turn on the lights and go outside. Quiver in fear at the terrifying monster in the window!

Well, off to brew up more spooktacular projects. See you tomorrow Monster Inc.!


Day 286 - Invites For Every Ghost And Goblin You Know.

Hello party animals. With Halloween just a few weeks away, who is going to dig in deep and throw a ghoulish October 31st bash? It's always been on my bucket list to host an off the pirates hook Halloween party. I'm still debating if this is the year to invite lots of spooks and witches into my home. I, however, started to think about my boogie down affair and the design of the invitations.

An invitation sets the tone for any party. The way the invitation looks and what it communicates can create a level excitement that a verbal invite can't. A lot of thinking goes into an invite from the copy, to the design to the way an invitation is delivered. An good invitation is a simple way to communicate an event but a great invitation taps into emotions and creates a sense of anticipation.

Today's project is to create an invitation for your next Halloween party. What kind of party will you throw? Will it be a "Witches & Stitches", "Boos & Brews" or "A Spooktacular Event?" As you dream up your spooky festivity and sketch your invite, here is what my party invite might look like and it's free for download.

I'm headed to dig up a monster or two for tomorrow's project. See you then vamps and vampires!

OctoberAndra Weberdesign, yet
Day 285 - Something Strange And It Don't Look Good? Who Are You Going To Call?

This post contains an affiliate link. 

Hey, ghostbusters! Who here has seen a ghost? Well, if not, let's go ghost hunting today or rather ghost making. We are going to whip up ghostly lawn decor that will add some haunting to a lawn of any size. You will need the following:

Step 1: Pound the tomato stake into the ground. Place the tomato cage around the stake.

Step 2: Make a hole in the styrofoam ball and then place it on top of the tomato stake. Wrap the fairy lights around the styrofoam ball and secure in place with tape. Let the end of the fairy lights float in the tomato cage

Step 3: Drape the white fabric over the ball. Consider securing the fabric place with a  thumb tack or two.

Done! Now no need to go ghost hunting. Well, off to brew up another project. See you tomorrow Slimer!

Day 284 - Like A Bat Out Of Hell, This Project Is Simple.

Hey, creatures of the night. It's Sunday. Sunday means there is only time for a project that will be as quick as a bat out of hell. First let's talk about how bats are super cool and scary all at the same time. Their black, weirdly leathery, coasting like an old cadillac character can really send goosebumps down anyone's spine. When I was in the 4th grade, I was sitting at my desk learning my numbers, talking to my friend Kevin, when I heard a little squeak. As I turned around, I expected to see a see a sweet, little, soft brown mouse staring back at me. To my horror, what made the squeak was a big, hairy, black as night, bat. It was flopping around on the floor and staring directly into my soul with it's beady black eyes. I'll never forget how much I jumped out of my chair.

Let's re-create some of that gut wrenching fear and add pizzaz to any Halloween party or spookiness to any entryway. Let's make this simple at bat-o-ful mobile.

You will need:

Step 1: Print out the bat template on the black card stock. Cut out 13 bats.

Step 2: With a needle, place two holes on the back of each bat.

Step 3. Cut various lengths of fishing line and thread one strand through each bat. Tie with a knot. Fold the wings in and down on each bat.

Step 4. Tie each string with bat to the tree branch. Spooky simple right?

Well, I am headed to do some ghost hunting. Enjoy the bats in your belfry and see you tomorrow spooks.


Day 283 - A Ten Dollar Way To Create Bad Luck.

Oh hey there feline friends. It's Saturday and the weeks are flying by. We are getting closer and closer to that spooky holiday, Halloween. If you haven't noticed we are 100% Halloween crazy around here on this blog. To continue the nuttiness, today we are going to create a $10 DIY project that is going to bring a lot of back luck to anyone crossing our path. Since it's Saturday let's leap and get down to some spooky business.

We all know the superstition. Black cats are bad luck and what is more terrifying than a string of bad luck? Maybe stepping over so many black cats that otherworldly bad luck is sure to follow. Head down to IKEA and pick up a Trampa door mat. Grab some black craft paint, a medium size firm paint brush, 1 piece of cardstock and this free black cat template. Now, let's create some bad mojo spooky enough to scare away any unwanted visitors.

Step 1: With a craft blade cut out the black cat template on a self healing mat or piece of cardboard.

Step 2: Use the cat template to create a pattern on the doormat. The tip here is to quickly dab the paint on with the paint brush and make sure to touch even the very tip of the ears on the cat.

Step 3: Let dry and enjoy as visitors tremble in fear or at least step around the mat.

Off to brew up tomorrow's project. See you tomorrow, superstitious!


OctoberAndra WeberDIY, yet
Day 282 - Ghoulish Granola: Make Them Howl With Delight.

This post contains an affiliate link.

Oh hi spooky. How about something gross and ghoulish to kick off Friday? Today we are mixing like a mad scientist in the kitchen and bubbling up something delicious. Who thinks eyeballs are spooky? Yes, me too. Who thinks granola is delicious? Oh, yes me too! Well, let's get started on today's project and whip up some granola that will make just about anyone howl with delight.

First, here is a public service announcement. Never put waxed paper in the oven. Never. 

Now with that said, let's talk granola. This recipe is a bit on the crumbly side for a granola bar. Perhaps it could have used a bit more sun butter or honey to stick the parts together. However, if your bars become brittle like mine, consider using the rambling parts as a way to brighten any morning with a bowl of ghoulish goodness.

Now for the recipe.

Ghoulish Granola Bars

  • 1 1/2 cup rolled oats
  • 3/4 cup rice cereal
  • 1/2 teaspoon salt
  • 1/4 cup chopped high protein pretzels
  • 3/4 cup semi sweet chocolate chips
  • 1/2 cup honey
  • 1/2 cup sun butter
  • 1/2 cup chopped dried apricots
  • 1 package of candy eyeballs {affiliate link}

Step 1: Preheat oven to 350 degrees. Prepare an 8" x 8" baking pan by lining it with parchment paper.

Step 2: In a large bowl, combine the rolled oats, cereal, salt and pretzels. Add the chocolate chips honey, sun butter, apricots to the bowl and mix well.

Step 3: Press the mixture firmly into the bottom of the pan. Add the candy eyeballs to the top of the mixture and press into place.

Step 4: Bake for 18-20 minutes, until the edges being to turn golden brown. Let cool and slice. If the bars, don't hold their shape, consider using the crumbles as a delicious and spooky morning breakfast.

Alright goblins, enjoy the eyeballs and see you tomorrow!

OctoberAndra Weberrecipes, yet